
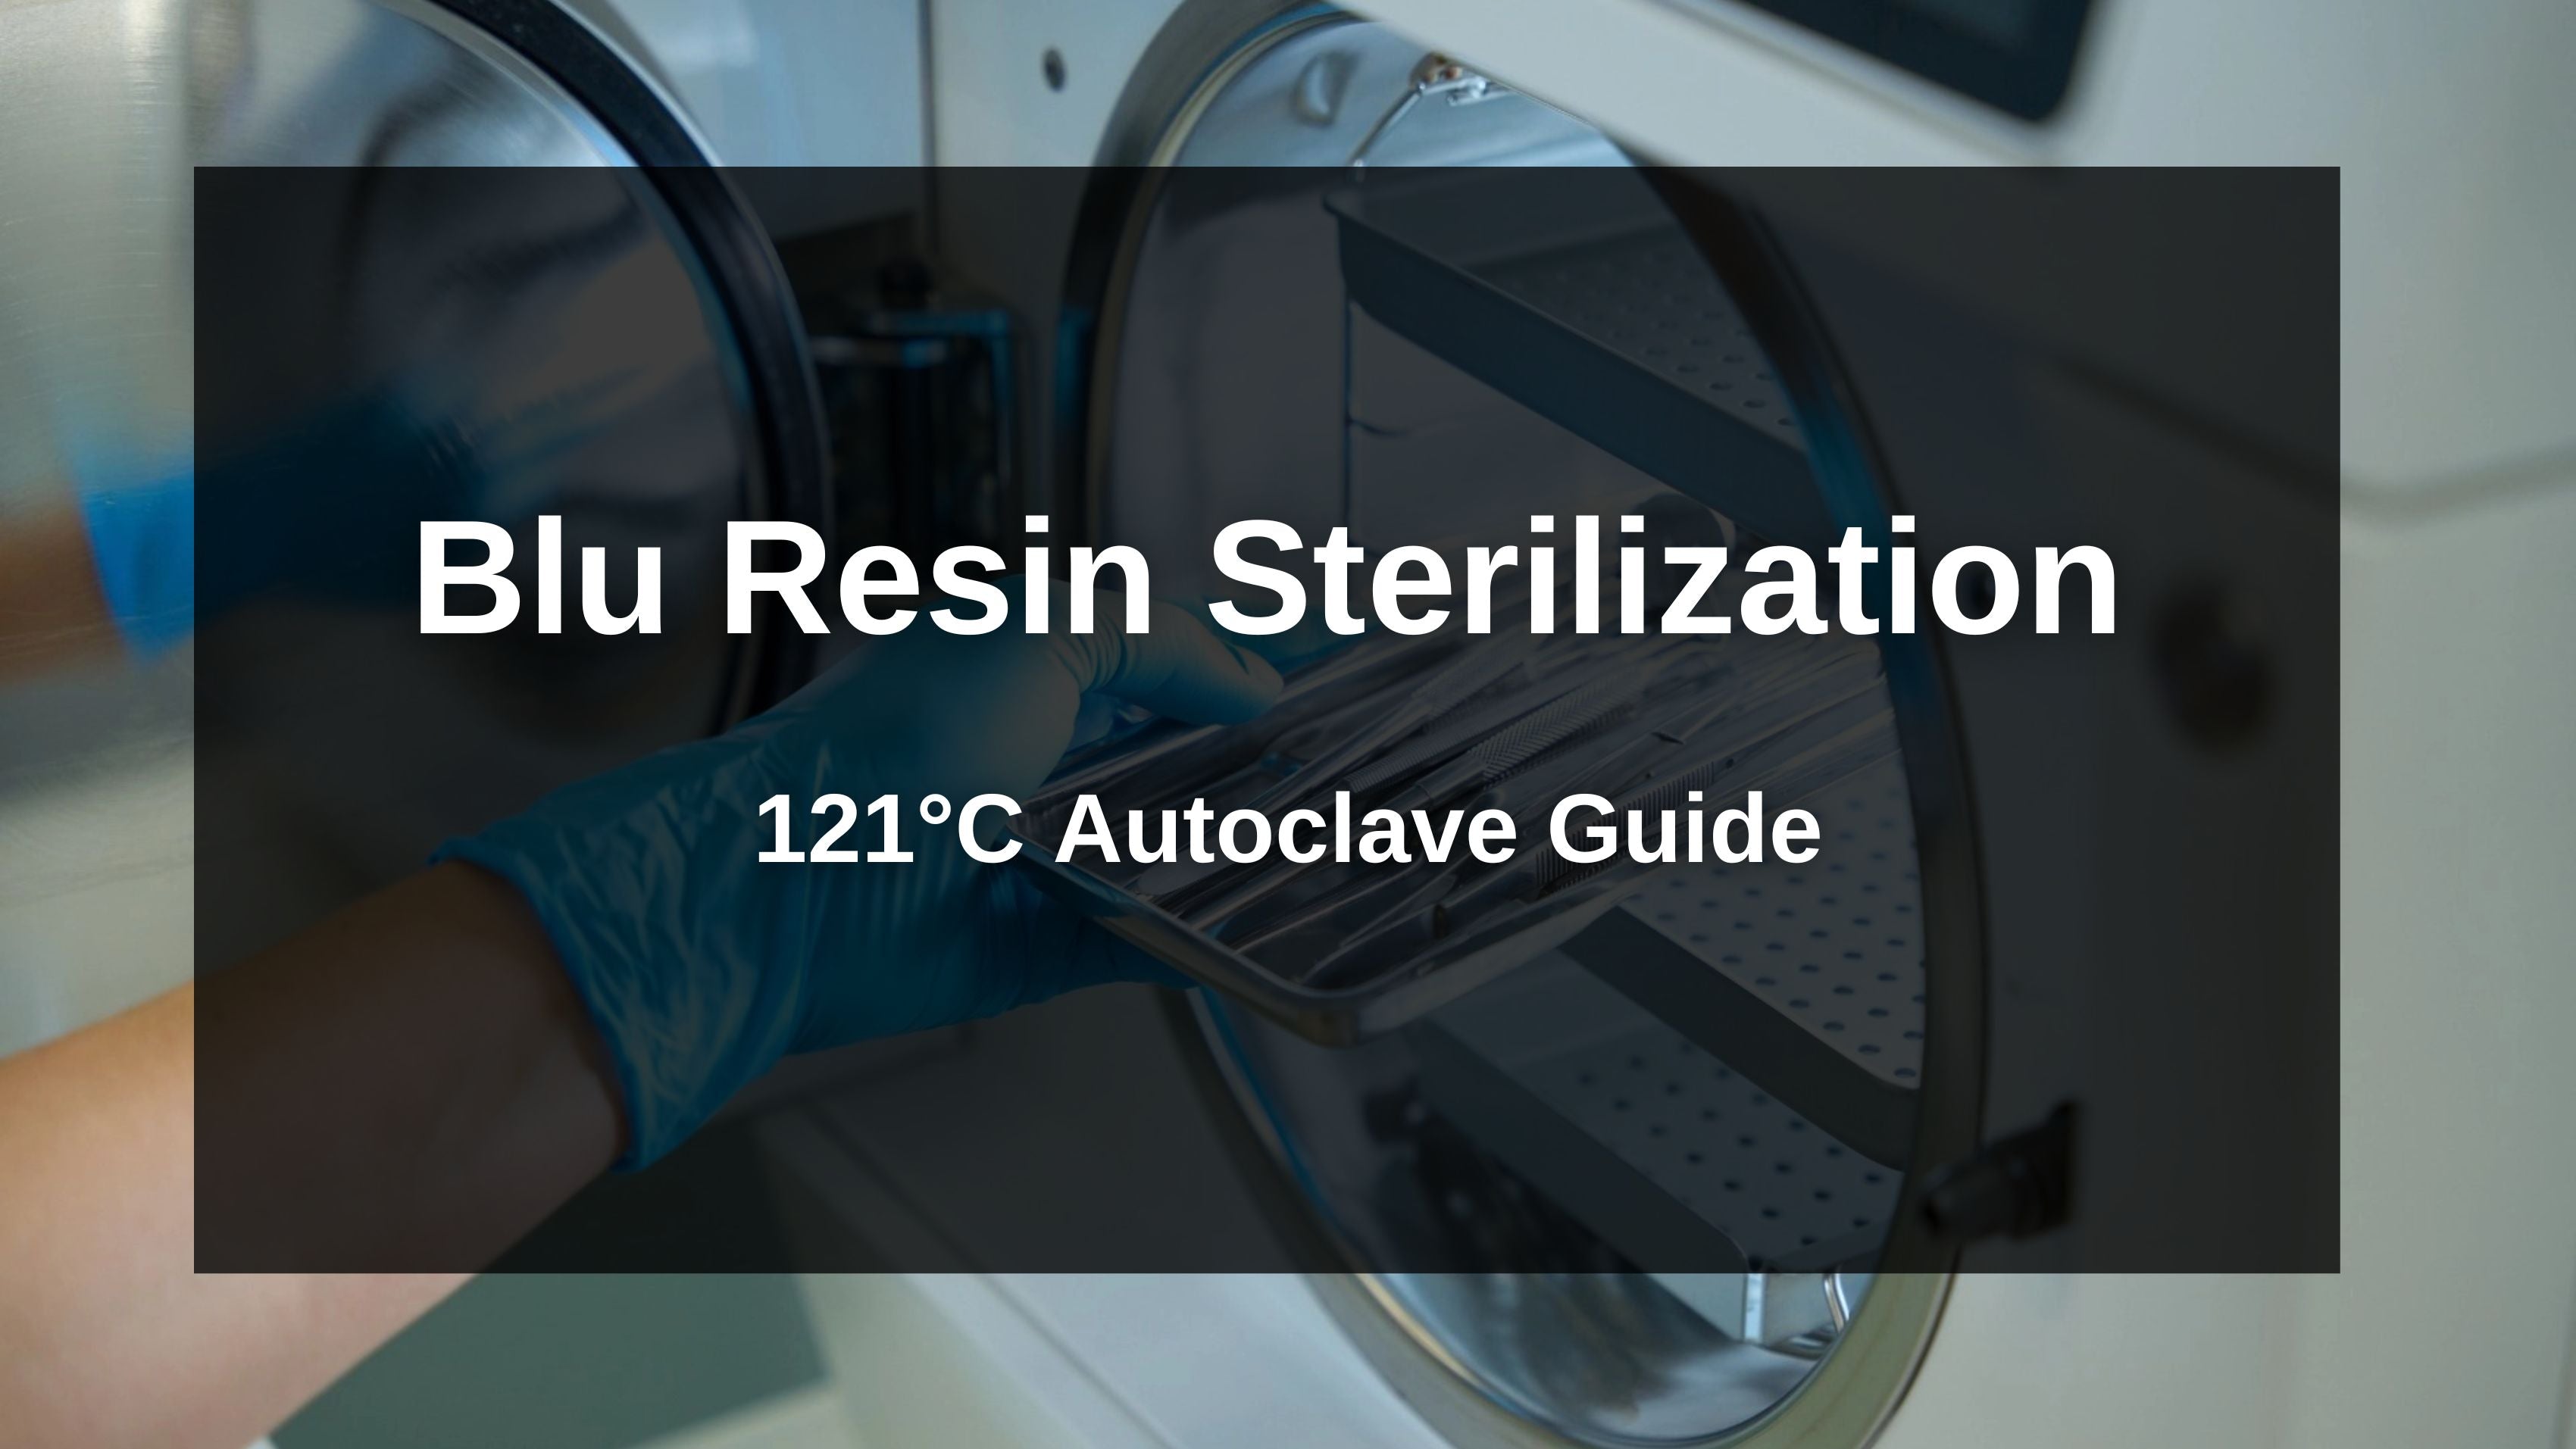
Target Product: Blu (Standard, Easy, Nylon) Objective: Sterilization via Standard Steam Autoclave (121°C / 15 PSI)
Since Blu’s HDT is ~70°C and autoclaves reach 121°C, this process focuses heavily on geometry preservation while the material is in its temporary "soft" state.
Phase 1: Preparation (The Clean)
Goal: Ensure the part is free of uncured resin. You cannot sterilize a sticky part; the heat will bake the uncured resin into a permanent, non-biocompatible surface imperfection.
-
Aggressive Cleaning: Wash the part thoroughly in 90%+ Isopropyl Alcohol (IPA) or Ethanol to remove all uncured residue. Use a soft brush for crevices.
-
Ultrasonic Clean (Recommended): A 5-minute cycle in an ultrasonic cleaner ensures no liquid resin remains in deep features.
-
Completely Dry: Use compressed air. Ensure no alcohol remains, as boiling alcohol inside the autoclave can damage the surface finish.
Phase 2: Pre-Cure (The Cross-Link)
Goal: Maximize the material's chemical bonds before subjecting it to heat stress.
-
Max UV Exposure: Post-cure the part for 20–30 minutes under 405nm UV light.
-
Note: For biocompatibility applications, thorough curing is non-negotiable.
-
No "Soft" Spots: Rotate the part to ensure even curing. Any under-cured areas will likely deform or bubble during the high-heat steam cycle.
Phase 3: Autoclave Loading (The Critical Step)
Goal: Prevent gravity from deforming the part while it is above its HDT (70°C).
-
Rule #1: No Stacking. Never stack pouches or parts on top of one another.
-
Rule #2: Orientation Matters. Place the part on its flattest, most stable surface.
-
Avoid: Standing long, thin parts (like cylinders) vertically. They may lean or bend. Lay them flat.
-
Avoid: Bridging gaps. Do not place the part across wire racks. Use a flat metal sterilization tray or a rigid sterilization cassette to provide uniform bottom support.
-
Rule #3: No Load. Ensure nothing is pressing against the part. Even the weight of a heavy paper sterilization pouch pressing on a delicate feature can cause warping when the resin is 121°C.
Phase 4: The Cycle
Settings: Standard Gravity or Pre-Vacuum Cycle.
-
Temperature: 121°C (250°F).
-
Pressure: 15 PSI.
-
Time: 15 to 20 minutes (Standard sterilization dwell time).
-
Note: Avoid "Flash" sterilization cycles if possible, as the rapid temp ramp-up/down can induce thermal shock stress cracks in thicker parts.
Phase 5: Cool Down (Do Not Touch)
Goal: Allow the material to transition back from its "rubbery" state to its rigid state.
-
Passive Cooling: When the cycle ends, do not touch the parts immediately.
-
Wait for Rigidity: Open the door to let steam escape, but leave the tray in place until it reaches room temperature.
-
Risk: If you pick up the part while it is still 90°C+, you may leave fingerprints or warp the geometry simply by gripping it.
-
Inspection: Once cool, the part will be fully rigid again. Inspect for any dimensional changes.
💡 Strategic Advisor Notes
-
Dimensional Shift: While thermosets don't melt, they may undergo slight annealing (shrinkage) during the first autoclave cycle. If your parts require extremely tight tolerances (e.g., <0.05mm), print a test piece, autoclave it, measure the shrinkage, and scale your model in the slicer to compensate.
-
Color Change: Blu is known for its transparency/color. High-heat steam can sometimes cause slight yellowing or "milking" of the clear resin due to water absorption combined with heat. This is usually cosmetic.
-
Material Longevity: Repeated autoclaving (10+ cycles) may eventually degrade the polymer chains, making the part more brittle over time. Inspect critical functional parts regularly.
-
Design consideration: Autoclaving may cause deformation if feature is too thin or small (<1mm)