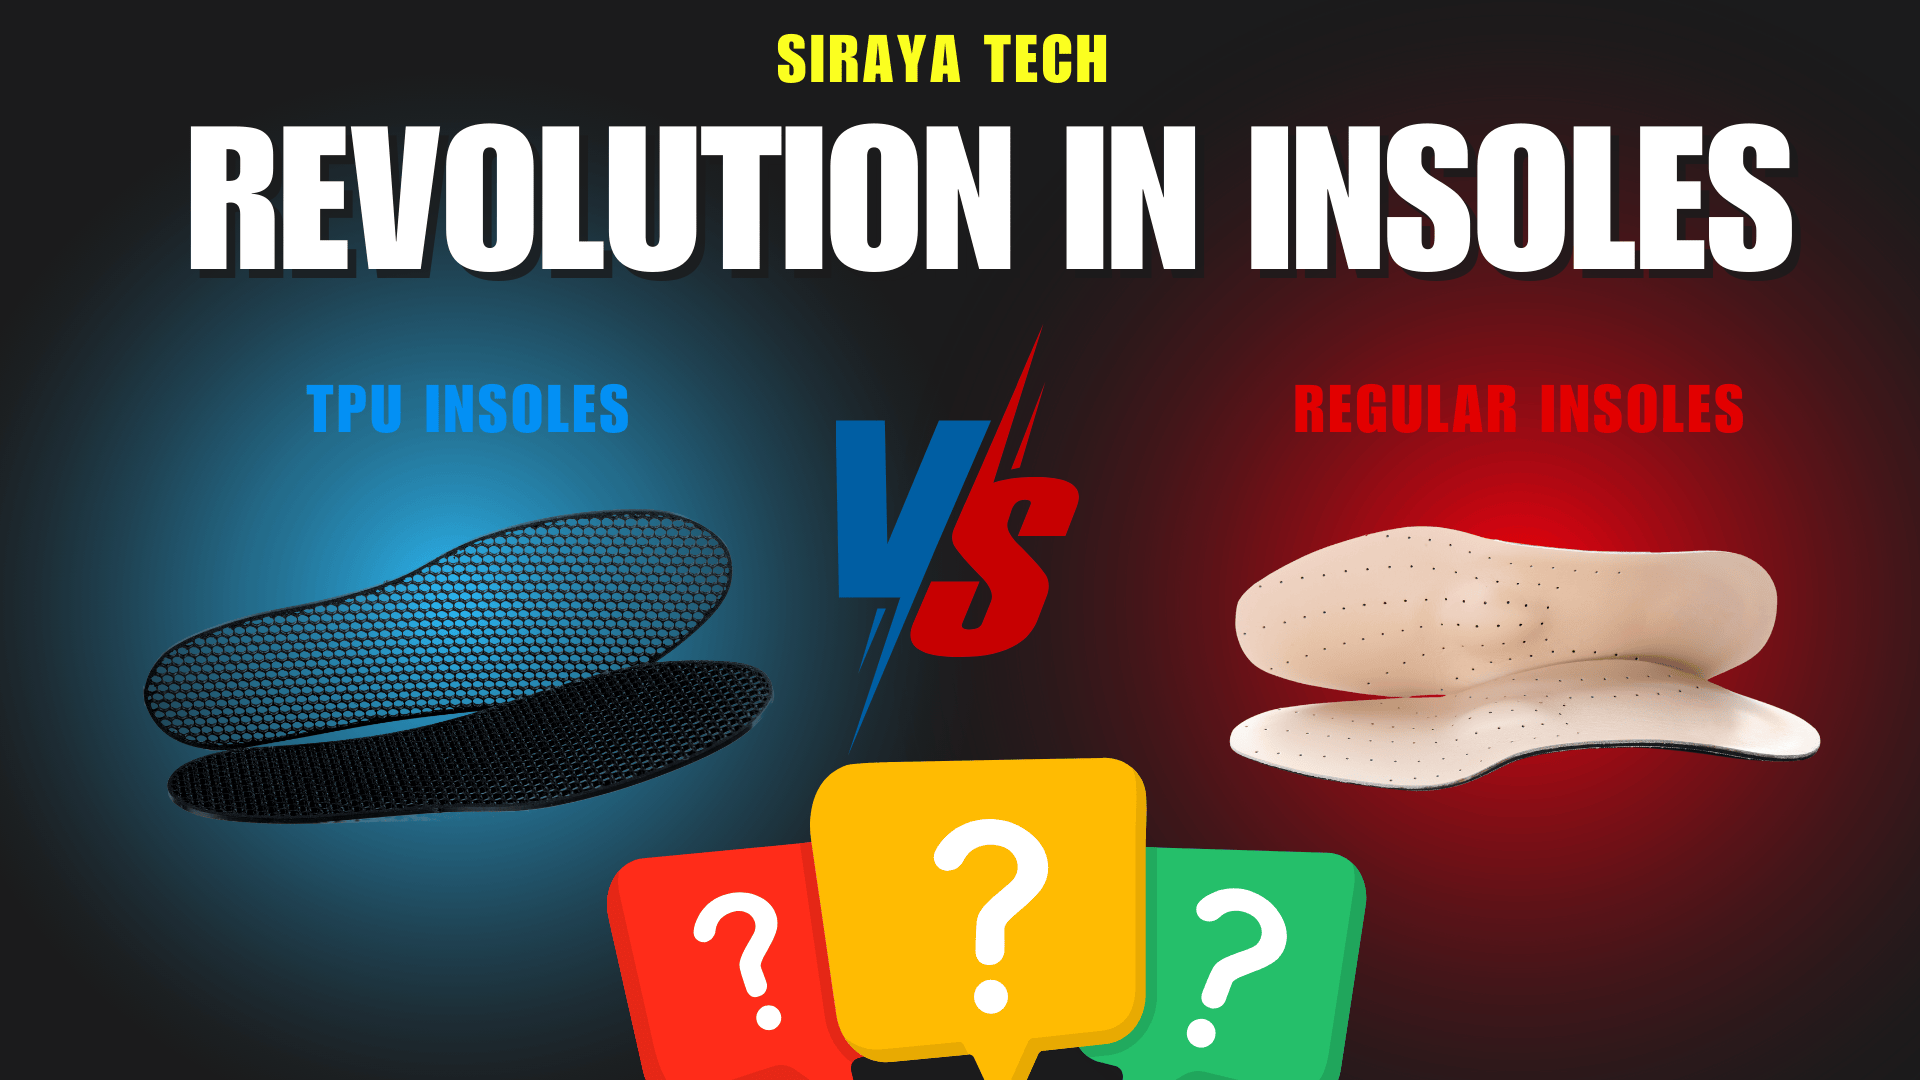
足の形は人それぞれ異なるため、自分にぴったりのインソールを見つけるのは難しい場合があります。扁平足、ハイアーチ、あるいは単に履き心地を向上させたい場合でも、カスタムインソールは大きな違いをもたらします。このガイドでは、3Dプリント技術を用いて、あなただけのインソールを作成する方法をご紹介します。これは、あなたの快適性ニーズに応える、費用対効果が高くカスタマイズ可能なソリューションです。
カスタムインソールを 3D プリントする理由
- あなたの足の形に合わせたパーソナライズされたフィット
- 市販のカスタム矯正具に比べてコスト効率が高い
- さまざまな快適レベルに合わせて簡単に変更可能
- 必要に応じて迅速に交換
- 通気性に優れたデザインで足の健康を向上
必須の材料と機器
適切な素材:TPUフィラメント
快適で耐久性のあるインソールには、熱可塑性ポリウレタン(TPU)が理想的な素材です。以下のいずれかをお勧めします。
- TPU 95A:柔軟性を維持しながら、よりしっかりとしたサポートを提供します
- TPU 85A: より柔らかいクッション性で最大限の快適性を実現

どちらのオプションもISO 10993規格に準拠しており、皮膚接触およびウェアラブル用途における安全性を確保しています。これらの素材は優れた耐久性を備え、長期間の使用においてもその特性を維持します。
プリンターの要件
インソールの印刷を成功させるには、次のものが必要です。
- ダイレクトドライブエクストルーダーを備えたFDM 3Dプリンター
- 最小ビルドプレートサイズ: 250 x 250mm (靴のサイズが大きい場合はさらに大きくなります)
- 直接フィラメント供給機能(AMS またはフィラメント交換システムを回避)
推奨プリンター: Bambu Labs A1 は、TPU 印刷の機能を完璧に組み合わせたこのプロジェクトに最適です。

適切なモデルを見つける
インソール モデルは、さまざまな 3D プリント コミュニティから入手できます。
- メーカーワールド
- マイミニファクトリー
- 印刷可能なもの
- シングバース
最初のテストでは、 Makerworld のこのモデルを使用しました。

当社のテストプロセスと結果
初期印刷設定

テスト中に、いくつかの重要な発見がありました。
1. 厚さは重要:
- 元々の3mmの厚さは硬すぎた
- 1mmまで薄くして快適性アップ
- 厚さを調整するときは、個人の好みを考慮してください

2. サイズ調整:
- 足のサイズに合わせてモデルのサイズを調整します
- 最終印刷前のテストフィット
- 必要に応じて段階的に調整する

3. 設計上の考慮事項:
- ハニカム充填パターンにより、最適な快適性を得るには穴が大きすぎる
- 長時間着用するには構造が少し硬すぎる
- 重量配分を改善するために代替の充填パターンを検討する

初期結果と今後の計画
最初の試みでは貴重な洞察が得られました。
- 標準的なインソールに比べて通気性が優れています
- 優れたクッション効果
- 充填パターンの最適化の必要性
- 設計改善の機会

快適性、サポート力、耐久性の完璧なバランスを見つけるため、プロセスのテストと最適化を継続しています。今後のアップデートでは、以下の点についてご紹介していきますので、どうぞご期待ください。
- 代替充填パターン
- 異なる厚さの組み合わせ
- カスタムサポート構造
- 材料混合比
次のステップ
今後のブログ投稿では、以下の点についてさらに詳しく説明します。
- 高度なカスタマイズ技術
- 印刷設定の最適化
- さまざまなニーズに合わせた素材の組み合わせ
- 異なる印刷プロセス
今後の更新情報や、お客様のニーズに最適なカスタムインソールを作成するための詳細なガイドについては、当社のブログを購読してください。


1 コメント
JoseL Campuzano
Looking for Gucci foamposite sole replacement size 9.5