
How to design 3D prints like a pro? It really comes down to turning your ideas into models that actually work on your printer. You get pro results by nailing the basics—solid modeling, checking printability, and leaning on design principles that make your prints stronger and less of a headache to produce. With a bit of know-how, you’ll have fewer failed prints, save yourself time, and end up with parts that both look good and do their job.
No need for fancy software skills to jump in. Tools like Tinkercad or FreeCAD are more than enough for building shapes, mashing them together, and tweaking your designs. Once you get the hang of sketching, modeling, and prepping files for print, you can skip a lot of the guesswork and start creating with more confidence.
Ready to bring your designs to life? Explore our 3D printer filament collection for reliable materials that deliver consistent results.
How To Design 3D Prints: Getting Started

If you want your 3D prints to work out, you need the right tools, a sense of your printer’s quirks, and a plan before you even start. Every step, from modeling on your screen to hitting print, plays into whether your object comes out right.
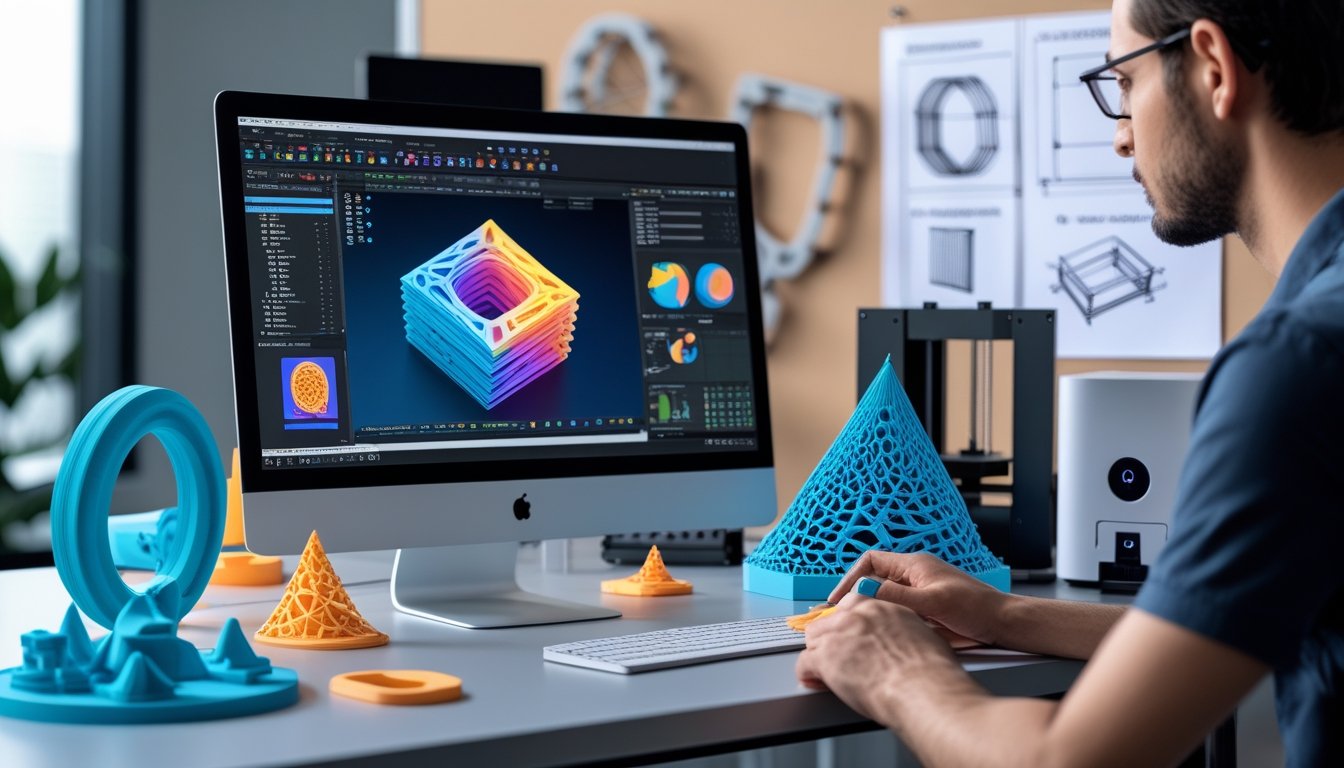
Choosing the Right Design Software
The software you pick really shapes your whole process. For beginners, Tinkercad is a great place to start—it’s free, runs in your browser, and is super easy to pick up. You can build with basic shapes and combine them into more interesting models without much fuss.
If you’re after more control, Fusion 360 or Blender open up a lot of options. Fusion 360 is best for precise, engineering-type parts, while Blender leans toward artistic models—think figurines or decorative stuff.
When you’re picking software, think about:
- Skill level: Go simple if you’re just starting.
- Project type: Mechanical parts need accuracy; art projects need flexibility.
- Budget: Many tools are free, but advanced features sometimes cost.
Stick with one program until you’re comfortable. Jumping around too soon just slows you down.
Understanding Printer Limitations
Every 3D printer has its limits. The main things to watch are build volume, layer resolution, and material compatibility. If your model’s too big for the print bed, you’ll have to split it up.
Overhangs and thin walls can be trouble. Most desktop printers can’t handle overhangs past 45° without supports. If your wall is thinner than the nozzle diameter, it probably won’t print at all.
Here’s a quick breakdown:
|
Factor |
Why It Matters |
Example Issue |
|
Build volume |
Sets maximum size |
Model too large to fit |
|
Nozzle size |
Controls wall thickness |
Walls too thin collapse |
|
Layer height |
Affects detail |
Low detail for fine parts |
Design around these constraints to avoid wasted prints and materials.
Planning Your Print Before You Start
Sketching your idea—doesn’t have to be fancy—helps you think through size, shape, and function. Even a quick doodle can spot issues like parts that won’t fit or spots that’ll need support.
It’s smart to figure out how the object will be used. Decorative models can be detailed, but functional parts need to be sturdy and sized right.
Ask yourself:
- What’s this object for?
- How big should it be?
- Will it need supports?
- Does it have parts that need to fit together?
Planning ahead can save you headaches and makes sure your design works both on the printer and in real life.
Designing parts for outdoor or high-stress use? Check out our ASA 3D filament collection for strength, UV resistance, and durability.
Key Principles of Strong 3D Print Design

If you want strong prints, you’ve got to design with material strength, shape, and your printer’s limits in mind. Every design choice—layer direction, wall thickness, infill—affects how tough, accurate, and easy your print will be.
Designing for Strength and Function
Think about the printing process as you design. Layer orientation really matters—parts printed with layers running along stress lines hold up better than those with layers stacked against the load.
Wall thickness is huge. 2–3 perimeters is usually enough, but thin walls crack fast. If you need extra strength, bump up the thickness or add ribs, so you’re not just dumping in more material for no reason.
Infill density? You rarely need 100%. 20–40% with three or more walls is a solid middle ground. For parts under stress, you can use denser infill in key spots and lighter elsewhere.
Function matters too. Flexible parts do better with rounded corners and smooth transitions—less chance of cracking. For rigid parts, avoid thin connectors or sharp overhangs that could snap.
Optimizing Shapes and Supports
The shape you design can make or break your print. Overhangs past 45° usually need supports, so try to use self-supporting angles when you can. Arches, chamfers, fillets—they all help cut down on supports.
Supports keep things stable but add print time and cleanup. You can often avoid a lot of them just by orienting your model differently. Printing with the flattest side down usually helps.
Bridging—printing across gaps without support—works for short distances. If you need a longer bridge, either break up the model or add ribs for strength.
Think about post-processing too. Designing supports that snap off easily, or using breakaway features, can save you a lot of cleanup time.
Balancing Detail With Printability
Detail is great, but too much can wreck your print. Tiny features need to be bigger than your printer’s nozzle and layer height. For instance, a 0.4mm nozzle can’t reliably print anything smaller than about 0.5mm.
When you export your model, watch the mesh resolution. If it’s too dense, slicing slows down and you might not even see better quality. Aim for a mesh that’s smooth but not overkill.
Scale can trip you up. Sometimes parts come in at the wrong size when you import from other software. Double-check units and maybe test with a small cube first.
Also, keep an eye on print time. Extra-fine features can drag out the print for hours. Put detail where it matters for strength or function—don’t overdo it on the rest.
Tips to Improve Your 3D Print Designs
To get better at 3D printing, test your designs, learn from what goes wrong, and pick materials that fit your part’s job. Focusing on these areas helps you waste less time and material, and your prints just turn out better.
Test With Small Prototypes First
Printing a scaled-down version of your design saves time and filament. You can check fit, alignment, and proportions before committing to a full build. Prototypes also show flaws early, like weak joints or bad clearances.
Focus on critical features instead of printing the whole thing. Say you need to check if two parts snap together—just print that joint. It’s a fast way to dial in tolerances before going big.
Try different orientations and layer heights on these test prints. A quick trial helps you see how your design works with your printer’s settings, making it easier to strike a balance between speed, strength, and detail for the final print.
Learn From Failed Prints
Every failed print is a chance to learn. Don’t just toss them—take a close look and figure out what went wrong. Warping, poor bed adhesion, weak overhangs, bad tolerances—there’s always a reason.
Keep a simple log with notes on settings, material, and what you changed. Over time, you’ll spot patterns and avoid making the same mistakes. If thin walls keep collapsing, maybe it’s time to thicken them or tweak your infill.
Compare your failures with successful prints. It’s way easier to see how small tweaks in design or orientation make a difference. Treat failures like test data—they’ll make you a sharper designer.
Use the Right Material for the Job
Material choice is just as important as design. PLA is great for quick prototypes, but it’s not strong or heat-resistant enough for tough parts. PETG is more durable, and ABS is tough but a bit tricky with temperature control.
For high-stress parts, try nylon or composite filaments with carbon fiber or glass fiber. They’re stronger and stiffer, but you’ll need higher print temps.
If you want extra strength, design hollow shells and fill them with epoxy or other fillers. It’s a neat trick for machine parts that need vibration resistance. Always match your material to what the part needs to do.
Want to add flexibility to your designs? Try our flexible filaments to create bendable, impact-resistant prints with ease.
Conclusion: How To Design 3D Prints
Designing 3D prints is about more than just making shapes—it’s about creating models that are practical, strong, and easy to produce. With the right approach, you’ll save time, reduce failed prints, and get results that look and perform the way you want.
The more you practice, the better you’ll understand how design choices affect print quality. Start simple, refine your skills, and experiment with different materials to see what works best for your projects.
Curious about the costs involved in 3D printing? Read our guide on is 3D printing expensive to learn more.
Frequently Asked Questions
Designing for 3D printing means picking the right tools, knowing your file formats, and following design rules that match your printer. You also need to know what you’re allowed to do with the files and prints you make.
How do I design things for 3D printing?
Start by creating a 3D model in CAD software and export it as .STL or .OBJ. Keep walls thick enough, avoid steep overhangs, and check bed size. Small design tweaks early save big printing headaches later.
Can ChatGPT create 3D models?
ChatGPT can’t directly make 3D files. It can generate code or scripts that modeling tools can use to create shapes. You’ll still need CAD software to export a printable file.
Can I legally sell 3D prints?
You can sell prints you design yourself or models with a commercial-use license. Always check the license before selling. Avoid selling anything marked “non-commercial.”
What software is used to make 3D designs?
CAD software is used to design 3D models. Beginner-friendly tools are great for simple projects, while advanced programs offer more control. Choose based on your skill level and project needs.