
Applying clear coat for 3D prints transforms rough, layered surfaces into smooth, professional-looking finishes. This protective coating not only enhances the appearance of your prints but also shields them from scratches, UV damage, and everyday wear. Whether you're finishing a functional part or a display piece, clear coating is an essential skill.
The application process requires proper preparation, the right technique, and patience between coats. With spray or brush-on options available, you can choose the method that best suits your project and experience level.
This guide covers everything from surface prep to final polishing, ensuring your 3D prints look their absolute best with a durable, glossy finish.
Key Takeaways
- Good surface prep means better adhesion and a smoother final look
- Spray on multiple thin coats from about 8 inches away to avoid drips and get even coverage
- Let each coat dry fully before adding the next to prevent cloudiness and boost durability
Need durable prints that hold up to coating and finishing? Our strong 3D printer filament delivers excellent layer adhesion and a smooth surface ready for clear coat application.
Preparing Your 3D Print for Clear Coat

If you want your clear coat to actually improve your print, surface prep is everything. Spend some time sanding, cleaning, and priming—this sets you up for a pro-level finish.
Sanding and Smoothing the Surface
Layer lines are the most obvious flaw on FDM prints, so you’ll need to deal with them first. Start sanding with 200-grit sandpaper to knock down the big ridges, then move up through 400, 800, and 1000-grit for smoother results. Sand in circles—straight lines just leave scratches that show through later.
Wet sanding with 600-grit and up keeps dust down and leaves a smoother surface. Just keep both the sandpaper and the print wet. For tiny details or tight spots, grab sanding sticks or small files that fit the area.
Resin prints are easier since they don’t have those chunky layer lines. Start with 400-grit and work up to 2000-grit (or even finer). The smoother you sand, the clearer your print will look once you’re done.
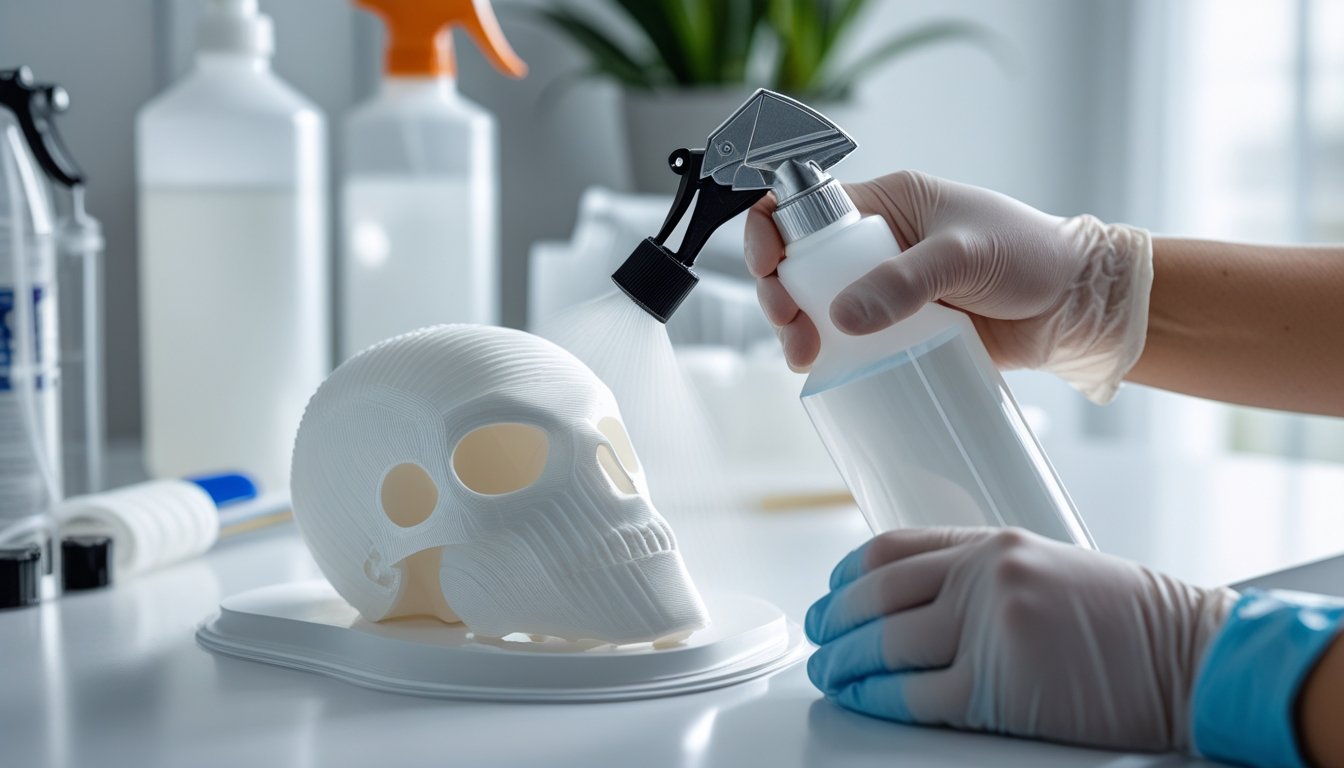
Cleaning and Removing Dust
If dust gets trapped under your clear coat, you’ll see little bumps and imperfections. After sanding, rinse the print well with water to wash off all the leftover grit. Use compressed air to blow out dust from crevices and tricky spots.
Wipe the whole thing down with isopropyl alcohol or a lint-free cloth dampened with water. This step gets rid of oils from your hands that could mess with adhesion. Let the print dry completely somewhere dust-free before you start coating.
Try to work in a clean spot, away from fans or open windows that stir up dust. Some folks use a makeshift spray booth or even a cardboard box to keep dust off their prints while they dry.
Priming Your Print (When Needed)
Primer isn’t always a must, but it helps clear coat stick to some materials and fills in tiny flaws. PLA and ABS usually benefit from a thin primer, especially if you sanded a lot. Use gray or white primer for colored prints, or clear primer if you want to keep things transparent.
Spray on primer in light, even coats from about 8-10 inches away. Go for several thin layers instead of one heavy coat—this keeps details sharp and avoids drips. Let each layer dry for 15-20 minutes before adding the next.
Products like Smooth-On XTC-3D can skip the primer step since they’re designed to fill and smooth surfaces on their own. If you’re using XTC-3D or something similar, just go straight to coating.
Starting your next project? Our PLA filament for 3D printing provides easy printing and a perfect surface for applying clear coats and protective finishes.
Applying Clear Coat to Your Print

The way you apply clear coat changes the whole look of your print. Pay attention to how you apply it, how thick each layer is, and how long you let it dry—these details make all the difference if you want a smooth, transparent finish.
Choosing Between Spray and Brush Application
Spray coating is usually the way to go for most 3D prints. It gives you thin, even layers without any brush marks. Hold the can about 8 inches from your print and spray in slow, steady sweeps from side to side.
Brushing gives you more control, especially for resin or epoxy coatings on detailed spots. It's handy for small prints or when you need to lay it on thicker in certain areas. Use a soft brush and stick to one direction to avoid brush marks.
Clear resin coatings for 3D prints usually have a working time of 15-30 minutes before they start to set. Sprays dry a lot faster than brushed coatings, so keep that in mind if you're in a hurry.
Applying Thin, Even Coats
Always go for several thin coats instead of one thick one. Thick layers just run and get cloudy or uneven—not what you want.
When spraying, start off to the side and move across the print in overlapping passes. Overlap each pass about halfway to get full coverage. Keep the can moving at a steady pace so nothing pools up.
If you’re brushing, load the brush with a moderate amount and spread it out evenly. Try not to go back over areas you’ve already coated in the same round—it can leave streaks or thick spots.
Drying Time Between Layers
Give spray coats at least 15-20 minutes to dry between layers. That lets the solvent evaporate and gives you a good base for the next coat.
Epoxy or resin coatings need more time—usually 30-60 minutes between layers. Always check the label for exact timing, since different products dry at different rates. The surface should feel dry to a gentle touch before you add another layer.
For most prints, 2-4 thin coats does the trick. More layers mean a tougher barrier and better clarity, especially for clear resin prints.
Finishing and Curing Your Clear Coated Print

Once you’ve applied clear coat, a few finishing touches can really take your print to the next level. Wet sanding, polishing, and letting it cure properly all play a part in how tough and good-looking your print ends up.
Wet Sanding for a Glass-Like Finish
Wet sanding smooths out any leftovers and gets you that super-slick finish. Start with 400-grit waterproof sandpaper, then work up through 800, 1000, 1500, and finally 2000-grit for the best results.
Keep everything wet while you sand. This helps avoid scratches and lets the sandpaper glide over the surface. Use light pressure and go in circles to keep things even.
Wait until your clear coat is at least 80% cured before you start wet sanding—usually 24-48 hours. Double-check your product’s instructions for exact times.
Sand in steps and rinse between grits to see how you’re doing. After sanding, the surface will look cloudy and matte, but don’t worry—polishing will bring back the shine.
Buffing and Polishing Techniques
Buffing brings back clarity and gives you a glossy finish after sanding. Grab a clean microfiber cloth and a plastic polish or rubbing compound made for clear finishes. Don’t use too much at once—just a dab will do.
Buff in small circles with moderate pressure. You’ll see the cloudy look fade and the gloss come back. Switch to a clean part of the cloth often so you don’t scratch the surface.
For the best shine, use finer polishing compounds as you go. Start with a cutting compound to erase sanding marks, then finish with a polish for extra gloss. This two-step approach gives you better color and a more pro-looking result.
Curing Time and Handling Your Print
Most clear coats feel dry enough to handle after 6-12 hours, but they need more time to fully cure. Depending on the type, full cure can take anywhere from 24 hours up to a week. Epoxy resins usually need 48-72 hours to get as hard as they’re going to get.
Don’t put weight on your print or start using it until it’s fully cured. Temperature and humidity really matter here—warmer temps speed things up, while cold or damp air slows everything down.
Once it’s cured, your coating should be tough (about 80D shore hardness for most protective coatings). That makes it impact-resistant and ready for daily use, but go easy on it for the first week, even if it feels dry.
Working with resin prints? Browse our 3D printing resins for high-quality materials that cure beautifully and accept clear coats for professional-grade finishes.
Conclusion: Clear Coat for 3D Prints
Mastering clear coat application takes your 3D prints from amateur to professional quality. With proper surface prep, thin coats, and careful technique, you'll achieve smooth, durable finishes every time. The extra effort is worth it for prints that look polished and last longer.
Remember that patience is key—rushing between coats or skipping prep steps will show in the final result. Start with simple projects to build your confidence, then tackle more complex pieces as your skills improve.
Want to stay ahead of the latest printing innovations? Explore our article on 3D printing advancements to discover cutting-edge techniques and technologies.
Frequently Asked Questions: Clear Coat for 3D Prints
Clear coating 3D prints brings up a lot of questions—what works, what doesn’t, and how many coats you really need. Here are a few straightforward answers for the most common issues.
Can I clear coat a 3D print?
Yes, most materials like PLA, ABS, PETG, and resin prints accept clear coatings well. The coating protects against moisture, UV damage, and everyday wear while reducing visible layer lines. Just make sure your clear coat is compatible with your print material to avoid adhesion issues.
What to coat 3D prints with?
Spray-on clear coats, brush-on epoxy resins, or specialized 3D print coatings like Smooth-On XTC-3D all work well. Regular spray varnishes from hardware stores are fine if they're safe for plastics. Choose glossy for a glass-like finish or matte/satin for a subtle look with less glare.
How many coats of clear coat 3D print?
Two or three thin, even coats usually provide adequate protection and finish quality. Let each coat dry at least 15 minutes or follow the manufacturer's instructions. Lightly sand between coats for better adhesion, and add extra layers if your print is porous.
What can I use to seal 3D prints?
Epoxy coatings, polyurethane sprays, and acrylic sealers all effectively seal 3D prints. Two-part epoxy systems offer the strongest moisture protection for functional parts. Spray-on clear coats work great for decorative pieces, while resin varnish adds clarity and strength to resin prints.