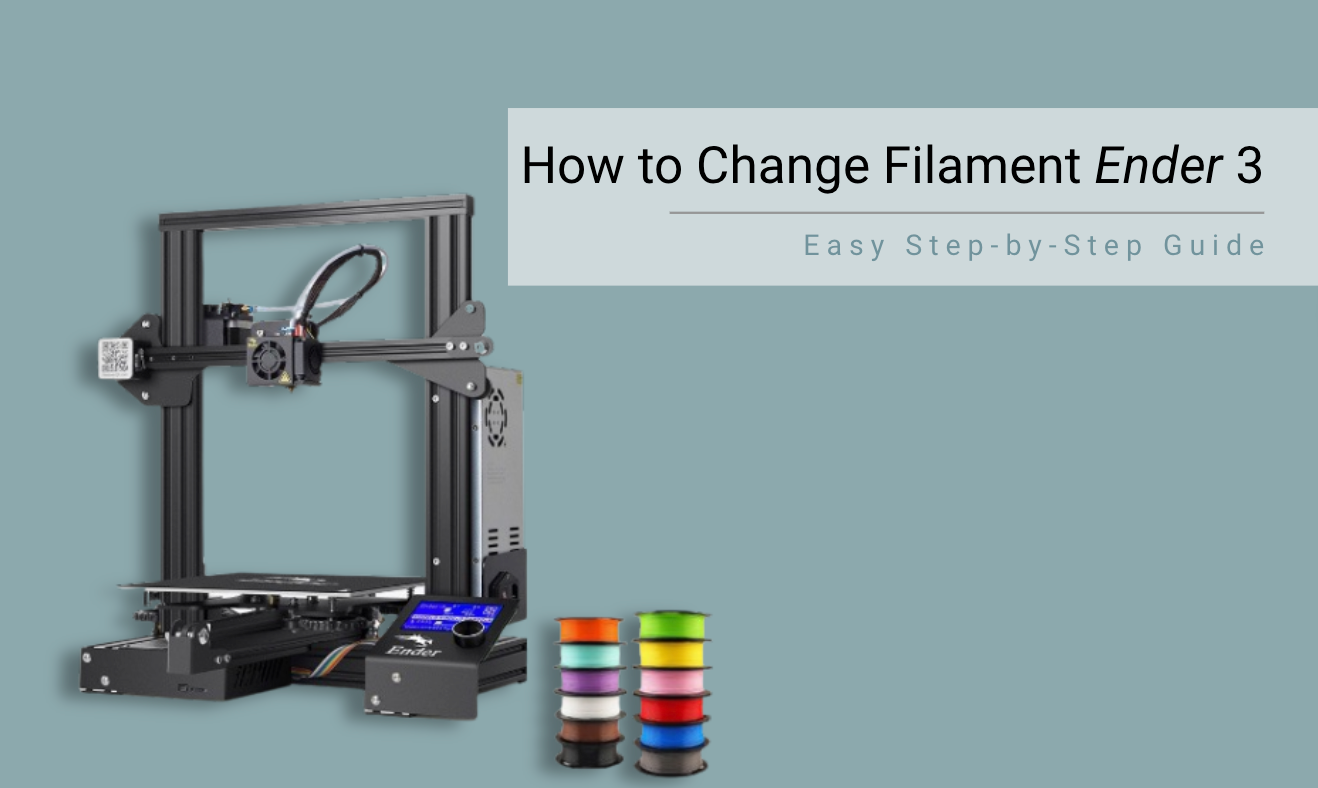
If you own a Creality Ender 3, you’ll eventually need to learn how to change filament. Maybe your spool ran out, you want to print in a new color, or you’re testing different materials like PLA, PETG, or ABS.
Swapping filament might seem intimidating at first, but once you know the process, it’s quick and easy.
In this guide, we’ll walk through how to change filament on the Ender 3 step by step. You’ll learn the safe way to unload old filament, load new filament, purge the nozzle, and troubleshoot common issues.
Whether you’re a beginner or an experienced maker, these tips will keep your prints clean and your printer running smoothly.
Quick Steps to Change Filament on Ender 3:
- Heat the nozzle to the recommended temperature for the current filament.
- Press the extruder lever and gently pull out the old filament.
- Trim the new filament’s tip at an angle for easy feeding.
- Insert the new filament into the extruder until it comes out of the nozzle.
- Purge 50–100 mm to clear old material before starting your next print.
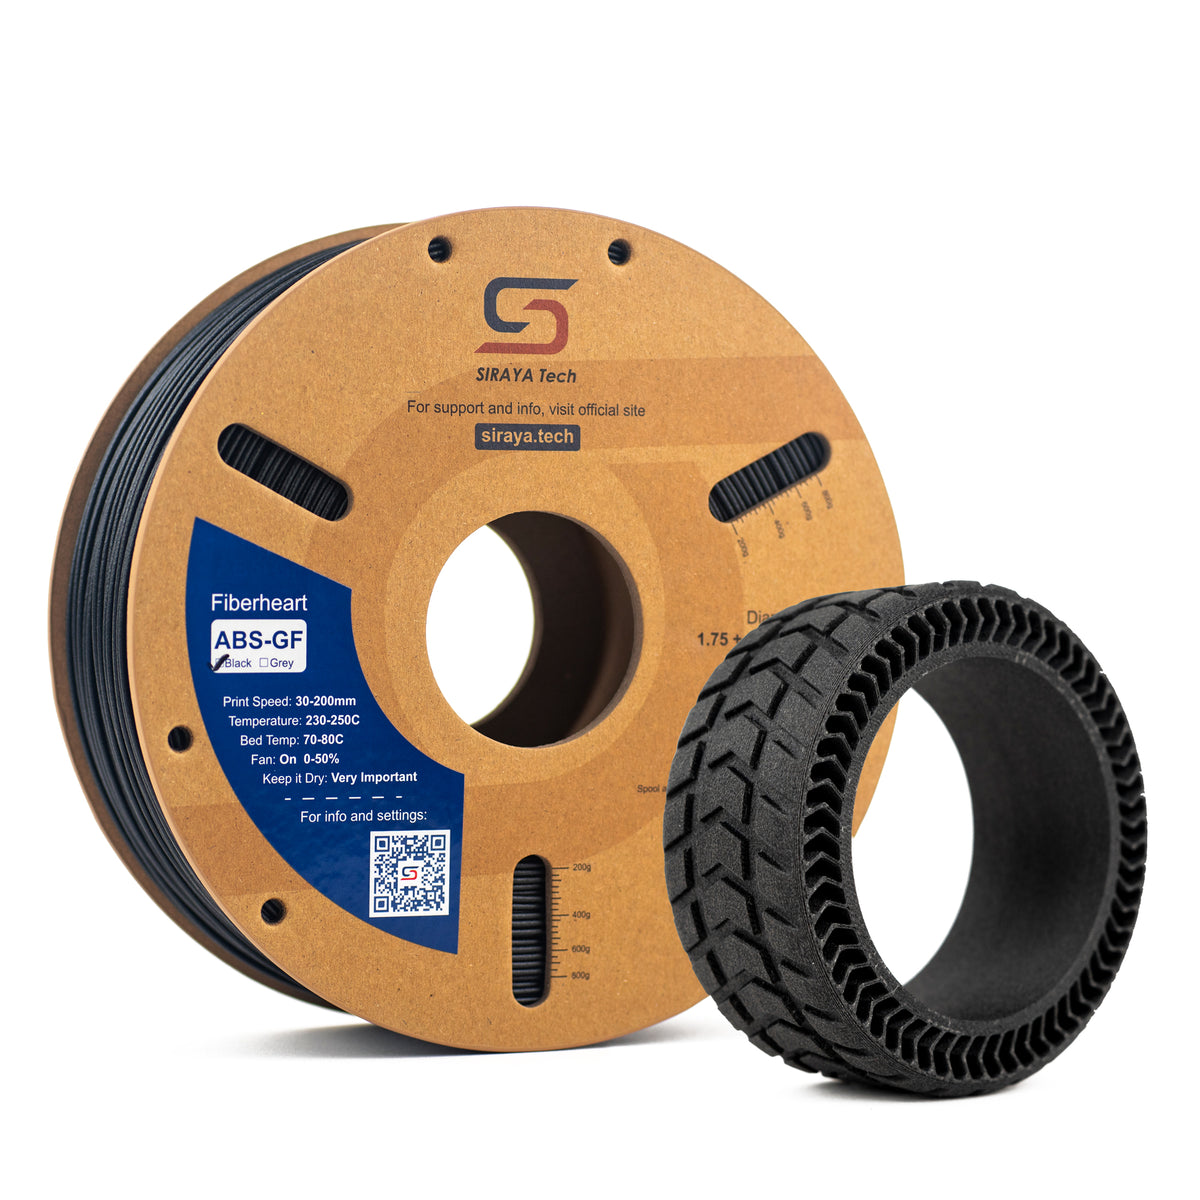
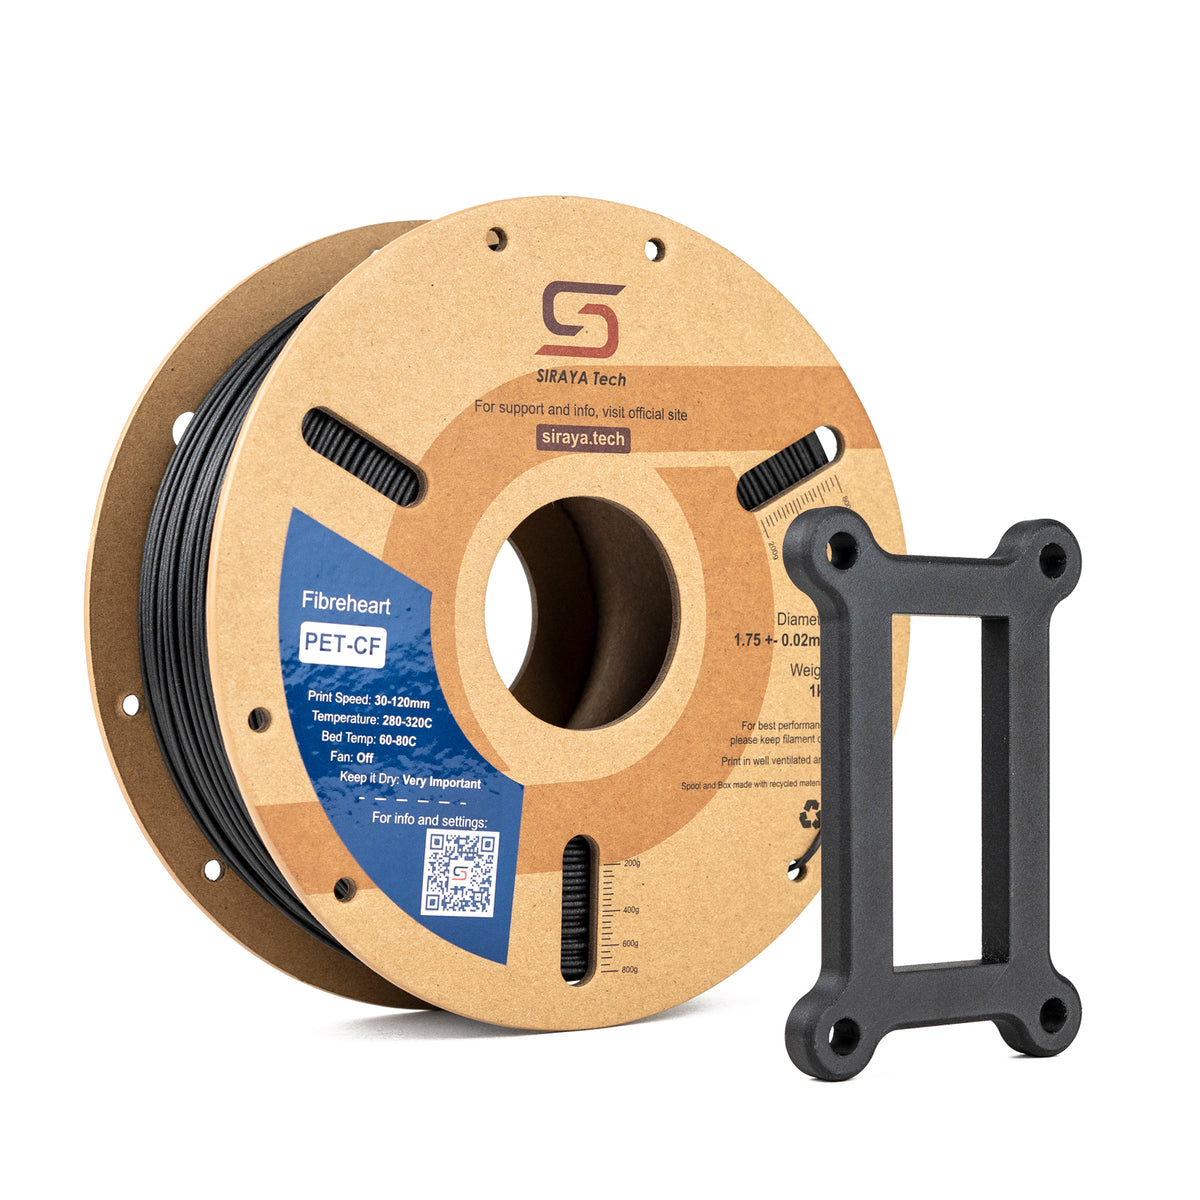
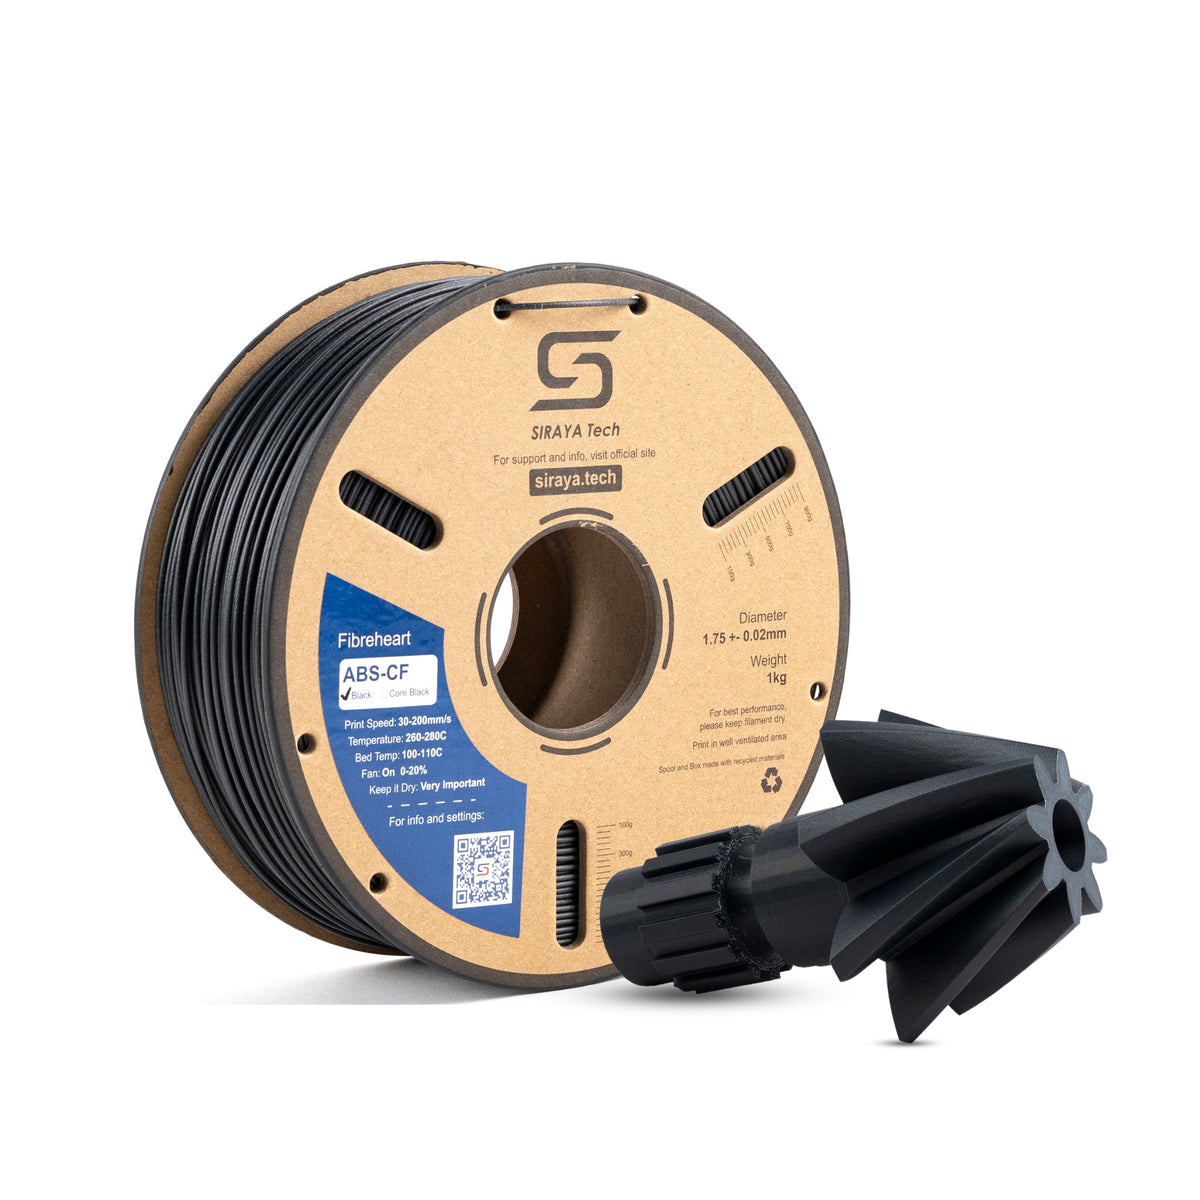
Shop Siraya Tech's Filaments for Ender 3 🛒
Why You Need to Change Filament on the Ender 3
There are a few reasons you’ll need to switch out filament during your 3D printing journey:
- Empty Spool – When your current roll runs out, you’ll need to replace it with a new one.
- Color Swap – For multi-color prints, you’ll switch filament between print stages.
- Material Change – Moving from PLA to PETG, ABS, or TPU for different strengths, flexibility, or heat resistance.
- Preventing Problems – Old, brittle, or wet filament can cause clogs and failed prints, so replacing it helps maintain quality.
👉 Read Related Article: Printing Siraya Tech Filaments on Creality K1C & K2 Plus
Learning this process saves time, avoids waste, and helps you get better results.
How to Change Filament Ender 3 in 5 Easy Steps
Before diving into filament changes, it helps to understand how your Ender 3 pushes plastic through the printer. The Ender 3 uses a Bowden extruder setup.
This means the motor that pushes the filament is separate from the hotend. Filament is fed through a flexible tube (called the Bowden tube) from the extruder motor to the hotend, where it melts and is printed.
The standard filament type for Ender 3 is 1.75 mm diameter plastic, with popular materials like PLA, PETG, and ABS.
Each type of filament melts at a different temperature, so heating your nozzle correctly is crucial when changing filaments.
Step 1: Preheat Your Nozzle
Heating your nozzle before pulling out old filament is very important. Here’s why:
- The filament inside the hotend softens, making removal easy.
- It prevents damage to the nozzle or extruder from trying to pull cold, hard plastic.
To preheat:
- Turn on your Ender 3 and access the control screen.
- Navigate to the “Prepare” menu.
- Select “Preheat PLA” if you’re using PLA filament, or the appropriate preset for your filament.
- Wait until the nozzle hits the target temperature — typically around 200°C for PLA or 240°C for ABS.
Always refer to your filament manufacturer’s recommended print temperature for the best results.
👉 Read Related Article: What is ABS Filament? Uses, Pros, and Cons for 3D Printing
Step 2: Remove Old Filament Safely
After your nozzle is hot, you can remove the old filament:
- Hold down the extruder lever to release filament grip.
- Gently pull the filament straight out from the extruder. It should come out smoothly if heated properly.
- If you feel resistance, don’t force it. Reheat the nozzle to soften the filament further.
Tip: If the filament snapped inside, you may need to:
- Disconnect the Bowden tube clip at the extruder.
- Pull out the stuck filament manually.
- Reconnect securely before continuing.
Step 3: Prepare the New Filament
Before inserting a new filament, preparation ensures smooth feeding:
- Cut the filament tip diagonally with sharp cutters or scissors.
- This angled tip helps the filament slide easily into the Bowden tube.
- Check for dust or debris on the filament spool that could cause clogging.
- For moisture-sensitive filaments, such as TPU or nylon, drying them before use is recommended.
Step 4: Insert the New Filament

Now, you’re ready to load fresh filament:
- Press the extruder lever again to open the filament grip.
- Insert the cut end of the filament straight into the extruder entry until you feel it reach the Bowden tube.
- Push gently but firmly until the filament reaches the hotend.
- Release the extruder lever to grip the filament.
Take your time to avoid bending or forcing the filament, which can cause jams or filament grinding.
Step 5: Purge the Nozzle and Check Flow

After loading a new filament, you want to purge the old color or material out of the nozzle:
- Keep the nozzle at the recommended print temperature for your filament.
- From your printer’s control menu, use the “Extrude” command.
- Let filament flow out steadily until the new filament flows clearly and smoothly.
- Look for even color and texture without gaps or dryness.
This step prevents print defects caused by mixed filaments or residual charred material inside the nozzle.
Watch Video on How to Change Filament Ender 3:
👉 Read Related Article: Mastering Flexible Filament Printing on Creality K1, K1C
Troubleshooting Common Filament Change Problems
Changing the filament can sometimes cause issues. Here’s how to fix common problems:
- Filament won’t pull out: Make sure the nozzle is fully heated. Heat longer or increase the temperature if needed.
- Filament snaps inside: Disconnect the Bowden tube and manually remove the filament.
- Grinding or slipping: Check the extruder tension; tension that is too tight or loose can cause problems.
- Clogged nozzle after filament change: Perform a cold pull using nylon filament or nozzle cleaning filament.
Always keep spare filament and tools handy for quick fixes.
Best Practices to Avoid Filament Jams and Improve Printer Life
Maintaining your printer and filament can prevent many extrusion headaches:
- Store filaments in airtight containers with silica gel packs to keep moisture out.
- Regularly clean the extruder gears and hotend with cold pulls to remove buildup.
- Inspect screws, springs, and Bowden tube connections for wear and replace parts as needed.
- Use high-quality filaments with consistent diameter and good storage instructions.
Following these tips can extend the life of your Ender 3 and improve print quality.
Conclusion
Changing filament on the Ender 3 is easy when you follow a straightforward method: preheat your nozzle, safely remove old filament, prepare and insert new filament, then purge the nozzle.
Knowing how to troubleshoot common problems and maintain your printer will keep your 3D printing running smoothly. Enjoy switching colors or materials with confidence using these steps.
Ready for more? Explore high-quality filament collections to find your perfect match:
FAQs About How to Change Filament Ender 3
How do I remove filament stuck inside the Bowden tube?
Preheat to the last material’s print temperature and try an unload so the filament softens. If it stays stuck, release the push-fit clips at the hot end and extruder, remove the tube, and push the filament out with a clean 1.5–2 mm rod. Inspect the tube for kinks, burnt dust, or a chewed spot and trim or replace it if damaged. Reassemble, reload, and run a purge to confirm smooth flow.
Which filaments work best with the Ender 3 without changes?
PLA and PLA+ print best on a stock Ender 3 because they need moderate temperatures and minimal tuning. PETG also works with basic slicer tweaks like slightly higher nozzle temp and reduced fan. TPU can print on a Bowden Ender 3, but it needs slow speeds and careful retraction, so it is not the easiest stock option. ABS and ASA usually need an enclosure to control warping and fumes.
How often should I clean the Ender 3 extruder and nozzle?
Do a quick check every 50–100 print hours or at least once a month. Brush the drive gear, clear filament dust, and make sure the tension arm moves freely. Perform a cold pull to remove residue from the nozzle, and replace the nozzle sooner if you use abrasive filaments. Clean more often if you hear clicking, see under-extrusion, or notice rough first layers.
How do I know the new filament is loaded correctly?
After loading, extrude 50–100 mm and watch for a steady, smooth flow with no skipping or grinding. The new color should push out the old color evenly without bubbles or smoke. Start a small test print and check that the first layer is consistent and the lines bond well. If you hear clicking, see gaps, or get a thin first layer, raise the temperature a bit or re-seat the Bowden tube and try again.


1 comment
Doug
This is 100% written by AI.