3D Print Resin Coating
1 product
Showing 1 - 1 of 1 product
3D Print Resin Coating
3D print resin coating is the process of applying a UV-curable protective layer over a finished resin 3D print to seal the surface, add hardness, improve chemical and UV resistance, and achieve a smooth, professional finish. Whether the print is a functional prototype, an engineering component, a display model, or a detailed miniature, a resin coating applied after final post-cure extends the life of the part and significantly improves its surface quality and durability.
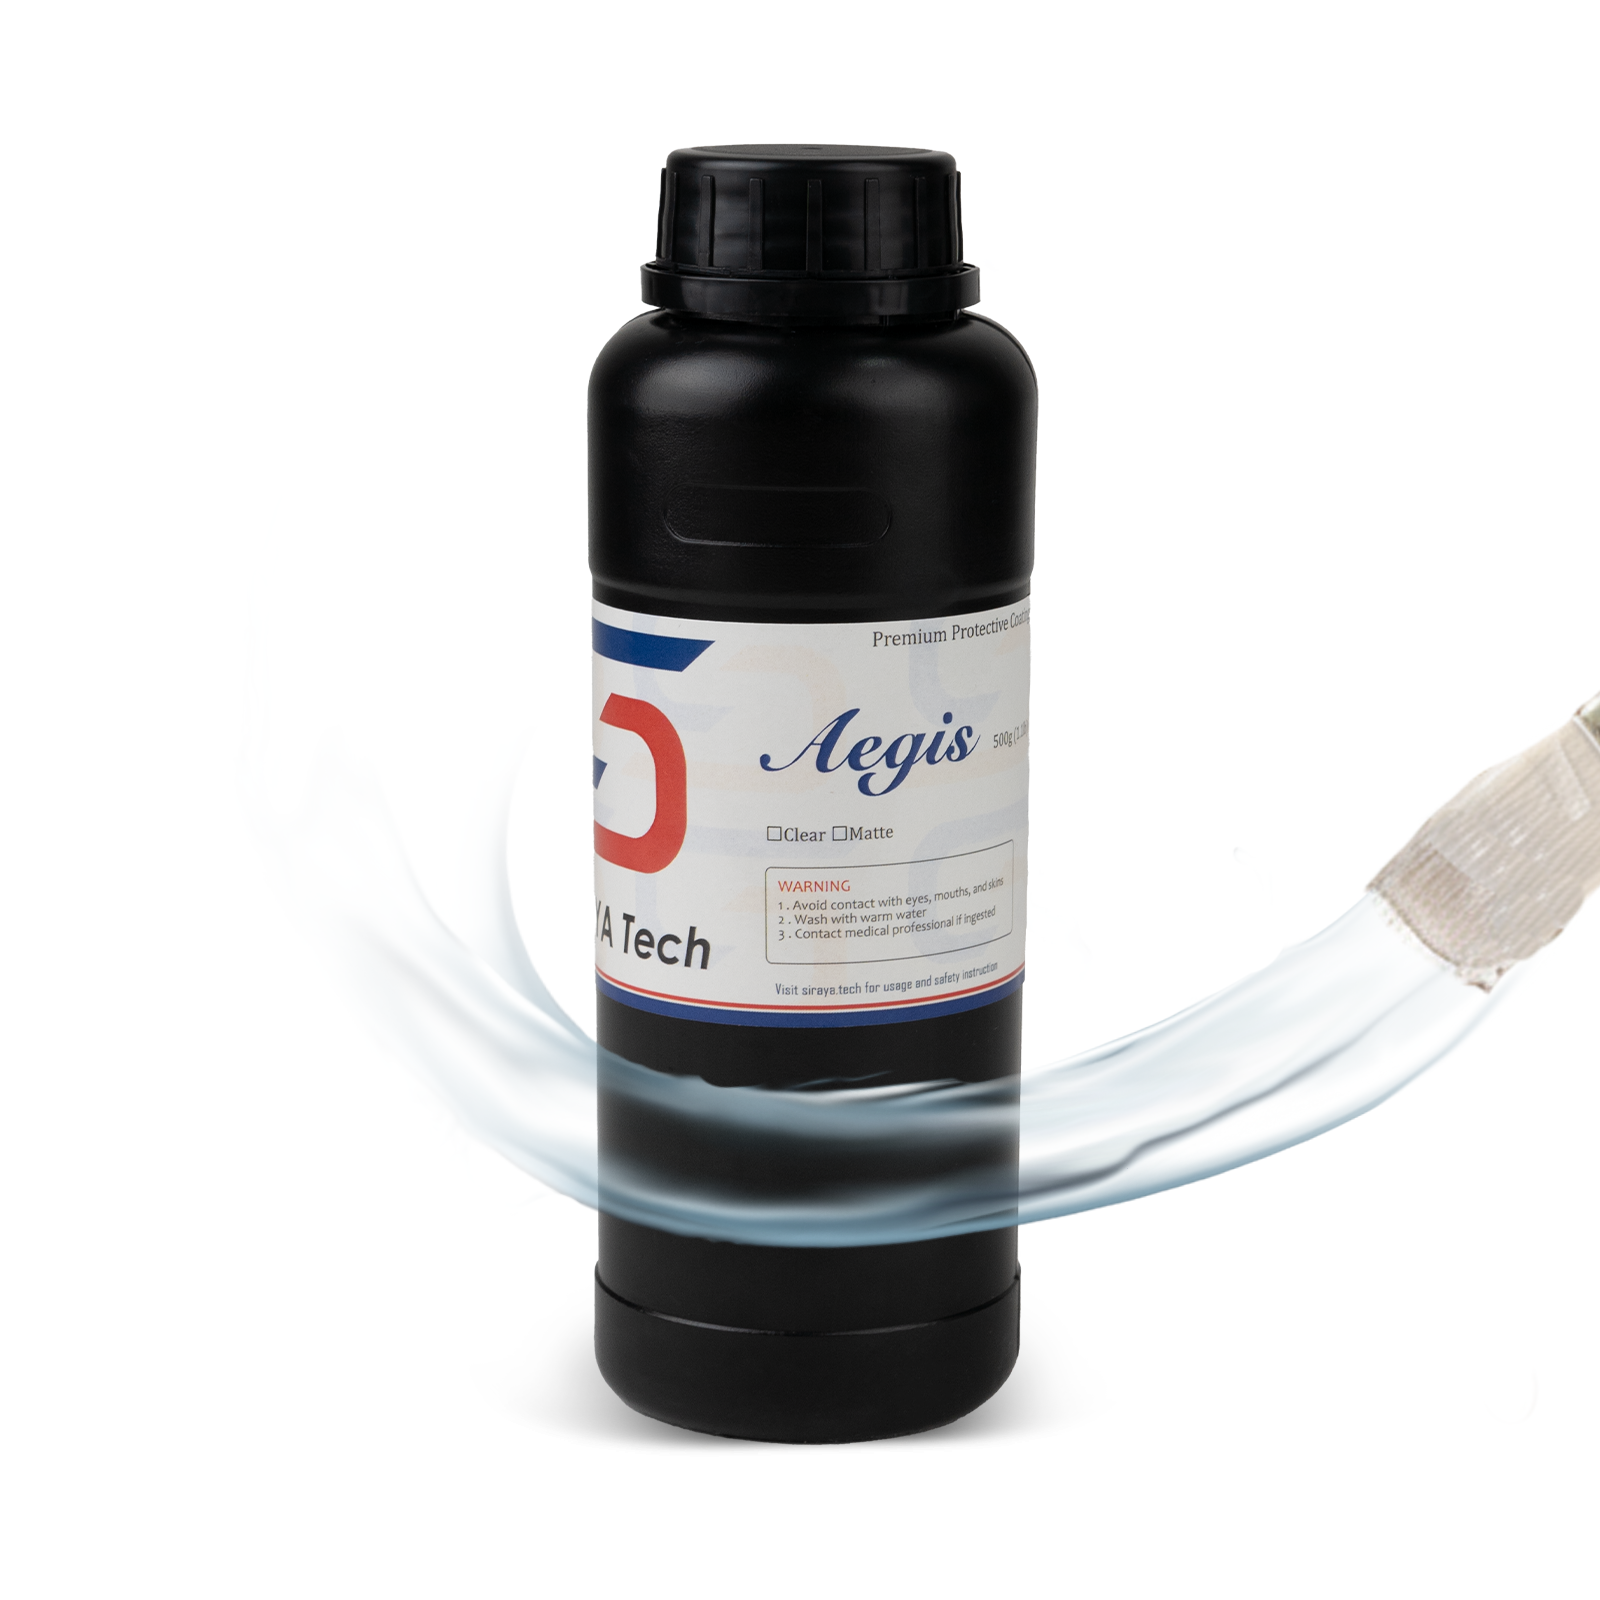
Siraya Tech's UV coating resins are formulated specifically for photopolymer resin prints and cure in 2 to 5 minutes under a standard UV lamp, making them the fastest and most practical coating solution available for resin 3D printed parts.
What Is 3D Print Resin Coating?
Resin 3D printing using SLA, DLP, MSLA, or LCD technology produces parts with excellent surface detail and dimensional accuracy. However, even a well-printed and fully post-cured resin part has surface vulnerabilities that coating directly addresses.
A 3D print resin coating is a secondary layer of UV-curable resin applied over the fully cured base print. When cured under UV light, this coating layer polymerizes and bonds chemically to the surface of the base print, forming a hard, continuous protective shell over the entire part.
Unlike paint or epoxy, UV resin coating bonds at the molecular level to the existing resin surface, cures in minutes rather than hours, and can be applied in very thin, controlled layers without adding significant bulk or weight to the part.
What resin coating achieves on a 3D printed part:
- Seals the surface against moisture, oils, dust, and chemical contamination
- Adds a hard, scratch-resistant outer shell over the base resin
- Protects clear and light-colored resins from UV-induced yellowing
- Restores or enhances surface gloss after sanding and post-processing
- Fills micro-level surface imperfections and fine layer lines
- Provides a consistent, even surface for painting and priming
- Improves long-term durability of functional and display parts
- Reduces surface tackiness that can develop over time on some resin formulations
Why Resin 3D Prints Need Coating
Resin 3D prints are not maintenance-free after post-cure. Without a protective coating, a fully cured resin print is still vulnerable to several forms of degradation over time.
UV Yellowing
All photopolymer resins are susceptible to UV degradation when exposed to sunlight or ambient UV over time. Clear, white, and light-colored resins are particularly vulnerable. UV exposure breaks down the polymer chains in the resin, causing the surface and then the bulk of the part to yellow and become increasingly brittle over weeks and months. A UV-stable resin coating applied immediately after post-cure acts as a sacrificial UV barrier, absorbing UV radiation before it reaches the base resin and dramatically slowing the yellowing process.
Surface Micro-Porosity
Even high-resolution resin prints have microscopic surface pores that are invisible to the naked eye but can absorb moisture, oils from skin contact, and chemical contaminants over time. These absorbed contaminants cause staining, surface degradation, and in extreme cases can weaken the surface layer of the print. A resin coating seals these pores completely, making the surface non-porous, easy to clean, and resistant to staining.
Chemical Sensitivity
Standard photopolymer resins have moderate chemical resistance but can be attacked by common solvents, alcohols, and household cleaning products over time. Repeated exposure to isopropyl alcohol, for example, can dull and degrade the surface of an uncoated resin print. A coating resin with higher chemical resistance adds a durable chemical barrier over the base material.
Surface Brittleness
Most standard resin formulations are relatively brittle compared to engineering thermoplastics. The surface of a resin print is the most exposed and vulnerable layer of the part. A tough or flexible coating resin applied over the surface adds impact resistance and reduces the chance of surface chipping, cracking, or crazing under mechanical stress.
Tackiness Over Time
Some resin formulations develop a slightly tacky surface over time, particularly in humid environments or when stored in contact with other objects. A fully cured resin coating eliminates surface tackiness permanently, leaving a clean, hard, non-stick surface finish.
Siraya Tech Resin Coating Products
Siraya Tech offers two primary coating solutions for resin 3D prints, and a combination workflow that delivers the best of both:
Build Coat
Siraya Tech Build Coat is the primary surface coating resin for 3D printed parts. It is self-leveling, UV-curable, and cures water-clear. Applied by brush or pour, Build Coat flows evenly across the surface of the print, fills micro-surface imperfections, restores or enhances gloss, and cures to a hard, scratch-resistant finish in 2 to 5 minutes under a UV lamp. Build Coat is the ideal choice for display models, clear and transparent prints, painted models, prototypes, and any print where a hard, glossy, UV-protective surface finish is the goal.
Tenacious Used as a Coating
Siraya Tech Tenacious is primarily a flexible, high-impact resin for printing tough functional parts. However, applied as a thin coating layer over a rigid resin print, Tenacious adds a flexible, impact-absorbing outer shell that dramatically improves the impact resistance of the base print. This is ideal for functional parts, enclosures, wearable prints, and any part that may be dropped or subject to repeated mechanical stress.
Build Coat and Tenacious Combination
For maximum protection, apply a thin coat of Tenacious first as a flexible bonding layer, then apply Build Coat over the top for a hard, glossy exterior finish. The Tenacious layer absorbs impacts and prevents surface cracking while the Build Coat layer provides hardness, gloss, and UV protection. This two-layer combination delivers protection that neither product can achieve alone and is the recommended workflow for functional outdoor or high-stress parts.
How to Apply 3D Print Resin Coating: Complete Step-by-Step Guide
What you need:
- Siraya Tech Build Coat or Tenacious
- Soft brush or foam applicator
- UV lamp (365nm to 405nm) or UV curing station
- Nitrile gloves
- Fresh isopropyl alcohol (IPA) for cleaning
- Optional: 400 to 800-grit wet/dry sandpaper for pre-sanding
- Optional: Heat gun or lighter for bubble removal
Step 1 — Confirm full post-cure of the base print
The resin print must be completely post-cured before applying any coating. Check the recommended post-cure time for your specific resin and curing station. Under-cured prints will cause coating adhesion failure, surface wrinkling, and inhibited coating cure. Over-cured prints may need a light sand before coating to restore surface reactivity.
Step 2 — Clean the surface
Wipe the entire surface of the print with fresh isopropyl alcohol using a lint-free cloth or paper towel. Remove all surface contamination, fingerprints, dust, and residual wash solution. Allow the surface to dry completely before applying any coating. Surface contamination is the most common cause of resin coating adhesion failure.
Step 3 — Sand if required
For display models, presentation prototypes, or prints where the smoothest possible surface is the goal, wet sand the fully cured print with 400-grit then 800-grit wet/dry sandpaper before coating. Sanding removes remaining layer lines and gives the coating an even, consistent surface to bond to. Wipe the surface again with IPA after sanding and allow to dry fully.
Step 4 — Apply the coating
Wearing nitrile gloves, apply a thin, even coat of Build Coat using a soft brush or foam applicator. Work in one consistent direction to minimize streaks and brush marks. On prints with fine surface detail, use light brush pressure to avoid pushing excess resin into recessed detail areas. Allow the coating to self-level for 30 to 60 seconds before moving to the UV cure step.
Step 5 — Remove surface bubbles
If bubbles appear on the surface after application, pass a heat gun or lighter briefly 10 to 15 cm above the surface for 1 to 2 seconds. The heat breaks the surface tension of the bubbles without disturbing the coating layer. Do not overheat the part as resin prints can warp at elevated temperatures.
Step 6 — Cure under UV
Place the coated part under a UV lamp or in a UV curing station. Cure for 2 to 5 minutes, rotating the part to ensure all surfaces receive direct UV exposure. On complex geometry with overhangs, undercuts, or recesses, pay particular attention to ensuring all areas receive adequate UV exposure to prevent soft or tacky spots.
Step 7 — Inspect the cured surface
After curing, inspect the surface under good lighting. Check for soft spots, uncured areas, cloudiness, or surface imperfections. Soft or tacky spots indicate under-cure — return the part to the UV lamp and cure in additional 1-minute increments until the surface is fully hard.
Step 8 — Apply a second coat if needed
For display-quality results, functional parts, or maximum UV protection, apply a second thin coat immediately after the first coat has fully cured and repeat the cure process. Two coats gives a deeper, more consistent gloss and better long-term protection than a single coat.
Step 9 — Final cure
Give the finished part a final 5-minute cure under UV after the last coat to ensure the coating is fully hardened throughout before the part is handled, painted, or put into use.
Resin Coating Comparison: Which Method Is Best for Your Print?
| Finishing Method | Surface Sealing | UV Protection | Gloss Control | Cure Time | Best For |
|---|---|---|---|---|---|
| UV resin coating (Build Coat) | Excellent | Excellent | High gloss | 2 to 5 minutes | All resin prints needing protection and gloss |
| Wet sanding only | None | None | Variable | N/A | Simple geometry where smoothness is the only goal |
| Epoxy resin coating | Excellent | Good | High gloss | 12 to 48 hours | Decorative objects needing maximum thickness |
| Acrylic paint and primer | Moderate | Moderate | Any sheen | 30 to 60 minutes per coat | Colored display models and miniatures |
| Build + Tenacious combo | Excellent | Excellent | High gloss over flexible base | 3 to 5 minutes per layer | Functional and outdoor parts needing impact resistance |
| No finishing | None | None | As-printed | N/A | Rapid prototypes not intended for display or long-term use |
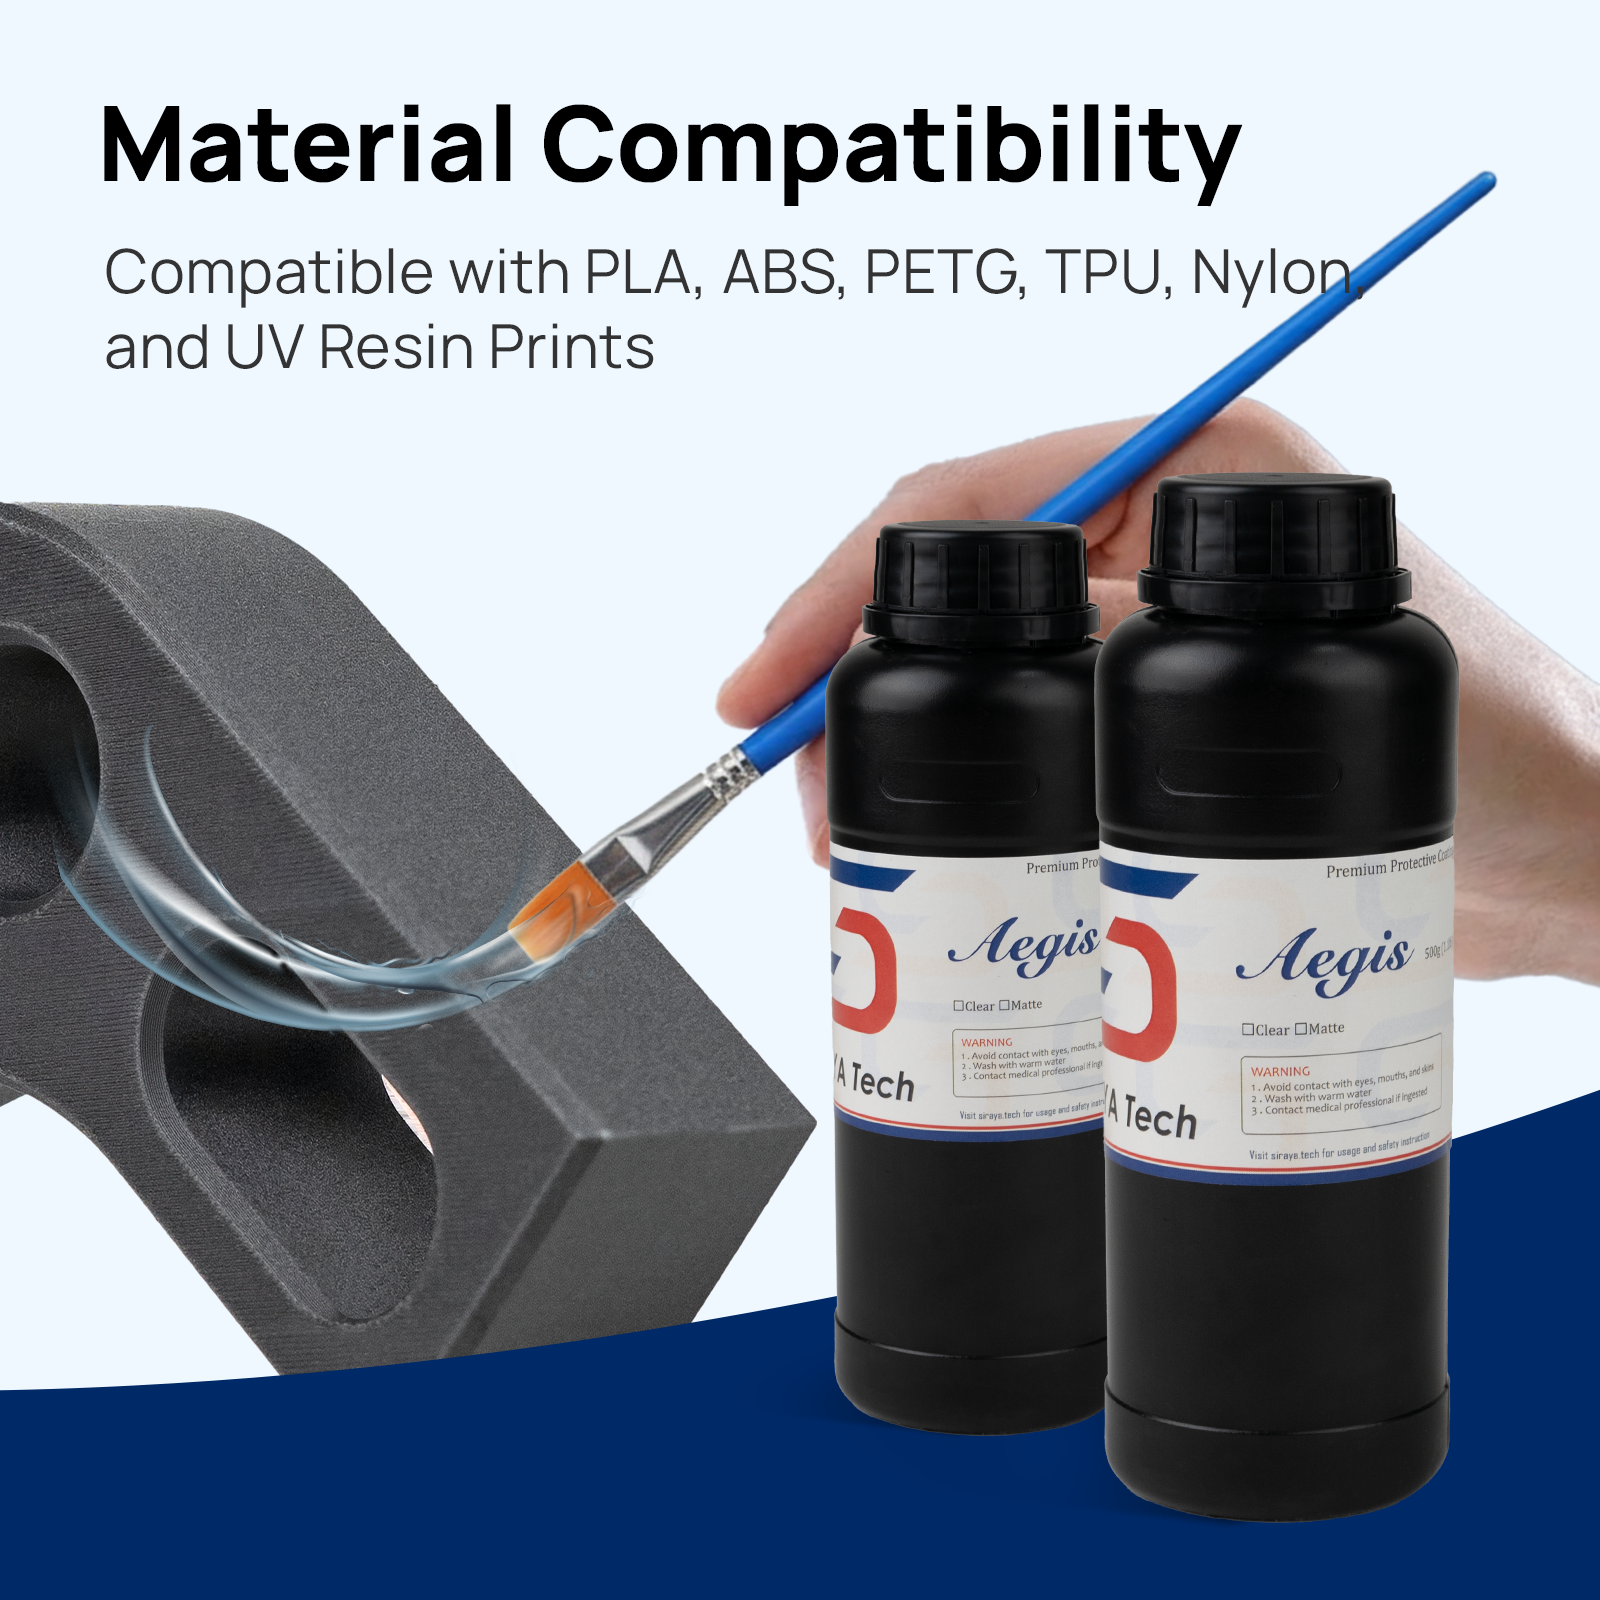
Compatibility: Which Resin Prints Can Be Coated?
Siraya Tech coating resins are compatible with all major photopolymer resin printing technologies and resin families:
| Printing Technology | Compatible with Build Coat | Compatible with Tenacious Coating |
|---|---|---|
| SLA (Stereolithography) | Yes | Yes |
| DLP (Digital Light Processing) | Yes | Yes |
| MSLA / LCD Resin Printing | Yes | Yes |
| Standard hobby resins | Yes | Yes |
| Engineering resins | Yes | Yes |
| Flexible resins | Yes | Yes |
| Water-washable resins | Yes — ensure fully dry before coating | Yes — ensure fully dry before coating |
| Castable resins | Not recommended — coating may interfere with burnout | Not recommended |
Tips for Best Results
- Always fully post-cure the base print before coating. This is the single most important step for coating adhesion and a hard, durable result.
- Use fresh IPA for cleaning. Used IPA wash solution contains dissolved resin and contaminants that deposit residue on the surface rather than removing it.
- Apply thin coats. Thin coats self-level better, cure more evenly, and produce a smoother finish than thick applications.
- Work in a low-humidity environment. Humidity above 70% can cause surface cloudiness in cured UV resin coatings.
- Warm the Build Coat bottle in warm water for 1 to 2 minutes before use to reduce viscosity slightly for better flow on fine-detail prints.
- Rotate the part continuously during UV curing to prevent uncured shadow areas on complex geometry.
- For water-washable resins, ensure the print is completely dry before applying any coating to prevent surface cloudiness and adhesion failure.
- Store coating resin in a dark, cool location away from UV exposure to prevent premature curing in the bottle.
- Always wear nitrile gloves when handling uncured resin coating. Uncured photopolymer resin is a skin sensitizer and should not contact bare skin.
Frequently Asked Questions
Can you coat 3D prints in resin?
Yes, resin 3D prints can be coated with a UV-curable coating resin such as Siraya Tech Build Coat. The coating bonds chemically to the fully cured base print and forms a hard, protective layer over the entire surface. The most important requirement is that the base print is completely post-cured before any coating is applied.
Is SLA or FDM better?
SLA and FDM serve different purposes and neither is universally better than the other. SLA produces finer surface detail, smoother surfaces, and higher dimensional accuracy, making it the preferred choice for detailed models and precision prototypes. FDM is better suited to large structural parts and functional applications where material choice, build volume, and low cost per part matter more than surface finish.
Is 3D printing resin epoxy?
No, 3D printing resin and epoxy are two different materials with different chemistries and cure mechanisms. 3D printing resin is a photopolymer that cures when exposed to UV light, while epoxy is a two-part system that cures through a chemical reaction between resin and hardener. Siraya Tech Build Coat is a UV-curable photopolymer coating that cures in 2 to 5 minutes under a UV lamp, not an epoxy.
Can a 3D printer print resin?
Yes, but only resin-specific 3D printers designed for photopolymer materials can print resin. The three main resin printing technologies are SLA, DLP, and MSLA, all of which cure liquid resin layer by layer using a UV light source. Standard FDM printers that use filament cannot print resin and require an entirely different machine.