PETG Coating
1 product
Showing 1 - 1 of 1 product
PETG coating refers to applying a UV-curable resin or surface treatment over a PETG 3D print to eliminate layer lines, seal the surface, and dramatically improve chemical resistance, moisture resistance, and appearance. Siraya Tech's coating resins are formulated specifically for FDM-printed parts, including PETG, and cure in minutes under a standard UV lamp or sunlight.
What Is PETG Coating?
PETG is one of the most popular FDM filaments because it balances ease of printing with good toughness and chemical resistance. However, like all FDM prints, raw PETG parts have visible layer lines, a slightly porous surface, and limited resistance to prolonged moisture or chemical exposure. PETG coating solves all three problems in one step.
A coating resin is brushed, poured, or dip-applied over the printed part. The liquid fills layer lines and surface pores, then hardens under UV light into a smooth, durable shell. The result looks and performs closer to an injection-molded part than a raw print.
- Eliminate visible layer lines without sanding
- Seal the surface against moisture, sweat, and light chemical exposure
- Improve impact resistance and surface hardness
- Achieve a glossy, matte, or semi-gloss finish depending on the coating chosen
- Prepare the surface for painting or further post-processing
- Increase part lifespan in outdoor or humid environments
Why PETG Specifically Benefits from Coating
PETG already has better moisture and chemical resistance than PLA, but it has key weaknesses that coating directly addresses:
- Layer line porosity: PETG prints with slightly more inter-layer gaps than well-tuned PLA prints. Moisture, bacteria, and contaminants can accumulate in these gaps over time. A coating resin seals the surface completely.
- UV yellowing: Uncoated PETG can yellow or become brittle with prolonged UV exposure outdoors. A UV-stable coating resin adds a protective barrier that slows this degradation significantly.
- Surface hardness: Raw PETG surfaces scratch relatively easily. A cured coating resin adds a harder outer shell that resists everyday abrasion.
This makes PETG coating especially valuable for:
- Outdoor enclosures and housings
- Food-contact-adjacent containers
- Display models and prototypes that need a professional finish
- Functional parts exposed to cleaning chemicals or light solvents
- Medical device prototyping and presentation models
Siraya Tech Coating Products for PETG Prints
Siraya Tech offers two primary coating solutions designed for FDM-printed parts including PETG:
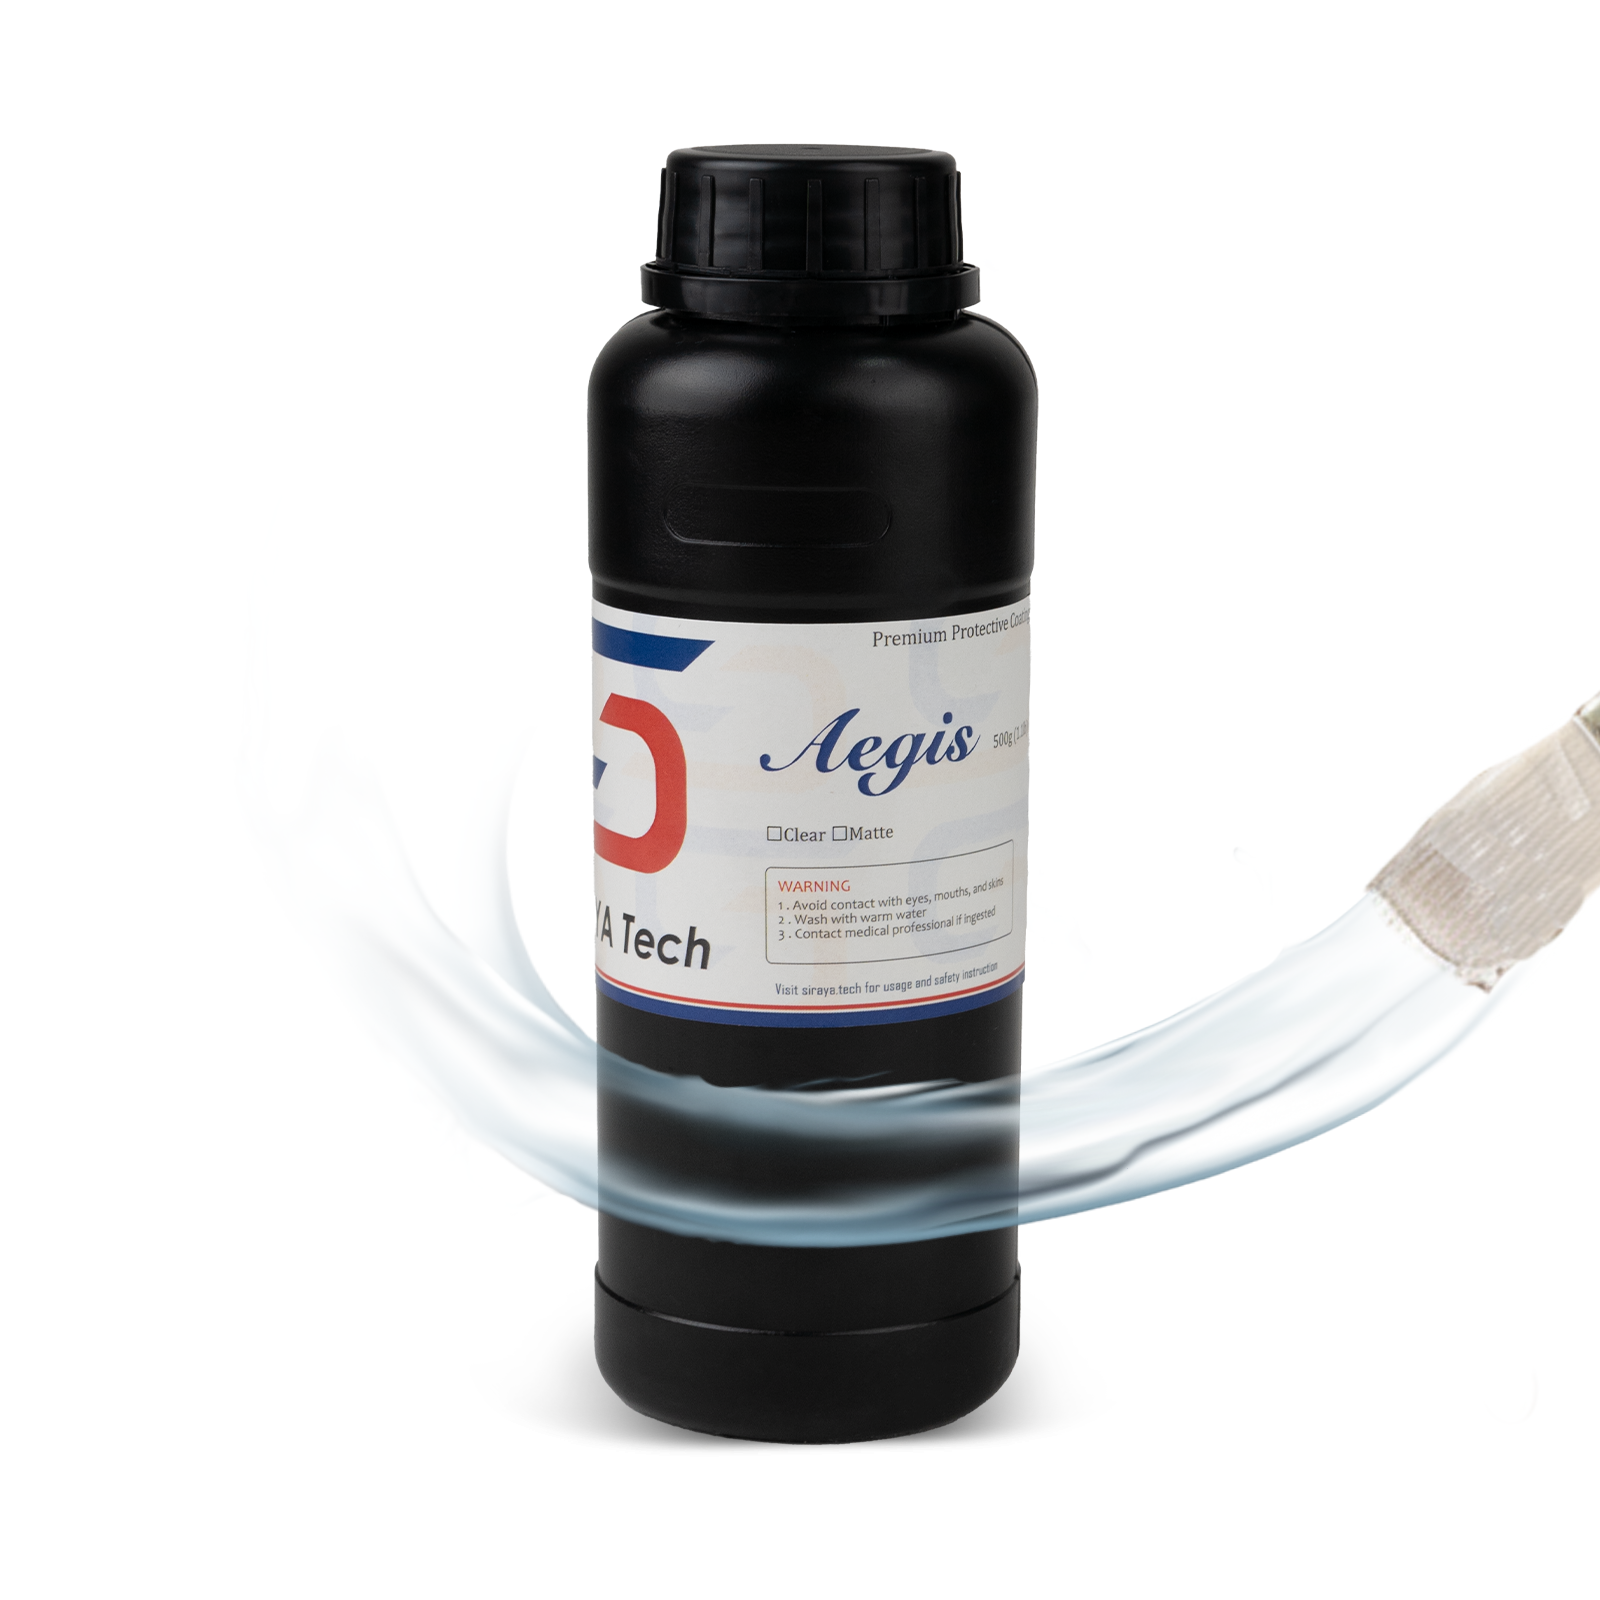
A thick, self-leveling UV coating resin designed to fill layer lines in a single application. Brush or pour onto the surface, let it self-level, then cure under a UV lamp for 2 to 5 minutes. Cures water-clear. Best for parts where eliminating layer lines is the primary goal.
Shop Build CoatSiraya Tech's flexible, impact-resistant UV resin applied as a thin coating layer for parts that need flexibility and toughness on the surface rather than a hard shell. Ideal for snap-fit covers, lids, and parts that flex slightly in use.
Shop TenaciousHow to Apply PETG Coating: Step-by-Step
Applying a coating resin to a PETG print is straightforward and does not require specialized equipment beyond a UV lamp or access to direct sunlight.
What you need: Siraya Tech Build Coat or coating resin of choice · Disposable brush or foam applicator · UV lamp (365nm to 405nm) or direct sunlight · Nitrile gloves · Optional: 220-grit sandpaper for pre-sanding
- Step 1 — Clean the print: Remove any support material. Wipe the surface with isopropyl alcohol (IPA) to remove grease, dust, and release agents. Allow to dry fully before proceeding.
- Step 2 — Optional pre-sand: For prints with heavy layer lines, a light pass with 220-grit sandpaper before coating gives the resin better adhesion and a smoother final result. This step is optional for standard-quality prints.
- Step 3 — Apply the coating: Put on nitrile gloves. Apply a thin, even layer of coating resin using a brush or foam applicator. Work in one direction to minimize bubbles. For deep layer lines, a slightly thicker application is fine as the resin is self-leveling.
- Step 4 — Pop bubbles: If bubbles appear, briefly pass a heat gun or lighter 10 to 15 cm above the surface for 1 to 2 seconds. Surface tension will pop the bubbles. Do not overheat the part.
- Step 5 — Cure: Place the part under a UV lamp for 2 to 5 minutes, rotating to ensure full coverage. In direct sunlight, allow 5 to 10 minutes depending on UV intensity.
- Step 6 — Inspect and repeat if needed: After the first cure, inspect the surface. If layer lines are still visible, apply a second thin coat and cure again. Most prints achieve a smooth finish in one to two coats.
- Step 7 — Final cure: Give the part a final full cure of 5 minutes under UV to ensure the coating is fully hardened throughout.
Coating vs Sanding vs Priming: Which Finishing Method Is Best for PETG?
Each post-processing method has trade-offs. Use this comparison to decide which approach fits your project:
| Method | Pros | Cons | Best For |
|---|---|---|---|
| Sanding only | No materials cost, no curing required | Time-intensive, does not seal surface, difficult on complex geometry | Simple flat surfaces, large prints with easy access |
| Primer and paint | Wide color options, hides layer lines reasonably well | Multiple steps, long drying time, does not add structural strength | Display models and cosplay props where color matters most |
| UV coating resin | Fills layer lines in one step, seals surface, adds hardness, cures in minutes | Requires UV lamp, adds slight weight, gloves and ventilation needed | Functional parts, outdoor parts, prototypes needing a fast professional finish |
| Combination approach | Best possible surface quality and paint adhesion | Most steps involved, longest total time | High-end display and presentation models |
Compatibility: Which Siraya Tech Coatings Work on PETG?
| Coating Product | Works on PETG | Finish Type | UV Cure Time | Best Application Method |
|---|---|---|---|---|
| Build Coat | ✅ Yes | Gloss | 2 to 5 minutes | Brush or pour |
| Tenacious (coating use) | ✅ Yes | Semi-gloss | 3 to 5 minutes | Thin brush application |
| Standard UV Resins | ❌ Not recommended | N/A | N/A | N/A |
Tips for Best Results When Coating PETG
💡 Pro tip: Always clean with IPA before coating. PETG releases oils from handling that prevent resin adhesion. Even a brand-new print straight off the bed should be wiped down before any coating is applied.
- Work in a well-ventilated area. Uncured resin produces fumes. Wear nitrile gloves throughout the entire process.
- Avoid applying coating in thick pools. Thick sections cure slower and may remain tacky underneath even when the surface appears cured.
- Rotate the part during UV curing to ensure all angles receive direct UV exposure, especially on complex geometry.
- If the cured surface feels tacky, it is under-cured. Return to the UV lamp for additional cure time in 1-minute increments.
- For painted finishes, allow the cured coating to fully harden for 30 minutes before applying primer or paint on top.
- Store unused coating resin in a dark, cool location away from UV light sources to prevent premature curing in the bottle.
- For very complex geometry or recessed areas, thin the coating slightly by warming the bottle in warm water for 1 to 2 minutes before application. This improves flow into tight spaces without adding solvent.
- If applying over a painted PETG surface, ensure the paint is fully dry and cured before coating. Uncured paint trapped under resin can cause adhesion failure or discoloration.
- For matte finishes, apply a matte clear coat spray over the fully cured resin surface rather than trying to achieve matte directly from the coating resin.
Why Siraya Tech for PETG Coating?
Siraya Tech started as a professional UV resin manufacturer supplying dental, jewelry, and engineering applications before entering the consumer FDM market. That professional formulation background directly benefits every coating product:
- Fast cure time: Coating resins cure in 2 to 5 minutes under a standard UV lamp, not the 30 to 60 minutes required by some air-dry coating products.
- Clear formulation: Build Coat cures water-clear, so it does not yellow or tint the underlying print color over time.
- Hard final surface: Cured coating hardness is significantly higher than raw PETG, adding scratch and abrasion resistance to the finished part.
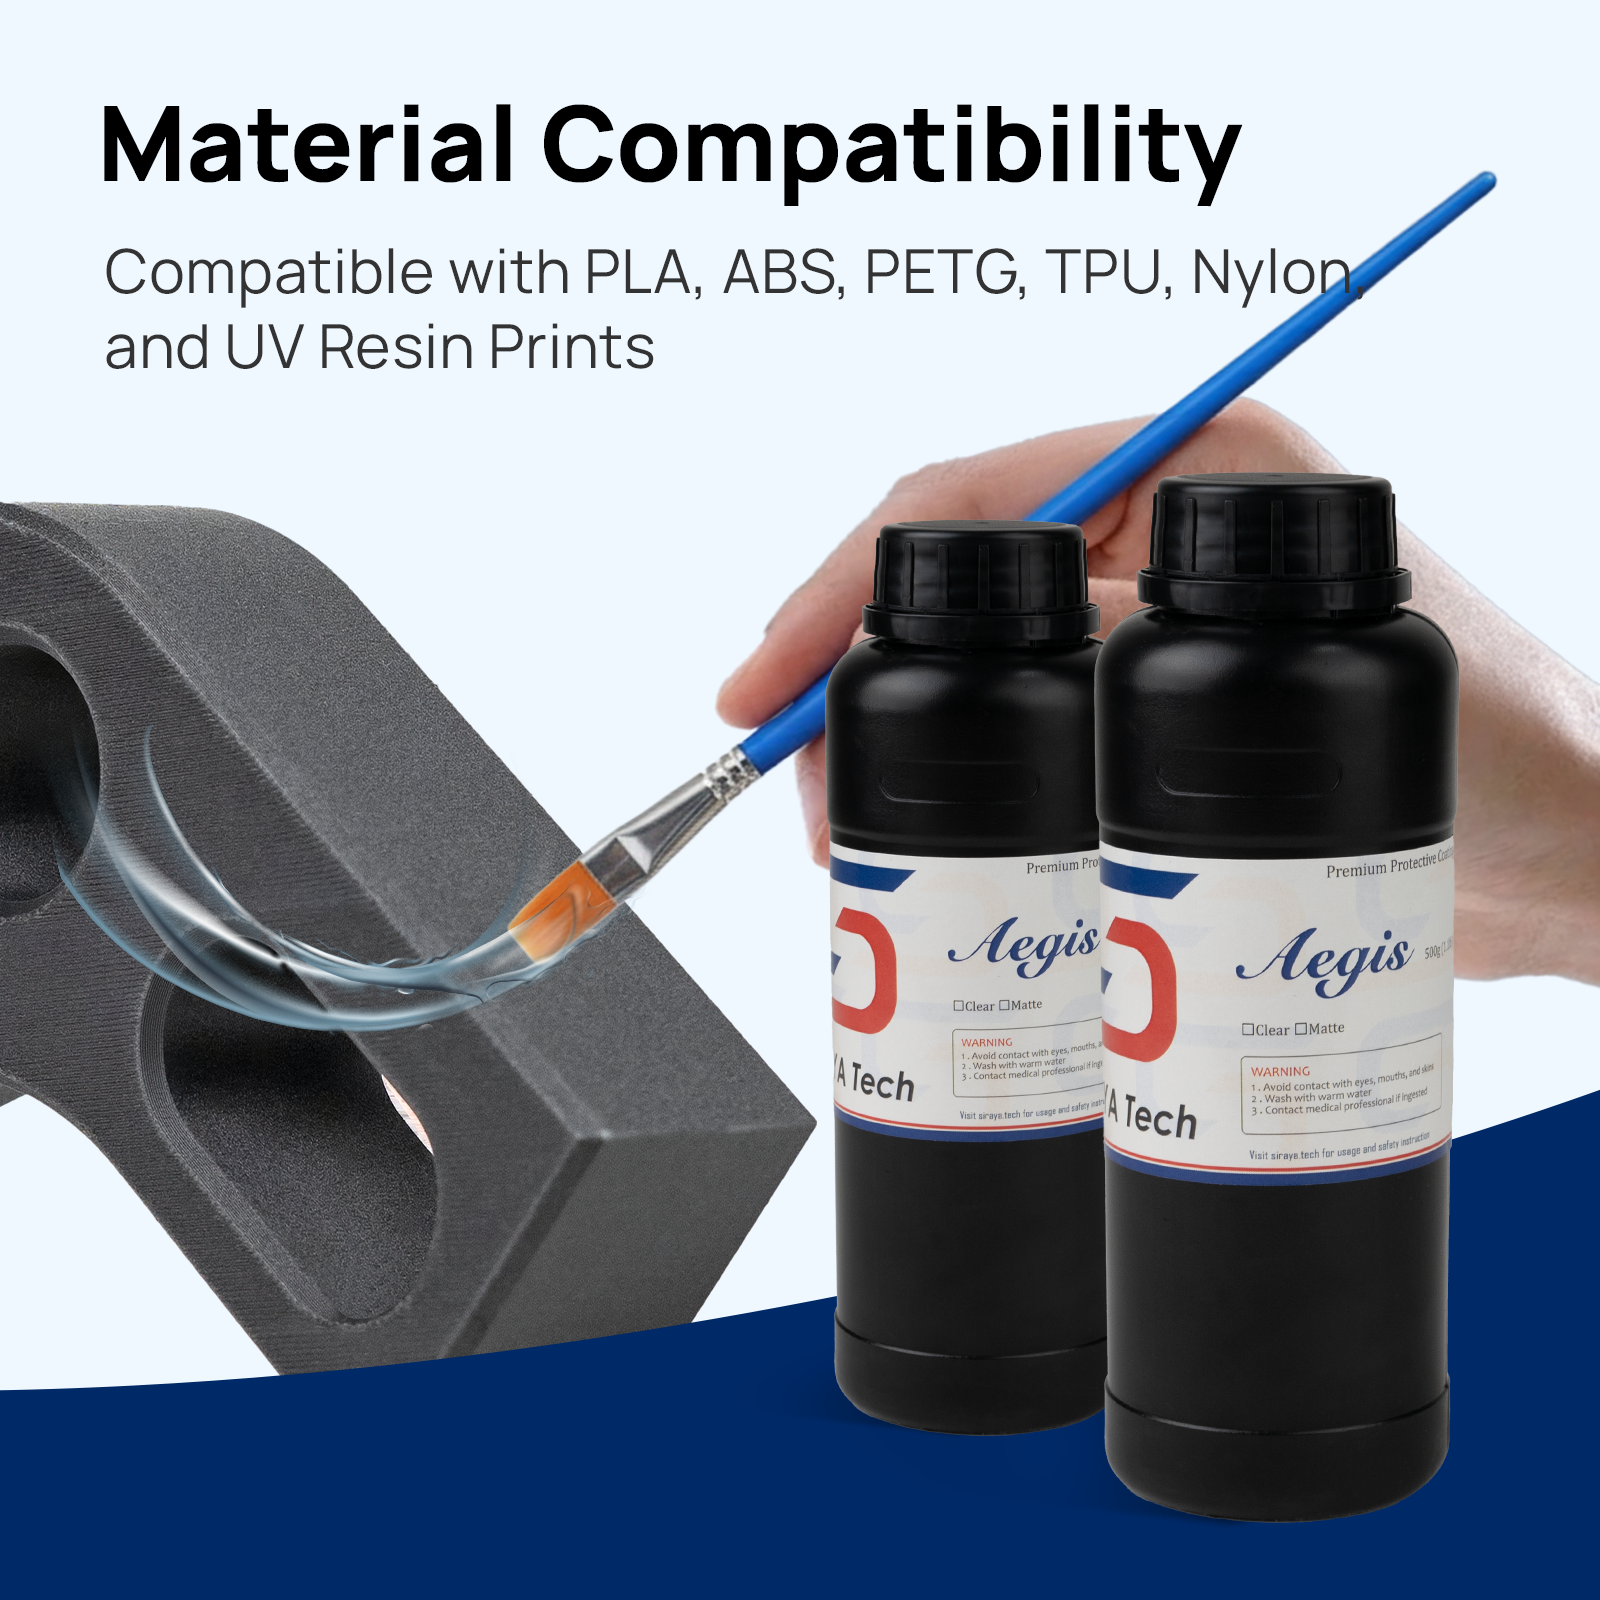
- Compatibility tested: Siraya Tech coatings are tested on PETG, PLA, ABS, ASA, and resin prints, so you can use the same product across your entire workflow.
- Technical documentation: Safety Data Sheets and Technical Data Sheets are publicly available for every product for compliance and safety review.
- Direct support: Reach the Siraya Tech team by email at support@siraya.tech or through the support page for application guidance and troubleshooting.
Explore Related Collections
Related Articles
Frequently Asked Questions
Can you coat PETG 3D prints with UV resin?
Yes. UV coating resin adheres well to PETG surfaces when the part is clean and free of grease. Clean with isopropyl alcohol first, apply a thin layer of coating resin, then cure under a UV lamp for 2 to 5 minutes. Siraya Tech Build Coat is specifically designed for this application and fills layer lines in one to two coats.
Does coating resin stick to PETG?
Yes, with proper surface preparation. PETG has a slightly waxy surface from handling. Wipe thoroughly with isopropyl alcohol before applying any coating resin. If adhesion is still a concern, a very light scuff with 220-grit sandpaper before coating improves mechanical bonding significantly.
How do I remove layer lines from PETG prints?
The fastest method is applying a self-leveling UV coating resin such as Siraya Tech Build Coat. Apply one thin coat, allow it to self-level for 30 to 60 seconds, then cure under UV for 2 to 5 minutes. One to two coats eliminates most standard layer lines without any sanding. For very heavy layer lines, a light sand before coating gives the best result.
What is the best finish for PETG 3D prints?
For functional parts, a UV coating resin gives the best combination of speed, surface quality, and added durability in one step. For display or cosplay models where color is important, apply UV coating resin first to smooth the surface, then prime and paint over the cured coating. The cured resin provides an excellent base for paint adhesion.
Do I need a UV lamp to cure coating resin on PETG?
A UV lamp is the fastest and most reliable method, typically curing in 2 to 5 minutes. Direct sunlight also works but requires longer exposure of 5 to 15 minutes depending on UV intensity and time of day. A dedicated UV lamp gives consistent results regardless of weather or season and is recommended for anyone coating parts regularly.
How many coats of resin do I need on a PETG print?
Most standard-quality PETG prints achieve a smooth, layer-line-free surface in one to two coats of Siraya Tech Build Coat. Prints with heavier layer lines or coarser layer heights may benefit from a third coat. Always cure each coat fully before applying the next one.
Is PETG coating food safe?
Food safety depends on the specific resin formulation and the degree of cure achieved. Siraya Tech does not certify coating resins for direct food contact. For food-contact applications, consult the product's Safety Data Sheet and Technical Data Sheet, and consider alternative food-safe coatings or food-grade filaments for the base print. Fully cured resin is significantly safer than partially cured resin, but professional food-contact certification requires independent testing.
Can I paint over PETG coating resin?
Yes. Fully cured Siraya Tech coating resin provides an excellent surface for paint adhesion. Allow the cured coating to harden for at least 30 minutes after UV curing, then apply a standard acrylic primer followed by your paint of choice. The smooth, sealed resin surface holds paint better than raw PETG and gives a more even final color with fewer coats of paint required.
💡 Need help choosing the right PETG coating product? Contact the Siraya Tech team at support@siraya.tech or visit the support page for application guides, print settings, and troubleshooting resources.