SLA Coating
1 製品
1 製品の1 - 1を表示しています。
SLA coating refers to applying a UV-curable resin or protective surface treatment over a stereolithography (SLA) 3D print to seal the surface, enhance mechanical properties, improve chemical resistance, and achieve a smooth professional finish. Siraya Tech's coating resins are engineered for resin-printed parts and cure in minutes under a standard UV lamp or natural sunlight.
What Is SLA Coating?
Stereolithography (SLA) printing produces parts with exceptional surface detail and accuracy compared to FDM printing. However, raw SLA prints have their own finishing challenges that coating directly addresses.
After printing and washing, an SLA part is fully shaped but its surface can still be slightly porous at a microscopic level, may show print lines from the build orientation, and is often more brittle than the final cured state. More importantly, partially cured SLA resin continues to react with UV light and oxygen over time, causing yellowing, brittleness, and surface degradation if left unprotected.
A coating resin applied after final UV curing seals the surface, adds a hard protective layer, dramatically slows UV-induced yellowing, and can restore or enhance gloss for a finished, professional appearance.
- Seal the surface against moisture, chemicals, and contaminants
- Slow or prevent UV-induced yellowing on clear and light-colored resins
- Add surface hardness and scratch resistance beyond the base resin
- Fill micro-level surface imperfections and fine print lines
- Achieve consistent gloss, semi-gloss, or prepped-matte finishes
- Protect display models and prototypes for long-term presentation
- Improve paint adhesion for painted SLA models
- Extend the functional life of SLA parts used in mechanical or outdoor applications
Why SLA Prints Need Coating
SLA printing produces parts with far better surface quality than FDM, but that does not mean the surface is maintenance-free or fully protected out of the post-processing wash station. There are four core vulnerabilities in raw SLA prints that coating directly addresses:
- Post-cure brittleness: Most standard SLA resins are relatively brittle after final cure. A flexible or tough UV coating resin applied over the surface adds impact resistance and reduces the chance of surface cracking under stress.
- UV degradation: SLA resins, especially clear and light-colored formulations, are highly susceptible to UV yellowing when exposed to sunlight or ambient UV over time. A UV-stable coating resin acts as a sacrificial UV barrier, absorbing and blocking UV radiation before it reaches the base resin.
- Surface micro-porosity: Even highly detailed SLA prints have micro-level surface pores that can trap contaminants, moisture, and oils from handling. A coating resin seals these pores completely, making the surface easier to clean and more resistant to staining.
- Chemical sensitivity: Many standard SLA resins have moderate chemical resistance but can be attacked by alcohols, acetone, and common household cleaners over time. A coating resin with higher chemical resistance properties adds a protective chemical barrier over the base material.
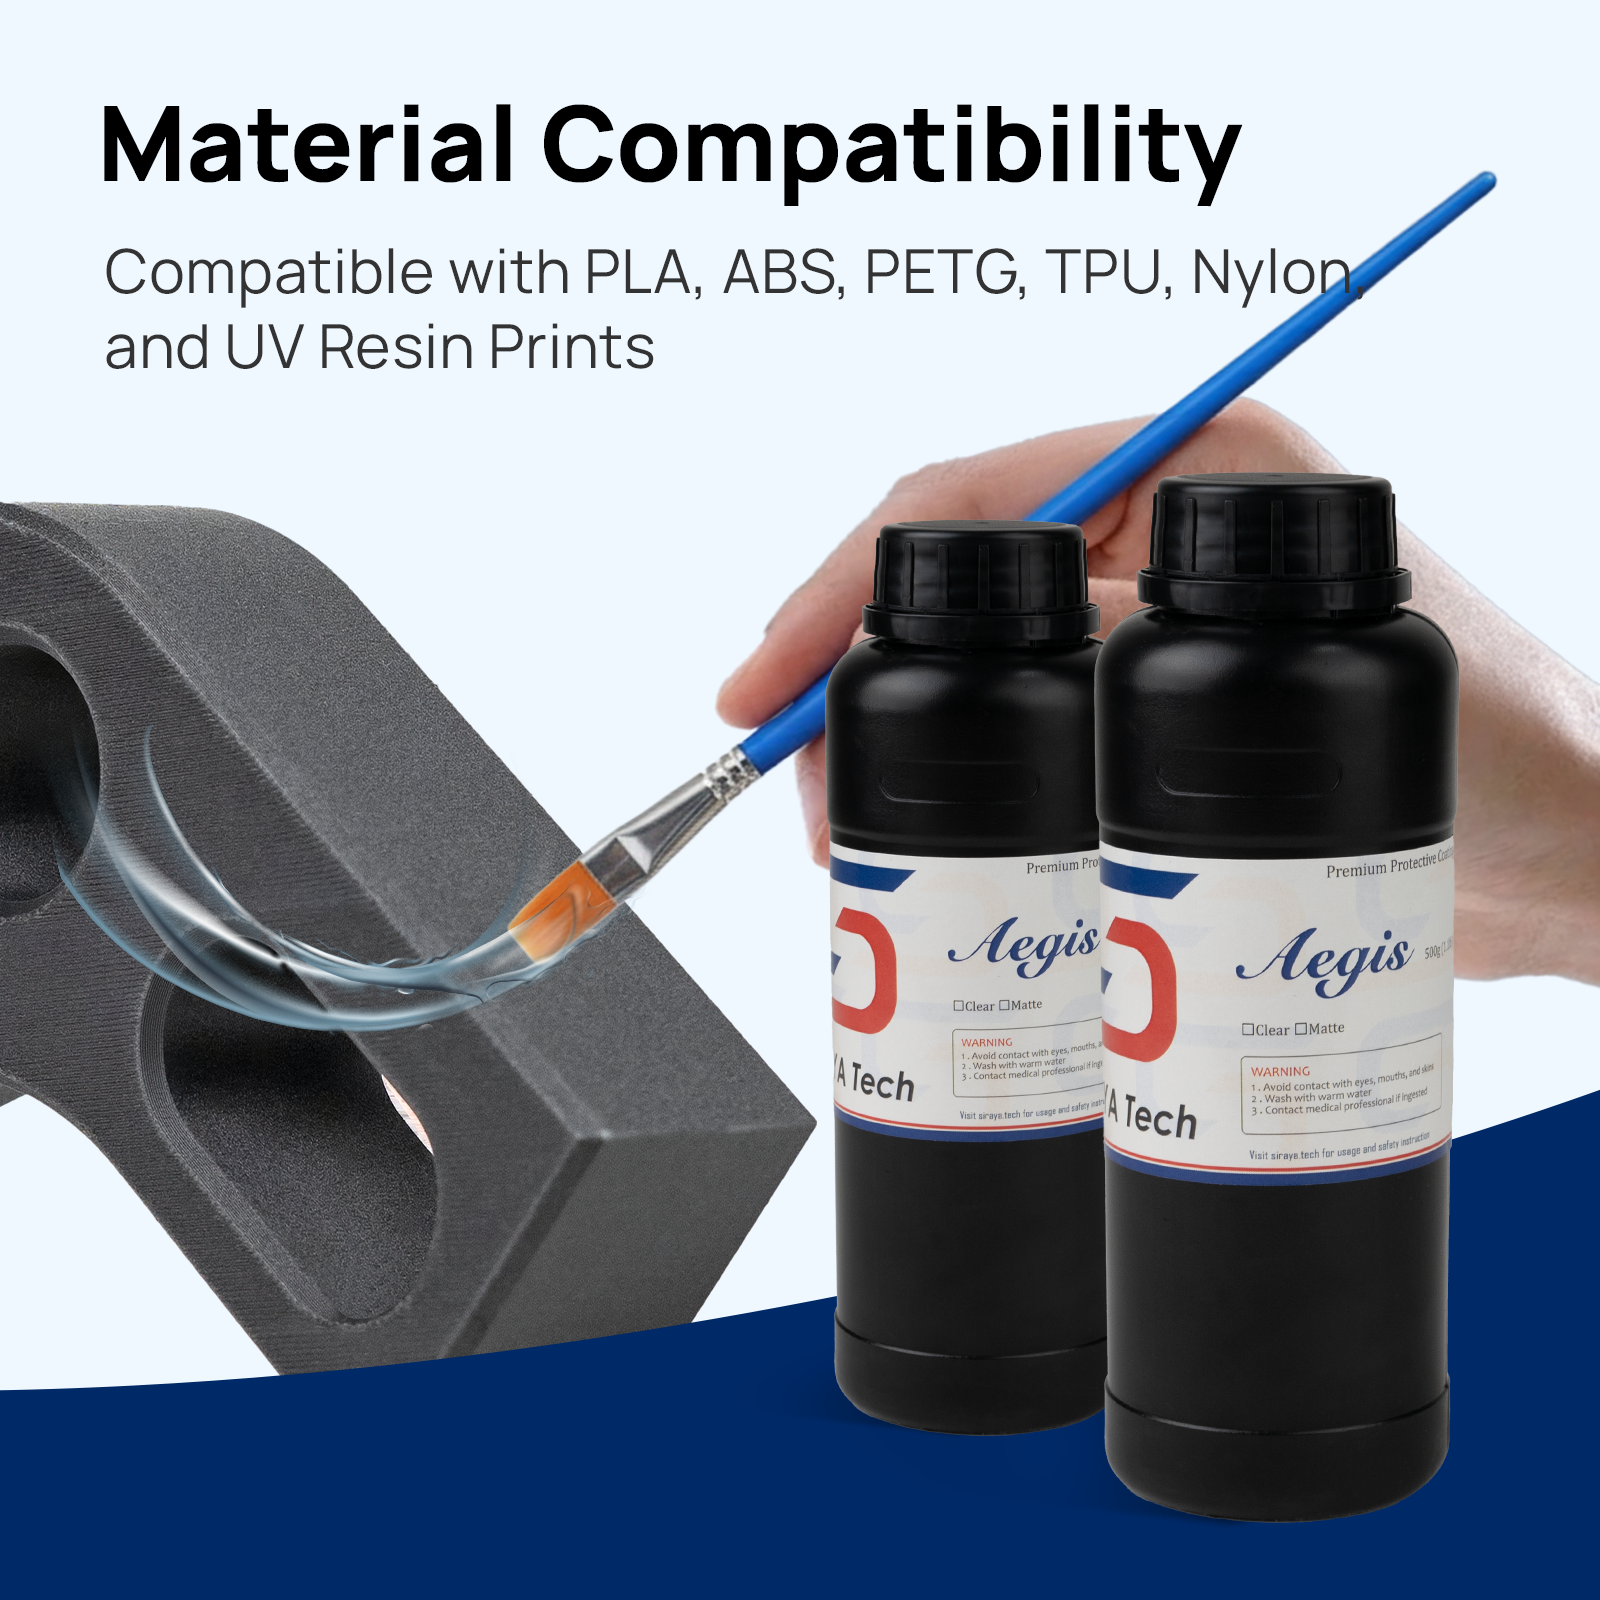
Siraya Tech Coating Products for SLA Prints
Siraya Tech offers coating solutions specifically suited to the unique needs of SLA-printed parts:
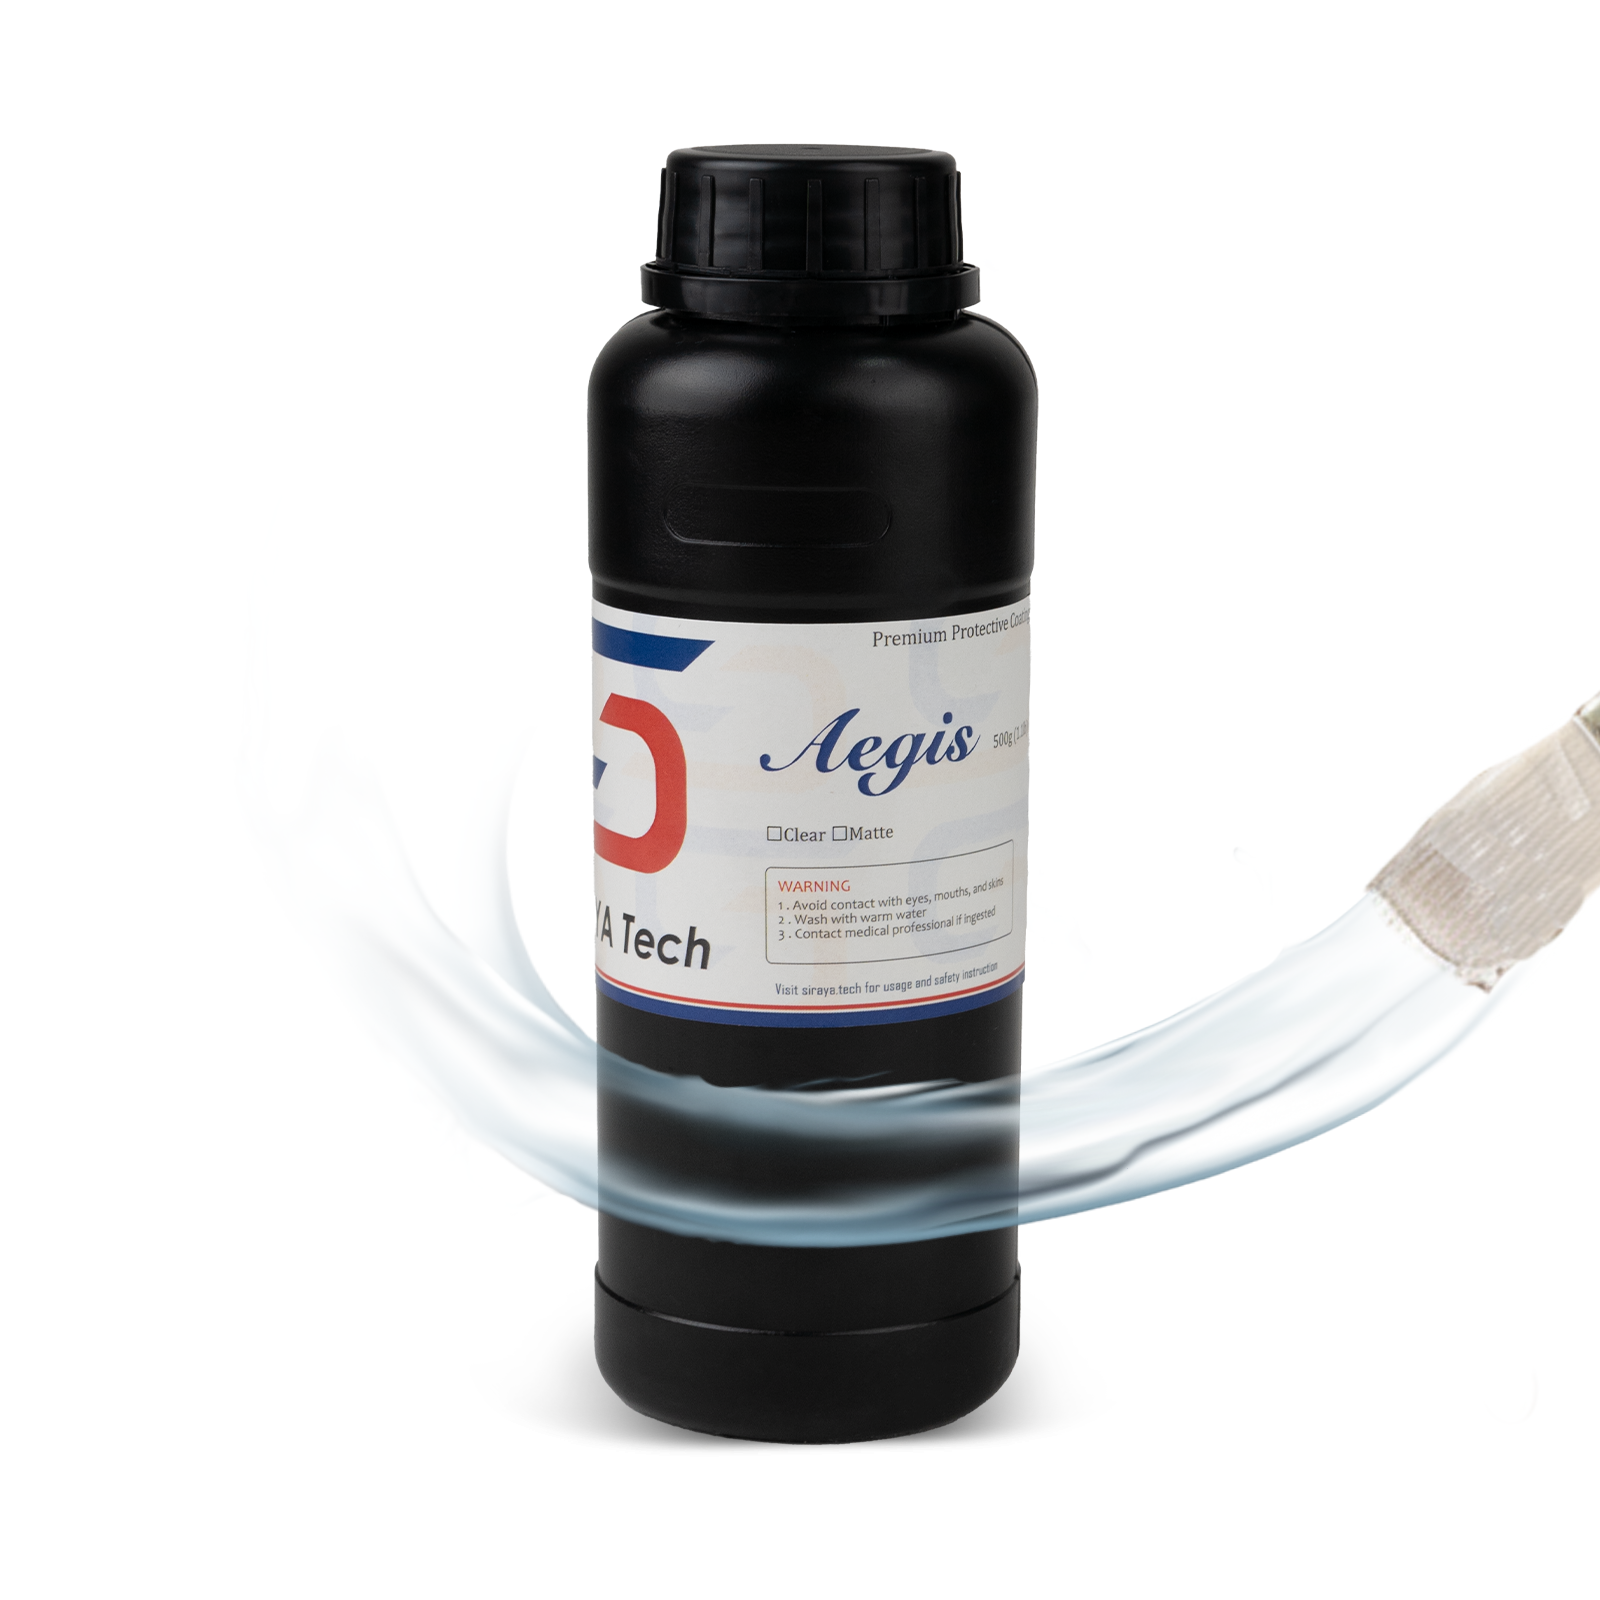
Siraya Tech's primary surface coating resin for 3D printed parts. Self-leveling, UV-curable, and water-clear. Apply by brush or pour, allow to self-level, then cure in 2 to 5 minutes. Fills micro-surface imperfections, restores gloss, and adds a hard protective shell without yellowing the underlying print.
Shop Build CoatApplied as a thin coating layer over rigid SLA prints, Tenacious adds a tough, flexible outer shell that absorbs impacts rather than cracking. Ideal for functional parts, wearable prints, and enclosures that may be dropped or flexed in use.
Shop TenaciousApply a thin layer of Tenacious first as a flexible bonding coat, then apply Build Coat over the top for a hard, glossy finish. This combination delivers both impact resistance from the Tenacious layer and a hard, smooth, glossy exterior from the Build Coat layer.
Shop Build CoatHow to Apply Coating Resin to an SLA Print: Step-by-Step
Coating an SLA print requires a few additional preparation steps compared to coating an FDM print because the base material is resin rather than thermoplastic. Follow this process for best results.
What you need: Siraya Tech Build Coat or Tenacious · Disposable brush or foam applicator · UV lamp (365nm to 405nm) · Nitrile gloves · Fresh isopropyl alcohol (IPA) for cleaning · Optional: 400 to 800-grit wet/dry sandpaper for pre-sanding
- Step 1 — Ensure the print is fully post-cured: The SLA print must be completely post-cured before applying any coating. Applying coating resin over a partially cured print can cause adhesion failure, surface wrinkling, or inhibition of the coating cure. Post-cure the print for the full recommended time under your UV curing station before proceeding.
- Step 2 — Clean the surface thoroughly: Wipe the fully cured print with fresh isopropyl alcohol (IPA) to remove surface contamination, handling oils, and any residual wash solution. Allow to dry completely. Do not skip this step — surface contamination is the most common cause of coating adhesion failure on SLA prints.
- Step 3 — Optional wet sand: For display models or presentation prototypes where the smoothest possible surface is required, wet sand the fully cured print with 400-grit then 800-grit wet/dry sandpaper before coating. This removes any remaining print lines and gives the coating an even better surface to bond to. Wipe again with IPA after sanding and allow to dry fully.
- Step 4 — Apply the coating: Wearing nitrile gloves, apply a thin, even coat of Build Coat using a brush or foam applicator. Work in one direction to minimize bubbles. On SLA prints with fine surface detail, use a soft brush and light pressure to avoid filling fine recessed details with excess resin. Allow the coating to self-level for 30 to 60 seconds before curing.
- Step 5 — Pop surface bubbles: If surface bubbles appear, pass a heat gun or lighter briefly 10 to 15 cm above the surface for 1 to 2 seconds. Do not overheat the resin print as SLA parts can warp at elevated temperatures.
- Step 6 — Cure under UV: Place the coated part under a UV lamp for 2 to 5 minutes, rotating to ensure all surfaces receive direct UV exposure, especially on complex geometry.
- Step 7 — Inspect and apply second coat if needed: Inspect the cured surface under good lighting. For display-quality results, a second thin coat applied and cured after the first gives the most consistent gloss and fully seals any remaining micro-imperfections.
- Step 8 — Final cure: Give the finished part a final 5-minute cure under UV to ensure the coating layer is fully hardened throughout before handling or use.
SLA Coating vs Other SLA Finishing Methods
SLA prints can be finished in several ways. Here is how coating resin compares to other common finishing methods:
| Method | Pros | Cons | Best For |
|---|---|---|---|
| Wet sanding only | No additional materials, reveals true surface of the resin, smooth results with high grits | Time-intensive, removes fine surface detail, does not seal surface or add UV protection | Simple geometry display models where maximum detail preservation is secondary to smoothness |
| UV curing + painting | Wide color options, standard paints work well on SLA | Paint alone does not seal base resin against UV or chemical exposure, requires primer and multiple coats | Colored display models and miniatures where paint finish is the primary goal |
| UV coating resin (Build Coat) | Seals surface, adds UV protection, adds hardness, cures in minutes, cures clear, compatible with subsequent painting | Adds slight surface thickness that may fill very fine detail, requires UV lamp | Functional prototypes, display models needing UV protection, parts to be painted, clear resin parts needing yellowing protection |
| Epoxy resin coating | Very thick, hard, glossy finish | Long cure time of hours to days, difficult to apply thinly, heavy, expensive | Decorative objects where maximum thickness and gloss are needed |
| Build + Tenacious combo | Flexible impact-resistant base with hard glossy exterior, best all Here is the complete HTML from that point all the way to the end: ```html | ||
| Build + Tenacious combo | Flexible impact-resistant base with hard glossy exterior, best all-round protection | Two-layer process, slightly more time and material than single coat | Functional parts, outdoor parts, parts exposed to drops or mechanical stress |
Compatibility: Siraya Tech Coatings on SLA Prints
| Coating Product | Works on SLA Resin | Finish Type | UV Cure Time | Best Application Method |
|---|---|---|---|---|
| Build Coat | Yes | Gloss | 2 to 5 minutes | Brush or pour |
| Tenacious (coating use) | Yes | Semi-gloss | 3 to 5 minutes | Thin brush application |
| Build + Tenacious combo | Yes | Gloss over flexible base | 3 to 5 minutes per layer | Brush, two sequential layers |
Tips for Best Results When Coating SLA Prints
- Always fully post-cure the SLA print before applying any coating. Partially cured resin will inhibit coating adhesion and can cause the coating layer to remain permanently tacky.
- Clean with fresh IPA, not used or contaminated IPA wash solution. Contaminated IPA deposits residue rather than removing it and will cause adhesion failure.
- Apply coating in thin layers. SLA prints already have a good surface quality and do not need thick coating applications. A thin coat self-levels better and cures more evenly than a heavy application.
- Use a soft brush on highly detailed models to avoid filling fine recessed details with excess resin. A stiff brush pushes resin into detail areas rather than laying it over the surface.
- Avoid coating in high humidity environments. Humidity above 70% can cause surface cloudiness in UV coating resins. If cloudiness appears, it is likely moisture contamination — sand lightly with 800-grit, clean, and re-apply in a drier environment.
- For clear or transparent SLA prints, Build Coat cures water-clear and maintains the optical clarity of the base resin. Avoid using Tenacious on clear prints as the slight tint in Tenacious can reduce optical clarity.
- For miniatures and highly detailed prints, warm the Build Coat bottle in warm water for 1 to 2 minutes to reduce viscosity slightly before application. This improves flow across fine details without requiring dilution.
- Rotate the part continuously during UV curing to ensure no shadow areas remain uncured, especially on complex geometry with overhangs, recesses, or undercuts.
- For functional parts that will see regular handling, two coats significantly improves long-term durability and scratch resistance compared to a single coat.
- If the cured coating appears soft or tacky after the full cure time, extend UV exposure in 1-minute increments. Persistent tackiness usually indicates under-cure from insufficient UV intensity or shadowed areas that did not receive direct exposure.
- For outdoor or high-UV-exposure applications, apply two full coats of Build Coat for maximum UV barrier thickness. Inspect annually and re-coat if the surface shows any signs of yellowing or surface degradation.
Why Siraya Tech for SLA Coating?
Siraya Tech's roots are in professional UV resin formulation for dental, jewelry, and engineering applications. That professional background directly shapes the performance of every coating product in the Siraya Tech range:
- Formulated for UV resins: Build Coat is tested specifically on SLA resin prints, not just FDM plastics. Adhesion, compatibility, and cure behavior are validated on resin surfaces across multiple resin families.
- Water-clear cure: Build Coat cures completely clear without yellowing, preserving the color accuracy and optical clarity of the underlying SLA print even on water-white and clear resin formulations.
- Fast cure: 2 to 5 minutes under a standard UV lamp versus hours or days for epoxy coating alternatives, keeping your finishing workflow fast and efficient.
- Layerable system: Build Coat and Tenacious can be combined in a single finishing workflow for a flexible impact-resistant base with a hard glossy exterior, giving functional parts protection that a single product cannot achieve alone.
- Accessible documentation: Safety Data Sheets and Technical Data Sheets for all Siraya Tech products are available for download directly from the website for compliance and safety review.
- Proven across resin families: Compatible with Siraya Tech's own resins including Sculpt Ultra, Fast, Blu, Tenacious, and third-party SLA resins from other manufacturers, so you can use the same coating workflow across your entire resin print library.
- Direct technical support: Reach the Siraya Tech team by email at support@siraya.tech or through the support page for application guidance, troubleshooting, and print settings resources.
Explore Related Collections
Related Articles
Frequently Asked Questions
Can you coat SLA 3D prints with UV resin?
Yes. UV coating resin adheres well to fully post-cured SLA prints when the surface is clean and free of contamination. The key requirement is that the SLA print must be completely post-cured before applying any coating. Applying coating over a partially cured SLA print can cause adhesion failure, surface wrinkling, and inhibited curing of the coating layer. Clean the surface with fresh isopropyl alcohol, apply a thin even coat of Siraya Tech Build Coat, allow to self-level for 30 to 60 seconds, then cure under UV for 2 to 5 minutes.
Does coating resin bond to SLA resin prints?
Yes, with proper surface preparation. UV coating resins bond chemically to the surface of SLA resin prints through secondary polymerization, where the coating resin bonds to residual reactive groups on the surface of the cured print. This bond is strongest when the surface is clean and when the base print is fully but not excessively post-cured. A surface that is over-cured to the point of full surface saturation may need a light sand with 400-grit before coating to restore surface reactivity and improve adhesion.
How do I stop my SLA resin prints from yellowing?
The most effective way to slow or prevent yellowing on SLA prints is to apply a UV-stable coating resin such as Siraya Tech Build Coat immediately after final post-cure. The coating acts as a UV barrier, absorbing and blocking UV radiation before it reaches the base resin. Store coated prints away from direct sunlight and UV sources when not on display. For clear or water-white resins where yellowing resistance is the primary concern, two coats of Build Coat gives the best long-term protection.
Can I paint over SLA coating resin?
Yes. Fully cured Siraya Tech Build Coat provides an excellent surface for paint adhesion. The smooth, sealed resin surface accepts standard acrylic primers and paints easily. Allow the cured coating to harden for at least 30 minutes after UV curing before applying primer. For miniatures and scale models, the sealed coating surface gives more even color with fewer paint layers required compared to painting directly on bare SLA resin.
How do I get a glossy finish on SLA resin prints?
Apply one to two thin coats of Siraya Tech Build Coat after final post-cure. Build Coat self-levels to a smooth, high-gloss finish and cures water-clear. Each coat cures in 2 to 5 minutes under a UV lamp. Two coats gives a deeper, more consistent gloss than one coat, especially on prints with any remaining micro-surface variation. For the highest possible gloss, wet sand with 800-grit before the final coat of Build Coat.
How do I get a matte finish on SLA resin prints?
Apply one to two coats of Build Coat to seal and protect the surface, allow to fully cure, then apply a matte clear coat spray over the cured resin surface. The cured coating provides UV and chemical protection while the matte clear coat on top controls the final sheen. Attempting to sand cured SLA resin to a matte finish without sealing it first can leave a scratched, uneven appearance that is difficult to correct.
How long does SLA coating resin last?
When properly applied and cured, Siraya Tech Build Coat coating is a permanent surface treatment. It does not peel, crack, or degrade under normal indoor use conditions. For parts used outdoors or in high UV environments, the coating acts as a sacrificial UV barrier that absorbs UV over time. In high UV outdoor environments, a second recoat every one to two years maintains maximum UV protection and surface integrity.
Do I need special equipment to coat SLA prints?
The minimum equipment required is a UV lamp (365nm to 405nm), nitrile gloves, isopropyl alcohol for cleaning, and a brush or foam applicator for the coating resin. A dedicated UV curing station gives the most consistent results, especially for parts with complex geometry that need rotation during curing. Sunlight can substitute for a UV lamp but cure times are less predictable and vary by season, time of day, and weather conditions.
Can SLA coating resin be used on DLP and MSLA prints too?
Yes. Siraya Tech coating resins are compatible with parts printed on all photopolymer resin technologies including SLA, DLP, MSLA, and LCD resin printers. The coating bonds to the cured photopolymer surface regardless of the printing technology used, as long as the base print is fully post-cured and the surface is properly cleaned before application.
What happens if I apply coating resin over an uncured SLA print?
Applying coating resin over a partially cured SLA print causes several problems. The coating may not adhere properly, resulting in peeling or delamination. Residual liquid resin from the base print can bleed into the coating layer, causing cloudiness, soft spots, or inhibited cure in the coating. In the worst case, the coating layer may remain permanently tacky and uncurable. Always ensure the base SLA print is completely post-cured according to the manufacturer's recommended cure schedule before applying any coating.
SLA printing delivers some of the finest surface detail available in consumer 3D printing. A proper coating workflow using Siraya Tech Build Coat protects that surface quality for the long term, adds hardness and chemical resistance the base resin alone cannot provide, and gives every SLA print a finished, professional appearance whether it is a functional prototype, an engineering part, a display model, or a detailed miniature.
Need help choosing the right coating product or have questions about your specific SLA resin? Contact the Siraya Tech team at support@siraya.tech or visit the support page for application guides, print settings profiles, and troubleshooting resources.