

Cosplay is not just art. It is engineering. When you 3D print armor, you are building a wearable structure that must withstand movement, heat, and impact. You are asking plastic to behave like steel. Choosing the wrong material can ruin hundreds of hours of printing, sanding, and painting.
We have seen it happen too many times. A beautiful helmet warps in the summer sun, or a gauntlet snaps when the wearer tries to pick up a water bottle. In this guide, we will break down the science behind the plastics.
We will evaluate impact resistance, flexibility, and sanding ease to help you choose the best filament for your next project. Whether you are a beginner looking for reliable prints or a pro needing heat resistance, we have the answer.
“If you want to explore more ideas for what your printer can do beyond costumes, check out our list of useful things to 3d print.”
Key Takeaways
- PLA+ is the gold standard for most 3d print armor. It is easy to print, rigid, and holds detail well.
- Use PETG for outdoor events. It resists warping in the sun better than PLA.
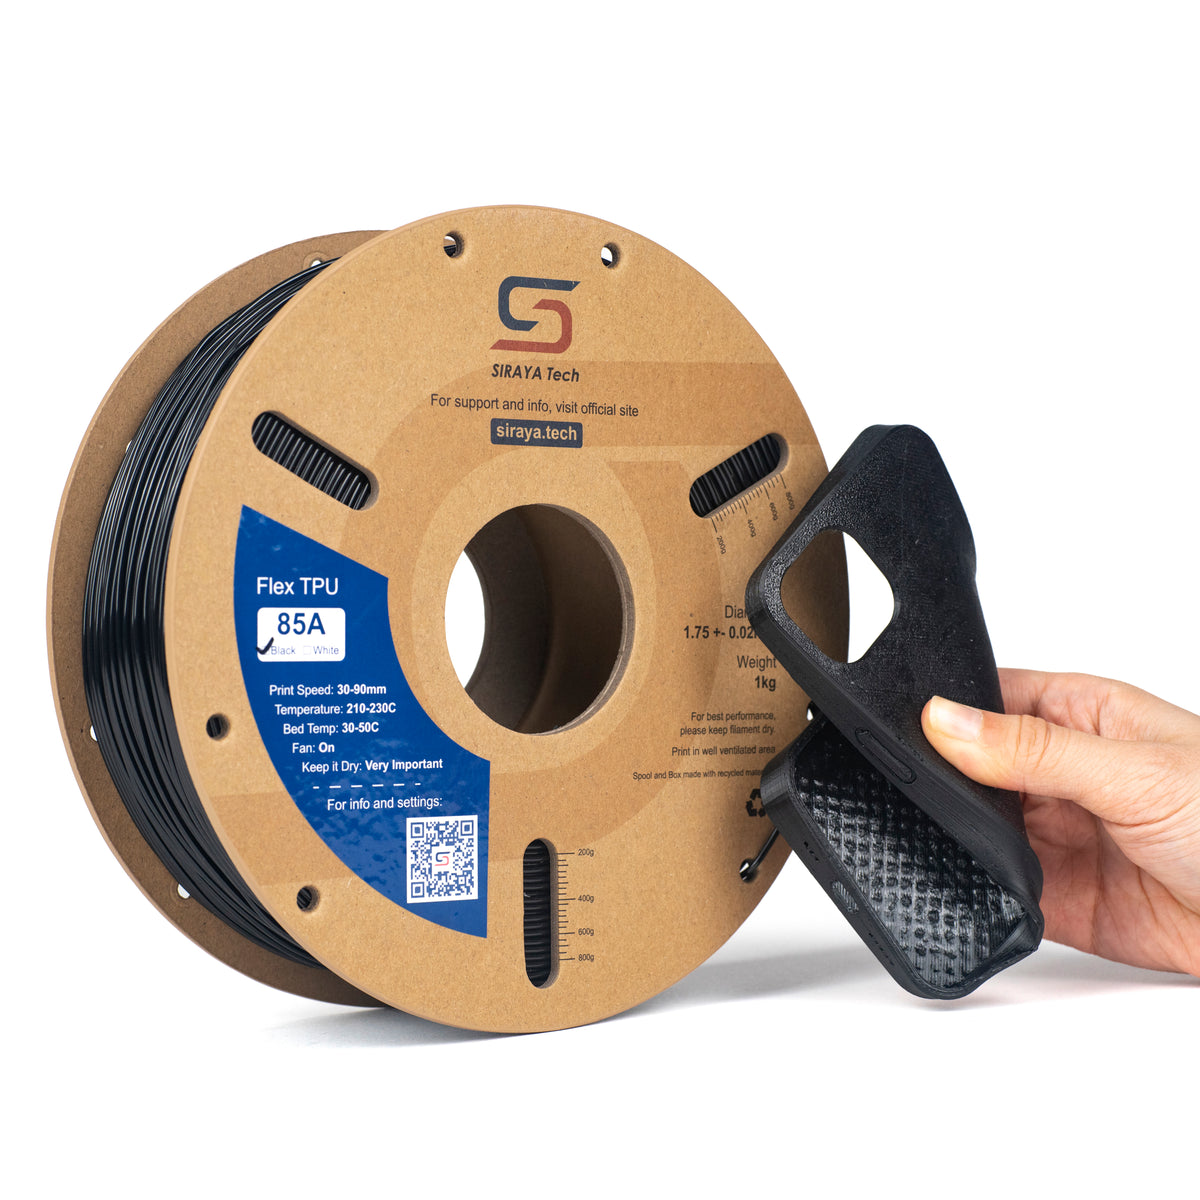
- Use TPU for straps, joints, and parts that touch your skin, as we do for 3D-printed shoes.
- For intricate gems or small greebles, use Siraya Tech Resin for maximum resolution.
- The Pro Tip: Always print with at least 3 walls so you can sand the armor smooth without creating holes.
Understanding Armor Engineering: Stress & Heat
Before we select a spool, we need to understand what your armor endures. A helmet sits on your head, but a chest plate flexes when you breathe.
A gauntlet bangs against tables. Shin guards take a beating every time you walk up stairs. Your material must meet these requirements.
Here is a technical comparison of the top contenders:
|
Filament Type |
Impact Resistance |
Heat Deflection |
Sanding Difficulty |
Best For |
|
PLA / PLA+ |
Moderate |
Low (55°C / 131°F) |
Easy |
Helmets, static props, swords. |
|
PETG |
High |
Medium (75°C / 167°F) |
Hard |
Outdoor armor, functional buckles. |
|
ABS / ASA |
Very High |
High (95°C / 203°F) |
Very Easy (Acetone smoothable) |
Heavy-duty plating. |
|
TPU (Flexible) |
Indestructible |
Medium |
Very Hard |
Joints, shoes, soft armor. |
👉 For a broader look at selecting materials for props, check out our guide on the best filament for cosplay.
Which Filament Should You Choose for 3D-Printed Armor?
Let's review the strengths and weaknesses of each option so you can choose the right spool for your costume.
1. PLA+ (Polylactic Acid Plus)
The Standard for a Reason. For 90% of cosplayers, PLA+ is the winner. Standard PLA is brittle, but PLA+ has additives that make it tougher.
It prints with minimal warping, so you can print large chest plates in one go without the corners lifting off the bed.
Why use it for 3d print armor: It is incredibly stiff. This means thin parts, like helmet visors or spikes, won't droop. It is also the easiest to sand and paint. Primer sticks to it very well.
The Downside: Heat. PLA softens at around 55°C. If you leave a black PLA helmet in a hot car, it will deform. If you live in a very hot climate, be careful with PLA for outdoor events.
2. PETG (Polyethylene Terephthalate Glycol)
The Heat Shield. If you live in a hot climate or plan to attend summer conventions, PLA is risky. Leaving a PLA helmet in a car on a sunny day can cause it to warp and lose its shape. PETG handles temperatures up to about 75°C before softening.
The Trade-off: PETG is stringy. It doesn't handle fine details as well as PLA, and sanding it can be a workout because it resists abrasion.
It tends to "gum up" sandpaper rather than turning into dust. For a deeper look at this material, read our article on the best PETG filament.
3. TPU (Thermoplastic Polyurethane)
Wearable Engineering. Armor shouldn't just look cool; it should be wearable. Rigid armor can pinch and chafe. TPU is a flexible rubber-like plastic. We love using this for the "soft parts" of armor—like the neck seal, the back of the knees, or even the soles of boots.
This is the same technology used in modern footwear. In fact, many creators are now making fully 3d printed shoes and insoles to stay comfortable during long convention days. If you are printing a piece that needs to wrap around your arm or leg, TPU is the best choice.
Shop TPU Filaments
Explore More

4. ASA (Acrylonitrile Styrene Acrylate)
The Advanced Choice. ASA is like ABS but better. It is UV-resistant, meaning the sun won't make it brittle over time. It can be smoothed with acetone vapor to resemble injection-molded plastic without sanding.
However, it requires an enclosed printer and good ventilation because it produces fumes while printing.
Don't Forget Resin for the Details
While FDM printers (filament-based) are great for large armor plates, they struggle with fine details. You will see layer lines on small intricate crests or jewelry.
This is where Siraya Tech Resin shines. We recommend a "hybrid" approach. Print the large plates in filament and the small, high-detail decorative pieces in resin. Then, glue the resin gems onto the filament armor.
For parts that require durability, avoid standard resin and opt for our Blu Tough Resin. Standard resin is brittle like glass, but Blu is formulated to withstand impact. If you drop a gem made of Blu, it will bounce, not shatter.
Slicer Settings for Indestructible Armor
The material is only half the battle. Your print settings determine if your armor feels like solid steel or a hollow eggshell. Here is our recipe for success.
1. Wall Count (Perimeters)
This is the most critical setting. Forget infill; walls are where the strength is. For 3D-printed armor, use at least 3 walls (1.2mm to 1.6mm thick).
Why? You are going to sand this armor. If you print with only 2 walls, you will sand through the plastic and expose the hollow infill pattern underneath. 4 walls provide a safety buffer for aggressive sanding.
2. Infill Pattern
Use Gyroid infill. It provides equal strength in all directions. You usually only need 10% to 15% density if your walls are thick enough. This keeps the armor light, which is crucial for comfort. Heavy armor leads to fatigue after a few hours.
3. Orientation
3D prints are weakest along the Z-axis (between the layers). Think about how the armor will be stressed. If it's a long sword, print it standing up, but know that it might snap if you swing it. If possible, print long, thin parts at an angle to increase strength.
For helmets, print them upside down (dome on the bed) for the cleanest top surface, or right-side up if you want to save support material. Just remember: support scars take time to sand away.
Post-Processing: From Plastic to Metal
Once your armor is printed, the real work begins. To get that glass-smooth finish that looks like real metal or ceramic, you need to process the print correctly.
Sanding Strategy
Start with 120 grit sandpaper. This is your heavy removal phase. Use this to knock down the layer lines and zipper seams. Once the lines are mostly gone, switch to 220 grit, then 400 grit.
📌Pro Tip: Wet sanding helps keep the plastic cool. If you dry sand quickly, the friction heat can melt the plastic and gum up your sandpaper.
Priming and Filling
You cannot sand away every imperfection. Use a "filler primer" (a thick automotive spray paint). Spray a coat, let it dry, and then sand most of it off.
The primer will stay in the low spots (the layer lines), and the sanding will cut down the high spots. Repeat this 2 or 3 times for a perfect surface.
Storage and Maintenance
Plastic absorbs moisture from the air. This is called hygroscopy. Moisture can ruin your 3d printer filament before you even print. Wet PETG will pop and crackle, resulting in weak armor with holes. Always keep your spools dry.
“Check out our guide on filament storage ideas to protect your investment. A simple dry box with silica gel can save you money and frustration.”
If you have leftover filament scraps or failed prints, don't discard them. You can often repurpose them for smaller projects, or check our list of useful things to 3d print for inspiration.
Even failed armor prints can be used as "battle damage" scraps for terrain or bases.
Conclusion
Building a full suit of 3d print armor is a marathon, not a sprint. It tests your patience, your painting skills, and your engineering mindset. But when you see the final result, it is worth every hour.
Choosing the right 3D printer filament is the foundation of that success. Stick to PLA+ for your main rigid plates for the best balance of printability and stiffness.
Use PETG if you know you'll be in the heat, and incorporate TPU for those flexible joints to keep yourself comfortable. And for those special details that need to pop, don't be afraid to mix in some tough resin.
Remember, the best armor is the one that you can wear all day. Don't stress about perfection on your first try. Your next masterpiece is waiting on the build plate. Load up your spool, check your level, and start creating.
Ready to build your armor?
Shop High-Performance FilamentNeed extreme detail for your props?
Check out Blu Tough Resin Explore Flexible Filaments for WearablesFrequently Asked Questions (FAQs)
How do I size 3D printed armor to fit my body?
Sizing is the hardest part. The best method is to use a digital caliper to measure your own body parts (width of head, length of forearm). In your slicer, use the "Measure" tool to check the inner dimensions of the model. Remember to leave 10mm to 15mm of padding room for foam liners. Armor should not sit directly on your skin.
Is ABS better than PLA for armor?
ABS is stronger and more heat resistant, but it is much harder to print. It tends to warp and crack on large prints like helmets unless you have an enclosed printer. For most users, PLA+ is a better balance of ease and strength. If you need ABS-like properties with easier printing, try ASA.
Can I combine 3D-printed armor with foam?
Absolutely. This is called a "hybrid" building. Many cosplayers use filament for detailed hard parts (such as a helmet or pauldrons) and EVA foam for parts that need to flex (such as the torso or abs). This gives you the best of both worlds: high detail and high mobility.
What if my armor breaks at a con?
It happens to the best of us. Carry a small repair kit. Super glue (cyanoacrylate) works wonders on PLA. If you have a soldering iron, you can "friction weld" the plastic back together in your hotel room. If you printed moving parts, such as those found in 3D-printed fidget toys, bring spares of the small pins or hinges.
How heavy is a full suit of 3D printed armor?
It can be heavy. A full suit can weigh 15 to 30 pounds depending on your infill settings. This is why we recommend keeping infill low (10%) and relying on wall thickness for strength. Using heavy suspenders or a harness system under the armor helps distribute the weight from your shoulders to your hips.