

If your 3D prints look rough, don't fit together, or keep failing halfway through, the issue is often calibration. 3D printer calibration is what turns a basic machine into a precise manufacturing tool.
When your printer is properly tuned, layers bond better, dimensions match your design, and surfaces come out clean and smooth. Even small adjustments can make a huge difference in strength and accuracy.
Keep reading to learn exactly how 3D printer calibration works and how to fine tune your printer for consistent, high quality results.
Key Takeaways
- 3D printer calibration ensures accuracy, strength, and consistent print quality
- The most important steps include mechanical setup, bed leveling, E-step calibration, flow rate tuning, and temperature testing
- Most print defects are caused by incorrect calibration
- Calibration should be checked regularly and after hardware changes
- High quality materials such as Siraya filaments, resins, and platinum silicone improve reliability and performance
Understanding 3D Printer Calibration

3D printer calibration is the process of adjusting your printer so it produces accurate and repeatable prints. It aligns physical movement, material extrusion, and heat control so that the final object matches the digital design.
When properly calibrated, your printer creates parts with correct dimensions, strong layer bonding, and smooth surfaces. This is critical for mechanical parts, functional prints, and detailed models where precision matters.
The Four Core Types of 3D Printer Calibration
| Type of Calibration | What It Controls | Why It Is Important |
|---|---|---|
| Mechanical Calibration | Frame alignment, belts, pulleys | Prevents shifting and dimension errors |
| Bed Leveling Calibration | Nozzle height across bed | Ensures strong first layer adhesion |
| Extruder E-Step Calibration | Filament feed distance | Prevents over and under extrusion |
| Flow and Temperature Calibration | Material output and bonding | Improves strength and surface finish |
Each type supports the next. Skipping mechanical checks while adjusting slicer settings often leads to repeated problems.
Siraya 3D Filaments and Resin You May Shop
Explore More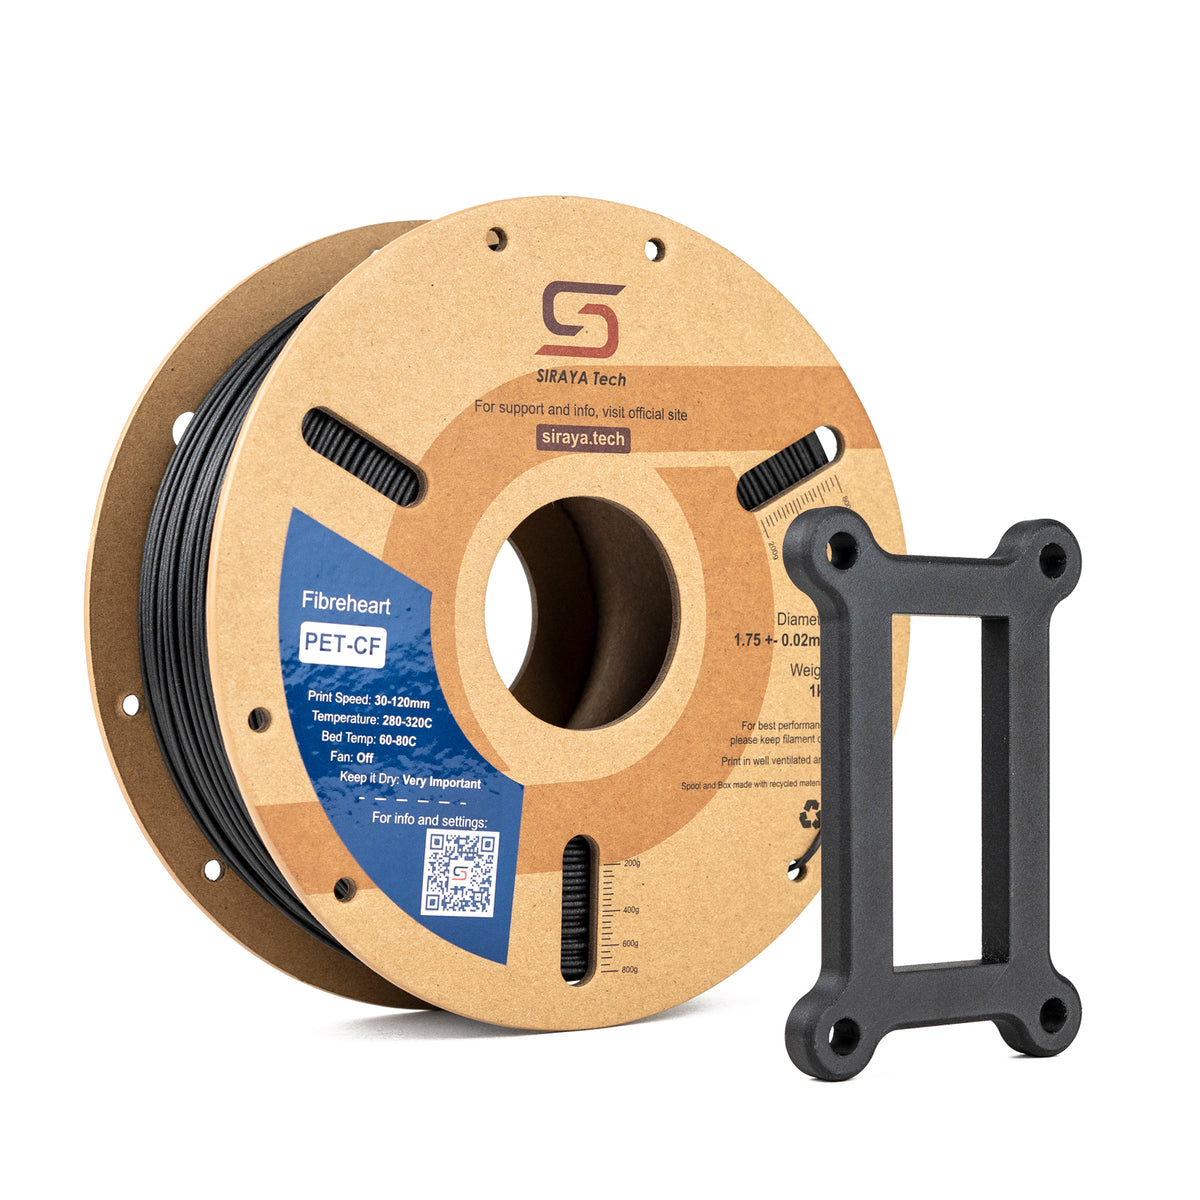

Why 3D Printer Calibration Is Necessary
Even brand new printers require calibration. Shipping vibrations, small assembly differences, and environmental changes affect performance.
Without proper 3D printer calibration, you may see:
- Parts that are too big or too small
- Gaps between walls
- Weak layer adhesion
- Stringing or blobs
- Uneven or rough surfaces
- First layers that do not stick
Calibration becomes even more important when using advanced materials. Reinforced filaments, flexible materials, and specialty resins all require accurate tuning to perform properly.
How Often to Perform 3D Printer Calibration
3D printer calibration is not a one time task. Printers shift slightly over time due to vibration, wear, and temperature cycles.
You should check calibration:
- After initial setup
- After changing a nozzle
- After replacing extruder parts
- After updating firmware
- After moving the printer
- When print quality changes
Light users may check monthly. Heavy users may inspect key settings every few weeks. Regular maintenance prevents larger problems later.
Step by Step 3D Printer Calibration Process

Calibrating in the correct order saves time and prevents overlapping issues. Always begin with hardware and move toward software adjustments.
Mechanical 3D Printer Calibration and Frame Alignment
Mechanical calibration ensures the printer's structure is stable and square. If the frame is loose, your prints will never be fully accurate.
Start with these checks:
- Tighten all frame screws
- Confirm the frame is square
- Inspect belts for wear
- Ensure pulleys are secured
- Verify smooth rod or rail movement
Belt Tension Reference
| Belt Condition | Print Result |
|---|---|
| Too Loose | Layer shifting, rounded corners |
| Too Tight | Motor strain, vibration artifacts |
| Correct Tension | Sharp corners, consistent dimensions |
Belts should feel firm but still flexible. If you press gently, there should be slight resistance without extreme tightness.
Mechanical stability forms the base of accurate printing. Do not skip this step.
Bed Leveling Calibration and Z Offset Setup
Bed leveling is one of the most important parts of 3D printer calibration. A bad first layer often ruins the entire print.
Manual Bed Leveling Steps
- Heat the nozzle and bed to normal print temperature
- Disable stepper motors
- Move the nozzle to each corner
- Slide a sheet of paper under the nozzle
- Adjust until slight resistance is felt
- Repeat the process until consistent
After leveling, adjust the Z offset.
First Layer Height Guide
| Nozzle Position | Visual Result | Adjustment |
|---|---|---|
| Too High | Gaps between lines | Lower Z offset |
| Too Low | Scraping or overly flat lines | Raise Z offset |
| Correct | Smooth, slightly squished lines | No change needed |
A strong first layer should stick evenly without curling edges.
This becomes even more important when printing reinforced materials such as PETG-CF, ABS-CF, or ASA-GF. Siraya offers these types of advanced filaments, which provide greater stiffness and durability but require stable bed adhesion for best results.
PETG-CF keeps many of standard PETG's strengths such as durability and chemical resistance, while adding greater stiffness, a matte surface finish, and reduced warping.
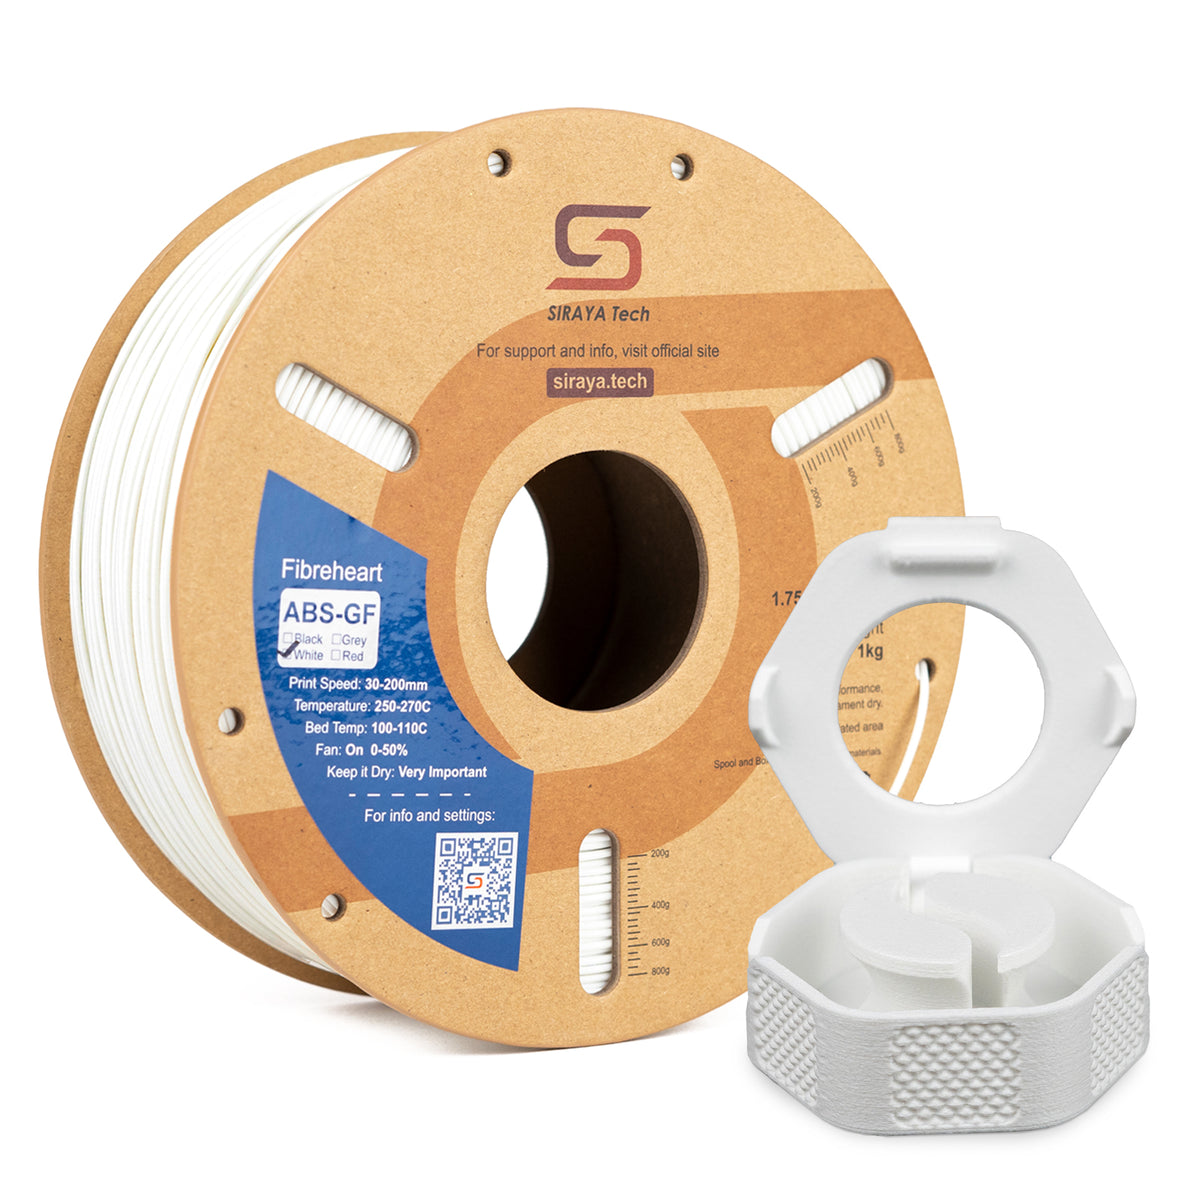
ABS-CF and ABS-GF increase rigidity and dimensional stability compared to standard ABS, and ASA-GF improves UV resistance for outdoor applications.
Siraya 3D Filaments and Resin You May Shop
Explore More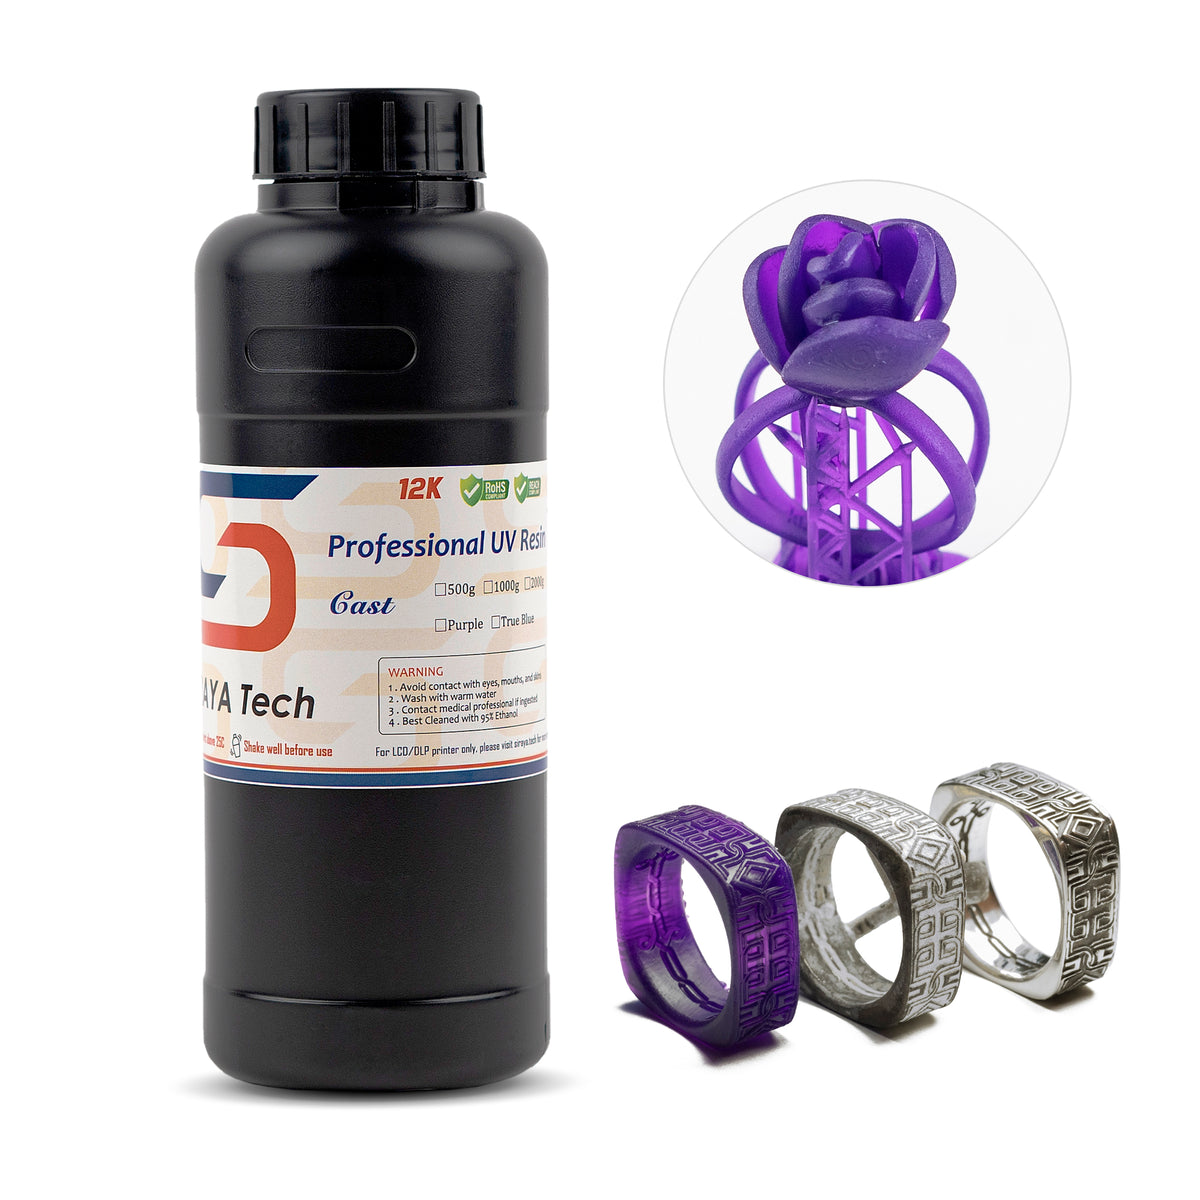

Extruder E-Step Calibration
Extruder calibration ensures your printer feeds exactly the amount of filament it is told to extrude. Incorrect E-steps cause inaccurate dimensions and weak parts.
E-Step Calibration Process
- Mark 120 mm on the filament above the extruder
- Command the printer to extrude 100 mm
- Measure how much filament actually moved
- Calculate the correction value
- Update firmware settings
E-step calibration is adjusted at the firmware level because it changes how the printer's motor interprets movement commands.
Extrusion Error Impact
| Issue | Likely Cause |
|---|---|
| Thin walls | Under extrusion |
| Bulging surfaces | Over extrusion |
| Weak parts | Incorrect extrusion distance |
E-step calibration must be completed before adjusting flow rate.
This step is especially important when switching to specialty filaments, flexible materials, or reinforced blends.
Flow Rate Calibration for Dimensional Accuracy
Flow rate fine tunes extrusion after E-steps are accurate. It adjusts the percentage of material deposited during printing.
Flow rate is typically adjusted inside your slicer settings rather than firmware, allowing fine tuning for different materials and print profiles.
Print a single wall calibration cube and measure the wall thickness using calipers.
Flow Calibration Example
| Measured Wall | Expected Wall | Action |
|---|---|---|
| 0.44 mm | 0.40 mm | Reduce flow slightly |
| 0.36 mm | 0.40 mm | Increase flow slightly |
| 0.40 mm | 0.40 mm | Keep setting |
Flow rate affects:
- Surface smoothness
- Dimensional accuracy
- Edge sharpness
- Overall appearance
If dimensions are consistently oversized or undersized, flow adjustment is often the solution.
Temperature Calibration and Layer Adhesion
Temperature controls how well layers bond and how smooth surfaces appear. Incorrect temperature leads to weak or messy prints.
Use a temperature tower to test a range of values.
Temperature Effects Comparison
| Too Low | Too High |
|---|---|
| Weak bonding | Stringing |
| Rough texture | Blobs |
| Brittle parts | Sagging overhangs |
Choose the lowest temperature that provides strong bonding and clean surfaces.
Layer Height and Adhesion
Thicker layers increase bonding surface area, which can improve strength. Thinner layers improve detail but require precise temperature control.
| Layer Height | Best Use |
|---|---|
| 0.2 mm | Faster prints, stronger layers |
| 0.15 mm | Detailed models, smoother finish |
For functional parts, 0.2 mm often balances strength and speed. For display pieces, 0.15 mm may offer better visual results.
Diagnosing 3D Printer Calibration Problems
Even well calibrated printers can drift over time. Identifying problems quickly saves material and time.
If your 3D printer is inaccurate:
- Check frame stability
- Inspect belt tension
- Re level the bed
- Verify E steps
- Adjust flow
- Confirm temperature
Common Calibration Symptoms
| Symptom | Likely Cause |
|---|---|
| Elephant foot | Z offset too low |
| Layer shifting | Loose belts |
| Stringing | Temperature too high |
| Gaps in walls | Under extrusion |
| Oversized parts | Flow too high |
Always begin troubleshooting with mechanical checks before adjusting slicer settings.
3D Printer Calibration for Different Materials
Different materials behave differently. Calibration settings that work for basic PLA may not work for reinforced or specialty materials.
Filament Materials
Reinforced filaments such as carbon fiber or glass fiber blends require precise extrusion and stable bed adhesion. Siraya offers advanced filament options that provide:
- Increased stiffness
- Reduced warping
- Improved durability
- Matte surface finish
These materials benefit from accurate E step and flow calibration.
Resin Printing Calibration
Resin printers require exposure calibration instead of extrusion calibration. Exposure time controls curing depth and dimensional accuracy.
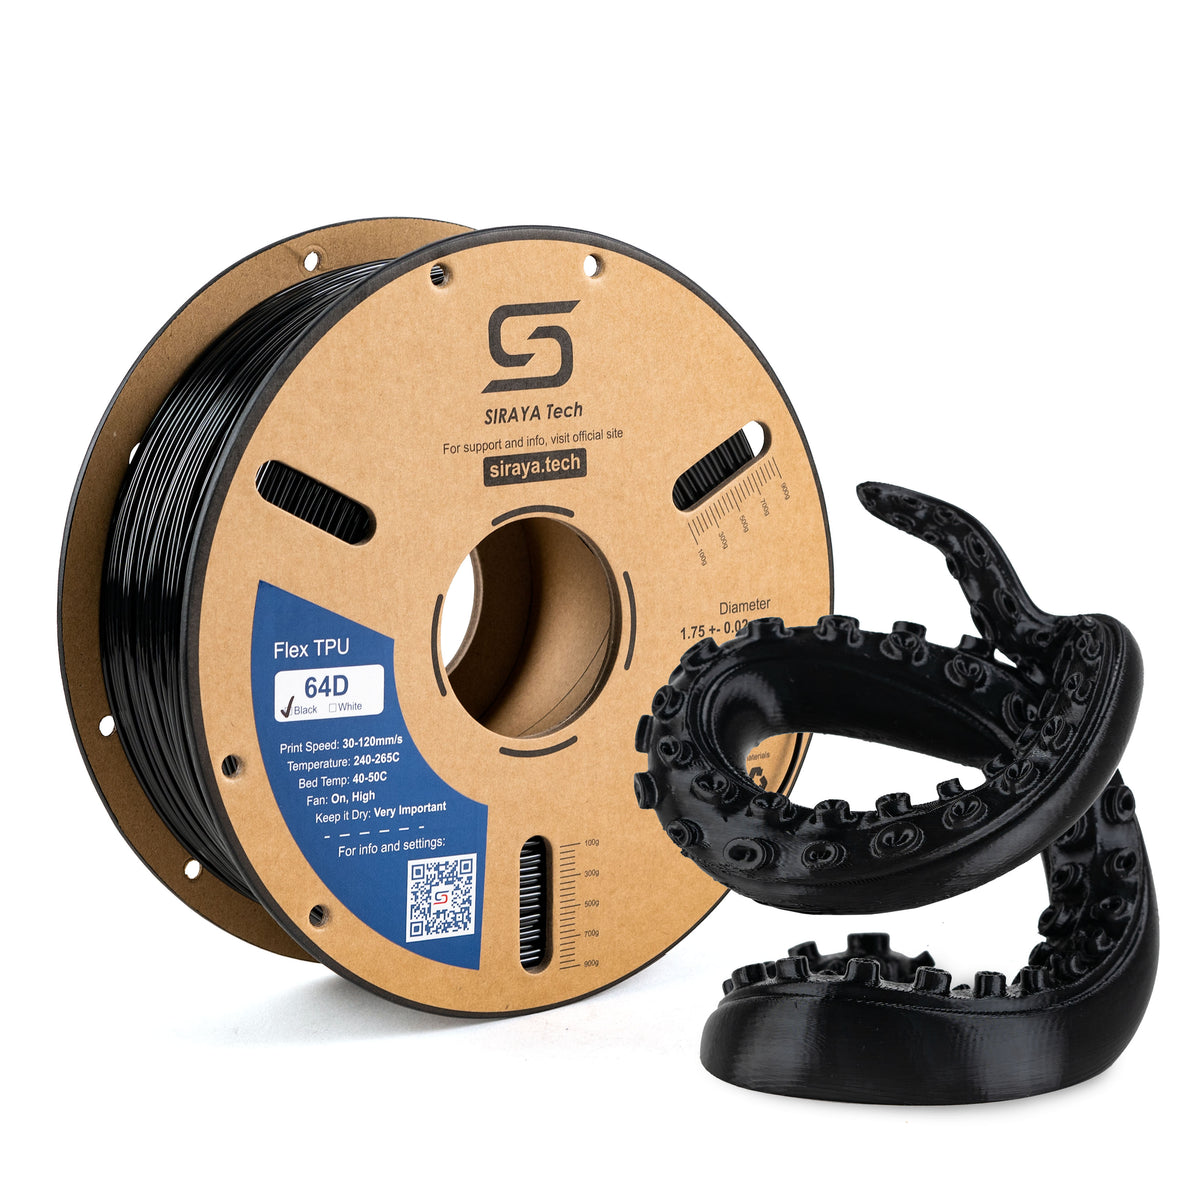
Siraya Tenacious resin improves flexibility and impact resistance when exposure settings are tuned correctly. Castable resin requires precise exposure calibration for clean burnout in casting applications.
Silicone Crafting Calibration
Platinum silicone used in mold making depends on accurate mixing ratios and controlled curing conditions. Small measurement errors can affect flexibility and final strength. Siraya platinum silicone products are designed for consistency, but proper handling ensures the best results.
Material consistency makes calibration more predictable and repeatable.
Maintaining Long Term 3D Printer Calibration
Calibration is easier to maintain than to fix after problems appear. Simple habits help preserve accuracy.
- Keep belts clean and tensioned
- Store filament properly
- Clean the nozzle regularly
- Check bed level monthly
- Inspect mechanical components for wear
Stable environmental conditions also improve consistency. Large temperature swings can affect bed adhesion and extrusion behavior.
Conclusion
3D printer calibration is the foundation of successful 3D printing. By properly adjusting mechanical stability, bed leveling, extrusion accuracy, flow rate, and temperature, you can dramatically improve print quality and reliability.
Careful calibration reduces wasted material, improves strength, and ensures your prints match your designs.
For more helpful guides and practical 3D printing tips, explore resources from Siraya. High quality materials also make a major difference, so consider Siraya 3D filaments, advanced resins including tenacious and castable resin, and platinum silicone crafting products to create superior results for every project.
Frequently Asked Questions About 3D Printer Calibration
What are the four types of calibration?
The four main types are mechanical, bed leveling, extruder, and flow/temperature calibration. Mechanical calibration stabilizes the frame and belts. The others ensure proper first-layer height and accurate material flow.
What is the 45 degree rule in 3D printing?
The 45 degree rule refers to the steepest overhang most printers can handle without supports. Angles beyond 45 degrees may start to sag. Good calibration improves cooling and extrusion for cleaner overhangs.
Why is my 3D printer so inaccurate?
Inaccuracy is often caused by loose belts, poor bed leveling, or incorrect extrusion settings. Mechanical issues should be checked first. Step-by-step recalibration usually fixes dimensional problems.
How often should I recalibrate my 3D printer?
Recalibrate after hardware changes, moving the printer, or noticing print issues. Light checks every few weeks are recommended. Regular maintenance keeps print quality consistent.