
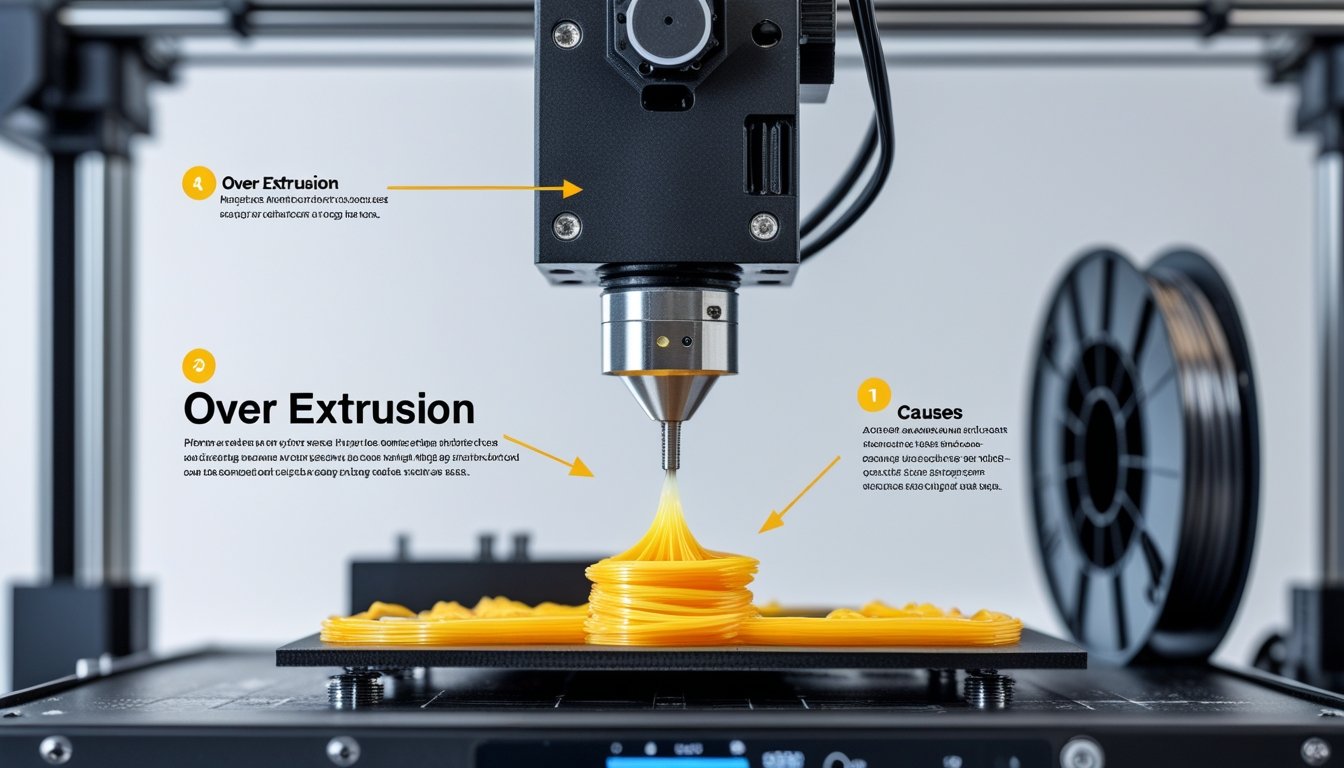
Over extrusion 3D print issues create blobs, stringing, and rough surfaces that ruin otherwise perfect models. When your printer pushes out too much filament, you'll see bumpy layers, oozing plastic, and dimensional inaccuracies that make parts impossible to fit together properly.
This common problem frustrates beginners and experienced makers alike. Over extrusion wastes filament, increases print time, and often means scrapping failed prints that looked promising at first.
The good news? Over extrusion is completely fixable with the right adjustments. This guide walks you through identifying the root causes, from flow rate settings to temperature problems, and shows you proven solutions that deliver clean, accurate prints every time.
Ready to eliminate over extrusion for good? Explore our premium 3D printing filament collection and find consistent, high-quality materials that deliver accurate results.
What Is Over Extrusion In 3D Printing

Over-extrusion means your 3D printer spits out more filament than it should. That extra plastic leaves visible defects and messes with your print’s dimensions.
Signs And Symptoms Of Over Extrusion
You’ll spot over-extrusion by checking for a few telltale signs. Blobs and zits show up as little bumps or raised spots where too much filament collects. Stringing looks like thin plastic threads stretched between parts of your model.
Oozing is when filament drips from the nozzle during travel. You might notice bulges along vertical walls or rough, inconsistent surfaces instead of smooth lines.
The top of your prints might look messy or too full. Parts can feel rough instead of smooth. Usually, these signs pile up together, so once you know what to look for, it’s easy to spot.
How Over Extrusion Affects Print Quality
Over-extrusion wrecks both the look and function of your prints. Your parts end up too big because of all that extra plastic. Holes shrink or disappear completely.
The surface finish gets rough and amateurish. Details vanish under blobs of filament. You lose definition and sharpness.
And it’s not just cosmetic. Parts might not fit together, and you could wind up with clogs in your hot end that take forever to clean. Mechanical pieces won’t move smoothly if over-extrusion throws off their dimensions.
Difference Between Over Extrusion And Other Defects
Over-extrusion comes with its own set of problems, different from other 3D printing headaches. Under-extrusion is the opposite—too little filament, so you get gaps, thin layers, and weak prints. Over-extrusion adds material; under-extrusion leaves it out.
Layer shifting knocks whole sections out of alignment, but over-extrusion just piles on too much plastic while keeping things lined up. Warping lifts corners off the bed, while over-extrusion happens throughout the print.
Elephant’s foot only affects the bottom layer. Over-extrusion messes with every layer. Knowing these differences helps you troubleshoot and fix the right thing.
Want prints with perfect dimensional accuracy? Check out our high-quality 3D printing resins designed for precise flow control and flawless surface finishes.
Common Causes Of Over Extrusion 3D Print

Over extrusion happens when your 3D printer pushes out too much filament. The main culprits? Wrong flow rate, incorrect filament diameter, high nozzle temperature, and poorly calibrated extruder steps.
Incorrect Flow Rate Settings
The flow rate tells your printer how much filament to push out. If it’s set too high, you get more plastic than you need.
Most slicers default to 100%. If you see blobs or excess material, maybe your flow rate crept up to 105% or higher. That’s enough to cause issues.
Try lowering your flow rate in 5% steps. Start at 95% and print a test piece. This setting makes a big difference in how much plastic actually leaves your nozzle.
Filament Diameter Inconsistencies
Your slicer needs the correct filament diameter to get extrusion right. Most filament is 1.75mm or 2.85mm, but using the wrong setting can really mess things up.
Common diameter mistakes:
- Entering 2.85mm in your slicer but using 1.75mm filament
- Cheap filament with big diameter swings
- Diameter tolerance off by more than ±0.05mm along the spool
Low-quality filament can vary a lot, sometimes by 0.1mm or more. That makes it tough to get consistent extrusion. Higher quality filament sticks closer to ±0.02mm, which helps prevent problems.
Always double-check your filament diameter setting before you print.
Printing Temperature Too High
If your nozzle is too hot, filament flows too easily and you get too much of it coming out. Each filament type has its own sweet spot. PLA likes 190-220°C, PETG usually wants 220-250°C. If you go 10-15°C over, you’ll see extra flow and sloppy layers.
Too high a temperature also causes stringing and oozing. Hot filament drips out even when the extruder isn’t pushing. Try dropping your nozzle temp by 5°C at a time and run some test prints to dial it in for your filament.
E-Steps Calibration Problems
E-steps set how much filament the extruder pushes per step. If they’re wrong, your printer spits out more (or less) than it should.
Let’s say your extruder pushes 105mm of filament when you tell it to do 100mm. That 5% error adds up fast, causing obvious over extrusion. You’ll see it in your print’s size and surface quality.
To fix this, measure how much filament your printer actually moves versus what you command. Mark the filament, extrude a set amount, and check the difference. Adjust your e-steps in the firmware to match.
How To Fix Over Extrusion 3D Print

Fixing over extrusion means dialing in your printer’s settings to control filament flow. Focus on calibrating e-steps, tweaking flow rate, lowering print temperature, and making sure filament diameter matches your slicer.
Calibrating Your Extruder E-Steps
Get your e-steps right so your printer knows exactly how much filament it’s pushing. This is key for fixing over extrusion.
Mark your filament 120mm above the extruder. Heat the nozzle to the right temp. Tell the printer to extrude 100mm.
Measure how much is left. If it’s 20mm, you’re good. If not, you’re over-extruding. Use this formula: (current e-steps × 100) ÷ actual extruded amount. Enter the new value in your firmware. Test again to make sure you nailed it.
Adjusting Flow Rate In Your Slicer
Flow rate controls how much filament your printer pushes based on calculations from your slicer. Most slicers default to 100%.
If over extrusion hangs around after calibrating e-steps, lower your flow rate by 2-5% at a time. Start at 95% and print a test cube. Look for blobs or bulges.
Keep lowering until your layers look clean. Don’t go below 90% unless you’re really stuck, since that usually points to a different problem. Flow rate tweaks help you fine-tune after dialing in e-steps.
Lowering Print Temperature
Too much heat makes filament gush out, causing oozing and extra material. Check the recommended range for your filament and lower your temp by 5°C steps. Print a temperature tower if you want to get fancy.
Typical ranges:
- PLA: 190-230°C
- ABS: 220-250°C
- PETG: 220-230°C
- TPU: 210-230°C
If you go too low, you’ll see gaps or weak layers. The right temperature gives you smooth layers without extra oozing.
Measuring And Correcting Filament Diameter
Your slicer needs an accurate filament diameter to get extrusion right. If it’s off, you’ll have flow rate issues.
Use calipers to measure your filament in several places. Take at least five measurements and average them. Most filament says 1.75mm or 2.85mm, but check anyway.
Enter this average in your slicer’s filament settings. In Cura, look for the material diameter option under machine settings. Other slicers have similar spots.
Even a small mismatch causes big problems. If your slicer thinks you have 1.75mm but you’re actually using 2.85mm, you’ll get massive over extrusion. Always double-check before you hit print.
Preventing Over Extrusion In Future Prints
Keep your printer dialed in and use the right settings to avoid over extrusion. Regular maintenance, good filament, and solid slicer settings all help keep your prints clean.
Regular Printer Maintenance Tips
Check your extruder regularly. Clean the nozzle every few weeks to clear out built-up filament. A clogged nozzle makes your printer work harder and can mess up extrusion.
Look at your extruder gears every month for wear or gunk. Filament dust builds up and can make the gears slip, which throws off extrusion.
Calibrate your extruder steps every few months. Mark 120mm on your filament, extrude 100mm, then measure what’s left. Adjust steps/mm if the numbers don’t match.
Tighten any loose belts and check moving parts. Wobbly components cause vibrations that mess with print quality and extrusion.
Quality Control For Filament
Bad filament causes more headaches than almost anything else. Check the diameter tolerance on your spool—good filament stays within ±0.05mm of the listed size.
Store filament dry, with silica gel. Moisture makes filament swell and messes with extrusion. You’ll spot this as blobs or zits on prints.
Stick with brands that clearly list their specs. Cheap filament often has inconsistent diameter. That makes it impossible to maintain steady flow, even with perfect settings.
Measure filament diameter with calipers in a few places. If you find it varies more than 0.05mm, expect extrusion problems. Enter the average value in your slicer for better accuracy.
Optimal Slicer Settings By Material
Every material wants its own print settings. Start your flow rate (extrusion multiplier) at 100%—don’t mess with it until you’ve tested. Most of the time, over extrusion happens when you set this too high.
PLA likes 190-220°C, with a flow rate around 95-100%. Printing at 40-60mm/s usually gives you solid results.
PETG runs best at 230-250°C and usually needs a flow rate between 95-98%. PETG oozes more than PLA, so dialing flow down a bit keeps blobs at bay.
ABS wants 230-260°C and uses about the same flow as PLA. The extra heat just makes it fussier about over extrusion.
Pick your layer height based on nozzle size—aim for 25-75% of your nozzle diameter. With a 0.4mm nozzle, you’ll be fine using 0.1-0.3mm layers.
Adjust print speed based on material and how much detail you want. Slower speeds help with control. Starting at 50mm/s is a safe bet, and you can bump it up after you’re happy with the results.
Struggling with over extrusion on flexible prints? Browse our TPU filament collection and get materials engineered for consistent extrusion and clean results.
Conclusion: Over Extrusion 3D Print
Fixing over extrusion 3D print problems starts with proper calibration and dialed-in settings. Whether you're adjusting e-steps, tweaking flow rates, or lowering temperatures, these changes deliver cleaner prints with accurate dimensions. Most over extrusion issues resolve quickly once you identify the root cause.
Regular maintenance and quality filament prevent over extrusion from returning. Check your settings when switching materials and verify measurements periodically to keep prints looking sharp.
Ready to perfect your print finishing? Learn professional techniques in our guide on sanding 3D prints and take your models from good to flawless.
Frequently Asked Questions: Over Extrusion 3D Print
People run into the same headaches with over extrusion—how to spot it, what to look for, and which settings to tweak. Knowing these basics makes troubleshooting less of a pain.
How to tell if a 3D printer is over extruding?
You'll spot over extrusion through blobs, bumps, and rough patches on your prints where layers look too thick or uneven. Filament oozing between moves creates stringy bits connecting different sections, and printed parts come out larger than their design dimensions. Print a calibration cube and measure it with calipers—if dimensions are off, over extrusion is likely the culprit.
What does over-extrusion look like 3D printing?
Over extrusion creates blobs and bulges on outer walls with a messy, uneven surface overall. Layers appear squished or too thick, the top surface feels bumpy instead of smooth, and strings of filament connect different print sections. Dimensional accuracy suffers as holes fill with extra plastic and the finish looks rough rather than clean.
Is 0.2 or 0.15 layer height better?
0.2mm prints faster and works fine for most projects with decent quality, while 0.15mm delivers smoother surfaces and finer detail at the cost of longer print times. Choose 0.2mm for functional parts where appearance doesn't matter, and 0.15mm when you want sharp-looking models with barely visible layers. Nozzle size also affects which layer height works best for your specific setup.
Can I print .12 layer height with .4 nozzle?
Yes, 0.12mm layer height works with a 0.4mm nozzle since it falls within the 20-80% guideline (0.08-0.32mm range). This thin layer height produces smooth results and fine detail but requires slower speeds around 30-40mm/s for reliability. First layer adhesion becomes trickier with thin layers, so verify bed leveling before starting long prints.