

Nature hates wasted energy. If you look closely at a bird's bone or the inside of a bamboo stalk, you will not find a solid block of material. Instead, you will find a complex, airy web of struts and beams. This is nature's secret to efficiency, and it is the power of the 3d lattice.
For decades, traditional manufacturing was limited to solid blocks. You could not drill curved holes inside a solid cube of steel to make it lighter. But 3D printing has changed the rules. Now, we can print parts that are 50% to 80% air but remain incredibly stiff and strong. This is not just about saving plastic. It is about engineering performance.
By mastering lattice structures, you can create drones that fly longer, cosplay props that are comfortable to wear all day, and impact-absorbing pads that protect your gear. In this guide, we are going to break down exactly how to design, slice, and print these complex geometries using the best materials available.
Whether you are using a standard filament 3d printer for beginners or a high-end resin machine, you have the tools to start printing lattices today.
Key Takeaways
- Use Gyroid Infill: It is the easiest way to get a functional 3d lattice without using expensive CAD software. It provides equal strength in all directions.
- Material Choice Matters: For rigid lattices, use Carbon Fiber Nylon (PAHT-CF) to keep struts from bending. For speed, use High Flow PETG.
- Resin for Detail: If you need microscopic lattice structures, resin printers offer higher resolution than filament printers.
- No Supports Needed: A well-designed self-supporting lattice requires no internal supports, saving you hours of cleanup time.
- Cooling is Critical: Thin lattice struts cool quickly. You need to manage your fan speeds to prevent layers from snapping.
Shop PETG Filament
Explore More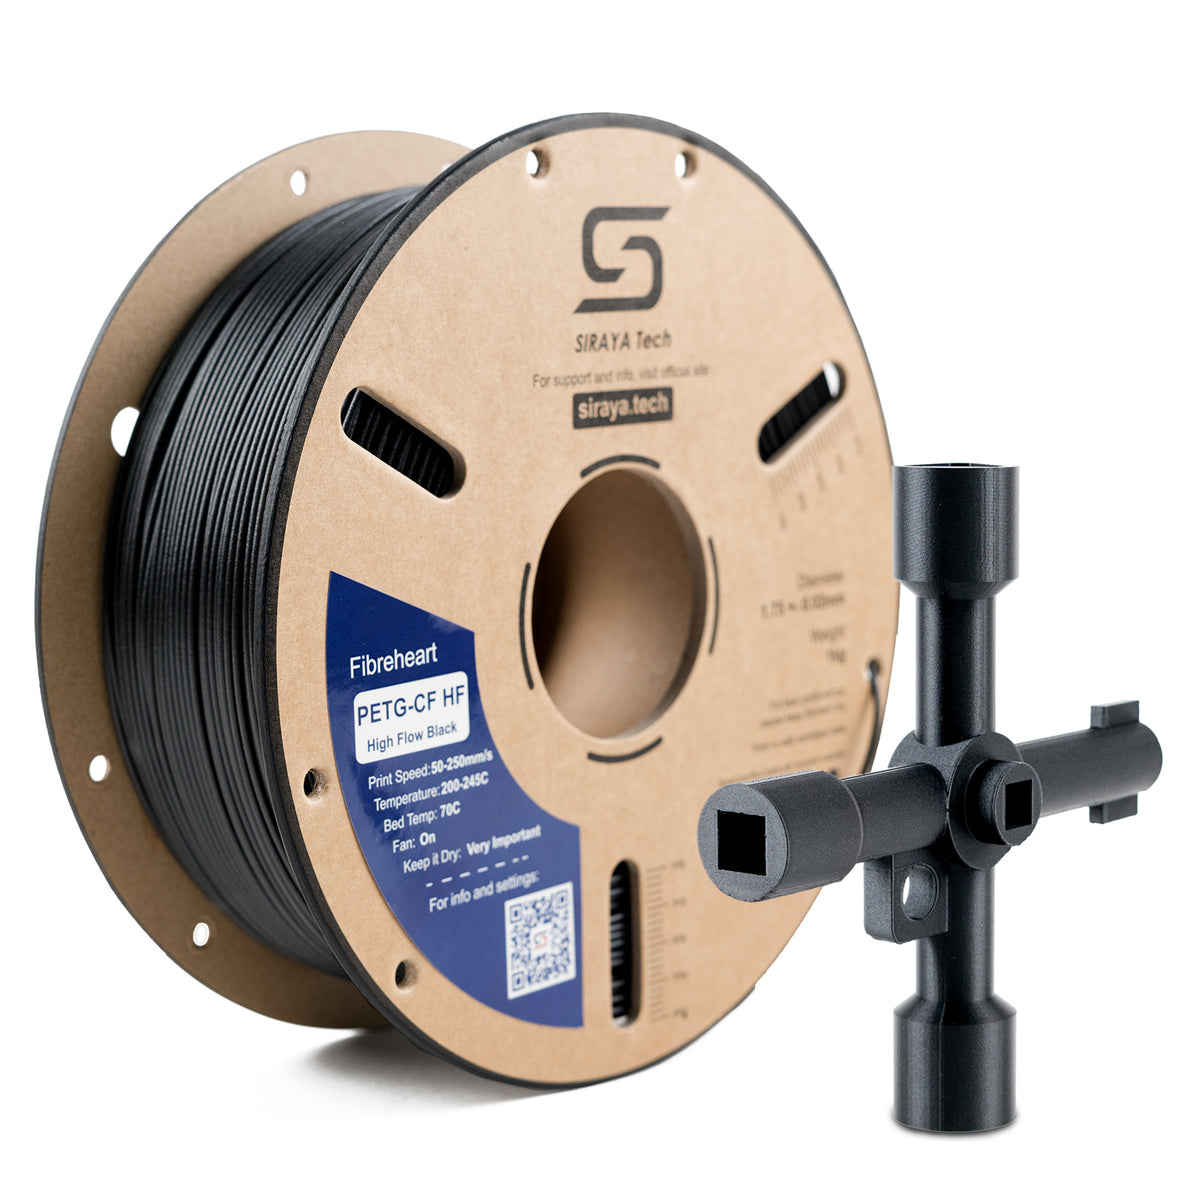


What is a 3D Lattice Structure?
A lattice is a repeating pattern of beams, struts, or cells that fills a specific volume. Instead of a solid plastic block, you have a mesh.
This geometry increases the surface area and drastically reduces weight while maintaining structural integrity.
Think of a construction crane or the Eiffel Tower. They are mostly air, yet they stand tall and carry heavy loads due to the specific geometry of their beams.
In 3D printing, we use lattices to replace the "infill" of a part. While beginners might just set their slicer to "Grid" and forget it, advanced users choose specific patterns for specific mechanical goals.
By adjusting the thickness of the beams (the strut thickness) and the size of the holes (the cell size), you can tune the properties of the object.
You can make one part of a shoe sole soft and cushioned, and another part of the same sole hard and supportive, simply by adjusting the lattice density.
Why You Should Stop Printing Solid Parts
Switching to lattice structures offers four distinct advantages that solid parts cannot match.
1. Lightweighting (High Strength-to-Weight Ratio)
This is the most common reason. If you are building a drone or an RC car, every gram counts. A solid arm might weigh 50 grams.
A lattice arm might weigh 15 grams but still be stiff enough to hold the motors. This means longer flight times and better agility.
2. Impact Absorption
When you hit a solid block of plastic with a hammer, the shock wave travels straight through it until the plastic cracks. A lattice works differently. When you hit a lattice, the beams flex and buckle, absorbing the energy of the impact.
This is why modern football helmets and cosplay armor padding are made from 3D printed lattices. They crush sacrificially to protect what is inside.
3. Heat Dissipation
Heat needs surface area to escape. A solid block traps heat inside. A lattice has a massive surface area because air can flow through every cell. This makes lattice structures perfect for housing electronics or LEDs.
If you print a lattice in a thermally conductive material or a heat-resistant filament, the part itself becomes a heatsink.
4. Biocompatibility (Osseointegration)
While this applies mostly to medical titanium printing, the concept is cool. Bone likes to grow into porous structures. Doctors use 3D-printed lattices for implants because the patient's bone will grow within the lattice, locking the implant in place.
You can use the same concept to glue parts together. Glue flows into the lattice cells, creating a mechanical lock that is stronger than a smooth surface bond.
The Main Types of Lattice Patterns

Not all webs are created equal. Engineers have developed patterns for different stress levels.
Here is a breakdown of the patterns you should know.
1. The Gyroid (TPMS)
The Gyroid is a "Triply Periodic Minimal Surface." In plain English, it is a wave that goes on forever in all directions. It is currently the most popular choice for general printing.
- The Science: It divides space into two non-overlapping volumes. It naturally sheds fluid and air.
- Why use it: It is isotropic, meaning it is equally strong from the top, bottom, and sides. Plus, the nozzle never stops extruding, so it prints faster and with fewer vibrations than grid patterns that have sharp 90-degree turns.
- Best for: General parts, water-soluble support interfaces, and infill that doesn't need to hold water.
2. The Isogrid
This is a pattern of interlocking triangles often used in aerospace tanks and rocket bodies. It is incredibly stiff and lightweight.
- Why use it: Triangles are stable shapes. They resist bending very well. If you are printing a drone frame or a bracket, an isogrid pattern on the surface looks cool and adds immense rigidity without adding much weight.
- Best for: Structural parts printed in PAHT-CF filament.
3. The Octet Truss
This is a classic engineering structure composed of tetrahedrons and octahedrons. It is exceptionally stiff for its weight.
- Why use it: It is fully self-supporting. You can print an Octet Truss without any internal supports because all the beam angles are 45 degrees or higher.
- Best for: Large architectural models or heavy-duty brackets.
4. Voronoi (Stochastic)
These look like bubbles, sponge pores, or organic cell structures. They are random (stochastic) rather than repeating.
- Why use it: Primarily for aesthetics or varying shock absorption. It mimics natural bone structure and looks fantastic on miniatures or art pieces.
- Best for: Helmets, pads, organic sculptures, and lampshades.
Choosing the Right Material for Lattices
A lattice is only as strong as the material it is made of. Because lattice struts are thin (sometimes only 0.4mm wide), they are vulnerable to snapping.
You need a material that flows well and bonds strongly to itself.
|
Goal |
Recommended Material |
Why It Works |
|
Maximum Stiffness |
The carbon fibers reinforce the thin struts, preventing them from bending under load. This keeps the lattice rigid. |
|
|
Speed & Strength |
Lattices require frequent retraction and rapid movement. High-flow PETG maintains speed without clogging the nozzle. |
|
|
Impact Absorption |
A flexible lattice acts like a custom foam. You can print shoe insoles or helmet pads that are soft in some spots and firm in others. |
|
|
High Detail |
For lattices with struts thinner than 0.4mm, standard filament can't cope. Resin is essential for microscopic accuracy. |
👉 If you are new to selecting materials, check out our guide on the good 3d filament choices for everyday printing to get started.
How to Create a 3D Lattice: Slicer vs. CAD
You don't need to be a math genius to use lattices. You have two main options depending on your skill level.
Option 1: The Slicer Method (Easy)
This is perfect for beginners and requires no design skills. If you have a printer, simply open your slicer (like Cura, PrusaSlicer, or Bambu Studio).
- Import your solid model (like a cube or a statue).
- Set "Top Layers" and "Bottom Layers" to 0.
- Set "Wall Count" to 0 (or 1 if you want a thin outline).
- Select "Gyroid," "Hexagon," or "Lightning" infill.
- Set density to 20% to 40%.
This will print only the lattice, creating an exposed, cool-looking structure. The "Lightning" infill is unique, it generates a lattice that only supports the top of the print, leaving the bottom hollow to save massive amounts of material.
Option 2: The CAD Method (Pro)
For functional parts where the lattice needs to be inside a shell, or vary in density (thicker at the bottom, thinner at the top), you need software.
- nTopology: This is high-end engineering software used by NASA and F1 teams. It generates complex lattices based on simulation data.
- Blender (Geometry Nodes): A free option. You can use Geometry Nodes to turn any mesh volume into a lattice. It has a steeper learning curve but is incredibly powerful for artistic lattices.
- Fusion 360 (Volumetric Lattices): Fusion now has a tool that allows you to fill a body with a lattice cell. You can choose Gyroid or Isogrid and scale the cell size to fit your needs.
Printing Tips for Success
Printing a 3d lattice is a torture test for your printer. There are thousands of retractions (stops and starts) in a single print. Here is how to survive it.
1. Control the Moisture
Materials like Nylon (PAHT-CF) love water. If your filament is wet, the water boils in the nozzle, creating bubbles.
In a solid wall, this is just ugly. In a thin lattice strut, a bubble creates a weak point that will snap instantly under load. You must use dry filament.
👉 Check our guide on how long does filament lasts to learn about keeping it dry.
2. Dial in Retraction
Stringing is the enemy of lattices. If your printer leaves strings or "angel hairs" between the beams, the lattice gets clogged, and airflow is blocked.
This can also cause the nozzle to snag on a string and knock the print over. Run a retraction test tower before starting a long lattice print to find the perfect setting.
3. Use High Flow Material
Because the printer head is moving constantly and changing directions, pressure in the nozzle fluctuates wildly.
Using a high-flow filament ensures the plastic is consistently ready to deposit, preventing under-extrusion gaps in your mesh.
A standard filament might struggle to keep up with the rapid flow changes required by complex lattice paths.
4. Cooling and Layer Time
Because lattice struts are thin, they cool down instantly. However, if you are printing a tiny lattice tower, the nozzle might return to the same spot too quickly, melting the previous layer before it has set.
In your slicer, set a "Minimum Layer Time" of 10 seconds to allow the plastic to solidify.
Post-Processing Lattices
Cleaning a lattice is harder than cleaning a solid part. If you are using resin, the liquid resin gets trapped inside the cells. You cannot just wipe it off.
For Resin: You must use an ultrasonic cleaner or a vigorous wash station. Use compressed air to blow out the cells before curing. If you cure the part with liquid resin still inside, the lattice will become a solid blob.
For Filament: You generally cannot sand a lattice. You have to get the print quality right the first time. However, you can use a heat gun to blast away fine stringing.
Conclusion
The 3d lattice is more than just a cool visual effect. It is a fundamental shift in how we build things. By moving away from solid blocks and embracing complex geometries, we can make parts that are lighter, faster to print, and more functional.
Start simple. Try exposing the infill on your next cosmetic print to see how it looks. Then, grab a spool of Carbon Fiber Nylon and try printing a functional bracket with 40% Gyroid infill and 4 walls. You will be amazed at how stiff a mostly-air part can be. The future of manufacturing isn't solid, it's open.
Ready to print strong, lightweight parts?
Shop High-Performance FilamentChoose the right material for strength, heat resistance, and durability.
👉 Shop PAHT-CF Filament 👉 Explore PETG-HF FilamentFrequently Asked Questions (FAQs)
Are lattice structures actually stronger?
They are stronger by weight. A solid block is absolutely stronger than a lattice block, but the solid block might weigh 1kg, while the lattice block weighs 100g. The lattice is incredibly efficient, offering the best strength-to-weight ratio. This is why airplanes use them—they need to be light enough to fly but strong enough not to break.
How do I clean supports out of a 3D lattice?
You don't! You should design your lattice to be "self-supporting." This means no strut should overhang more than 45 degrees relative to the build plate. Gyroid, Octet, and Isogrid patterns are naturally self-supporting. If you design a lattice that requires internal supports, you will never get them out, and they will rattle around inside your part forever.
Can I use lattice structures for heat exchangers?
Yes. Because lattices have massive surface area, they are great for cooling. Printing a lattice in a conductive filament or a high-temp material like heat-resistant filament allows air to flow through and dissipate heat rapidly. This is used in custom PC cases and LED light housings.
What is the best infill pattern for 3D printing armor?
For impact resistance, Gyroid is king. It absorbs energy from impacts evenly, preventing the armor from cracking in a straight line. If you are printing padding, using TPU with a Gyroid lattice creates a breathable, squishy pad that is very comfortable.