
Solving first layer adhesion problems is essential for successful 3D printing, as the first layer serves as the foundation for your entire print. When parts lift, warp, or fail to stick to the bed, you'll waste time, filament, and end up with failed prints.
Most first layer adhesion problems come from incorrect bed leveling, wrong temperatures, or a dirty build surface. These issues are frustrating but fixable with the right approach.
This guide covers the most common causes of poor bed adhesion and provides practical solutions to fix them. You'll learn proper leveling techniques, optimal first layer settings, and when to use adhesion aids for perfect prints every time.
Key Takeaways
- First layer adhesion problems usually start with nozzle height, bad temperatures, or dirty build surfaces
- Bed leveling and Z-offset tuning are essential for fixing most adhesion issues
- Filaments like PLA, PETG, and TPU need specific bed temps and adhesives for best results
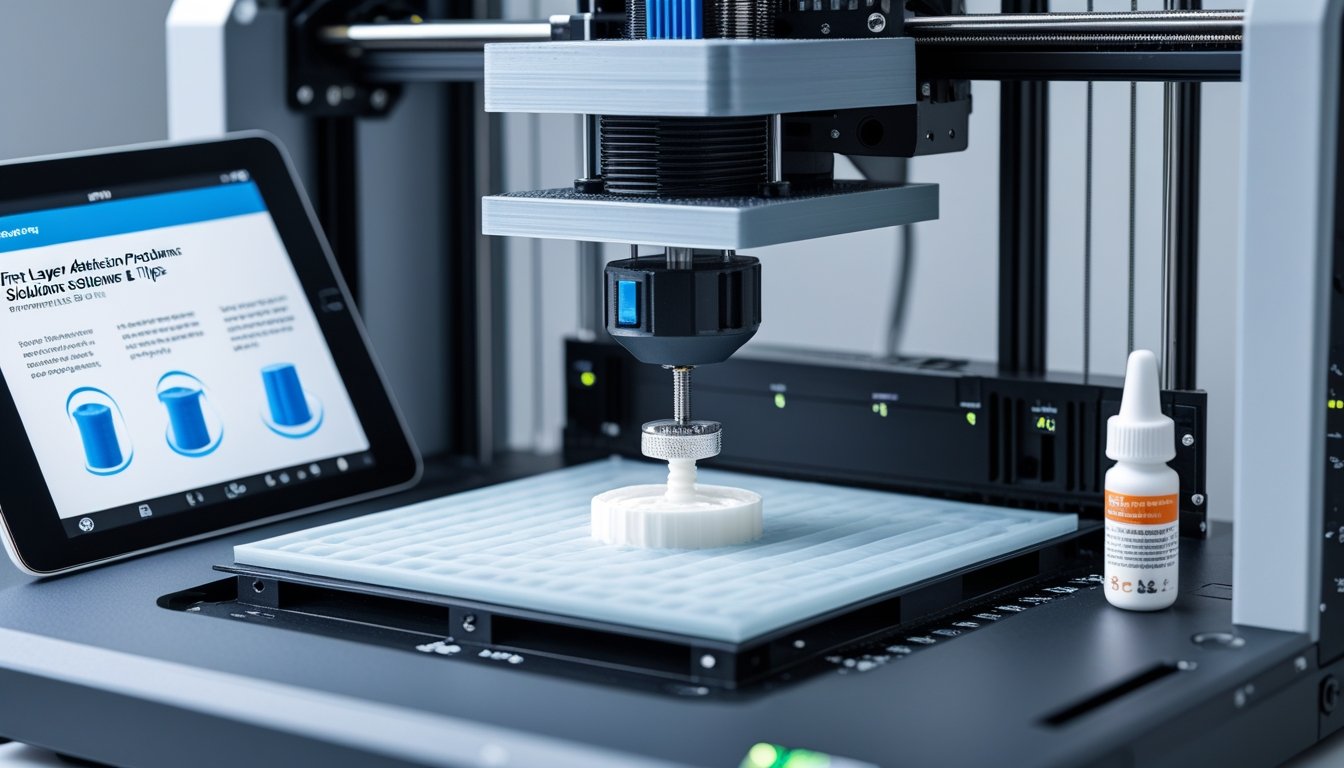
Struggling with adhesion due to inconsistent filament? Upgrade to our premium 3D printing filament collection for reliable first layers every time.
Common Causes Of First Layer Adhesion Problems

First layer failures usually come down to three things: the nozzle is too high or too low, the bed temperature isn’t right for your material, or the build surface is dirty or unsuitable. Sometimes, these issues pile up and cause corners to lift or prints to just not stick at all.
Bed Leveling And Z-Offset Issues
The nozzle’s distance from the build plate decides how well the filament grabs the surface. If the nozzle sits too high, the filament lands as round beads with barely any contact. It doesn’t really stick and can get knocked off easily.
If the nozzle is too low, it scrapes the bed and blocks normal extrusion. You’ll spot thin, see-through lines or gaps in the first layer. Sometimes the extruder motor even skips as it tries to push filament through a space that’s just too tight.
You want the nozzle at a height where the filament squishes a bit and spreads out enough to grab the surface. There should be no gaps between the lines, but they shouldn’t be mashed flat either. A piece of paper should slide between the nozzle and bed with just a bit of resistance.
Manual bed leveling means adjusting corner screws and testing with paper at several points. Automatic systems probe the surface to make a mesh map, but you still need to dial in your Z-offset. Most printers let you tweak this live during the first layer, which is super handy.
Incorrect Bed Temperature Settings
Your bed temperature needs to fit your filament and your build surface. PLA likes 50-65°C, PETG wants 70-85°C, and ABS needs 90-110°C since it shrinks a lot when cooling.
Too cold, and the plastic contracts too fast. The edges pull up, warping corners and ruining your print. Too hot, and the filament stays soft and spreads out—hello, elephant’s foot.
Bed materials also matter. Glass heats evenly but takes longer to get up to temp. Magnetic flex plates with PEI get hot faster and often need a slightly lower setting than glass.
Room temperature and airflow can mess with your bed’s surface temp. Cold drafts from windows or AC cool the print faster than the bed can keep up. That’s why enclosed printers do better with ABS or Nylon, which hate sudden temperature swings.
Poor Build Surface Preparation
A dirty bed ruins adhesion, even if everything else is dialed in. Fingerprints leave oils that block the plastic from sticking. Dust creates high spots that mess with leveling.
Clean your bed before every print with isopropyl alcohol and a lint-free cloth. For PEI, wash with dish soap and warm water now and then to clear off residue that IPA can’t handle. Glass needs the same treatment, especially if you use adhesion aids.
Different surfaces need different prep:
- PEI sheets—use IPA, and you’ll get solid adhesion with most materials
- Glass plates—usually need a glue stick or hairspray to help prints stick
- Textured surfaces—clean gently to avoid ruining the texture
- Painter’s tape—swap it out regularly as it wears down
Some materials bond too aggressively. PETG, for example, can fuse to bare glass, making removal a nightmare. A thin glue stick layer creates a barrier and protects both your print and the bed.
Essential Solutions For Better First Layer Adhesion

Getting that first layer right means focusing on three things: level your bed, adjust your print settings, and prep your build surface. These steps work together to give your print a solid start.
Proper Bed Leveling Techniques
Leveling keeps your nozzle at the right distance from the bed everywhere. The classic method? Use a piece of paper as a feeler gauge. Slide it between the nozzle and bed, and tweak the screws until you feel just a bit of drag.
Check all four corners and the center. The resistance should feel the same at every spot. Many printers want you to heat the bed before leveling, since it expands as it warms up.
Manual leveling is free but needs regular attention. You’ll turn the screws by hand at each corner.
Automatic bed leveling—think BLTouch or CR Touch—costs about $30-$80 and uses sensors to probe the bed and make a mesh. The printer then tweaks the Z-axis during printing to keep things even.
Even with auto-leveling, you still have to set your Z-offset. This tells your printer the exact gap between the sensor trigger and the nozzle tip. Use live Z-adjust during your first layer to fine-tune this, usually by 0.01mm steps.
Optimal First Layer Settings And Speed
The first layer needs special settings. Slow it down to 50-75% of your normal print speed—slower gives the filament more time to stick and cuts down on wobbles.
Set the first layer height to 0.2mm or 0.24mm, even if your usual layer height is lower. This gives more surface contact. Bump your first layer line width up to 120-150% of your nozzle size for extra grip.
Set your first layer extrusion multiplier between 95-105%. Too little leaves gaps, too much makes ridges.
Turn off your part cooling fan for the first few layers. Cooling too soon makes the plastic contract and pull away from the bed—especially with PETG and ABS, which love to warp.
Adhesion Aids And Surface Treatments
Keep your build surface clean and prepped. Wipe PEI with isopropyl alcohol before each print. Glass beds? Use window cleaner or dish soap and water.
PEI sheets handle PLA, PETG, and ABS well without extra adhesives. Replacement sheets run $15-$30.
Glass plates are super flat but usually need help. A thin glue stick layer ($2-$5) or hairspray ($5-$10) boosts adhesion. Glue stick is especially good for PLA and PETG.
Painter’s tape is cheap—$5-$10 per roll—and works great for PLA, but you’ll need to replace it every few prints. Lay down fresh strips with no gaps.
For tough materials like ABS or Nylon, try Magigoo ($15-$30) or similar products. They’re made for high temps and release prints when the bed cools. Just apply a thin, even coat where your print will sit.
Need materials designed for challenging bed adhesion? Explore our high-temperature filaments collection with optimized formulations for superior bonding.
Advanced Tips For Perfect First Layer Adhesion

Materials need different temps and surfaces, warping often happens when things cool too fast, and old build surfaces just lose their grip after a while.
Material-Specific Adhesion Requirements
PLA likes beds at 50-65°C and sticks to PEI, glass with glue stick, or painter’s tape. PETG wants 70-85°C and can bond too tightly to bare glass, so PEI or glass with glue stick is safer for easy removal.
ABS needs 90-110°C and does best in an enclosure to keep out drafts. Use adhesion aids like ABS slurry or special solutions to fight its warping habit.
Nylon usually wants 60-80°C or more, depending on the brand. It works best on garolite (G-10) plates or PEI with glue stick, since nylon doesn’t like to stick to much of anything.
TPU and other flexibles print at 30-60°C. Go slow on the first layer, and use textured PEI or painter’s tape to keep the flexible filament from sliding around.
Troubleshooting Warping And Lifting
Warping pops up when plastic cools and shrinks faster than it can stay stuck. Turn off your part cooling fan for the first 3-5 layers so the base can solidify without sudden chills.
Add a brim or raft in your slicer to boost the contact area. A brim stretches the first layer out by a few millimeters, giving more grip against warping. Rafts add a full base layer under your print for even more hold.
Look out for drafts near your printer. Cold air from windows, AC, or fans can cool one side faster than the other and lift corners. Shut windows or build a quick enclosure with cardboard for better temp control.
If corners keep lifting, bump your bed temp up by 5-10°C. Warmer beds keep the bottom layers soft a bit longer, easing the stress from shrinkage. And always clean your build surface with isopropyl alcohol—fingerprint oils really kill adhesion.
When To Replace Your Build Surface
PEI sheets need replacing when prints stop sticking, even after a good wash with dish soap. You’ll see scratches, gouges, or a cloudy look that won’t clean off. Most last 6-12 months with regular use.
Glass beds rarely need full replacement but swap them out if they chip or crack. Deep scratches from tools can create high spots that mess up adhesion. If your glass is double-sided, just flip it before buying a new one.
Painter’s tape? Replace it every 2-3 prints or when it’s torn or losing its tack. At $5-10 a roll, it’s not a big deal.
Textured plates lose their grip when the texture fills with residue or gets worn smooth. Scraping too hard ruins the texture for good. These usually last 8-16 months before you need a new one, with magnetic flex plates costing $15-30.
Skip first layer headaches entirely with resin printing. Discover our 3D printing resins collection for perfect adhesion and flawless detail.
Conclusion: First Layer Adhesion Problems: Solutions
Fixing first layer adhesion problems starts with proper bed leveling, correct Z-offset adjustment, and a clean build surface. Most adhesion issues disappear once you dial in these fundamentals and match your settings to your specific filament.
Regular maintenance like cleaning your bed before prints and checking level consistency prevents most first layer failures. Slow first layer speeds and appropriate adhesion aids handle the trickier materials.
Moisture in your filament can also sabotage first layer adhesion even with perfect settings. Learn how humidity affects print quality in our guide on understanding moisture's impact on 3D printing filament to keep your prints sticking every time.
Frequently Asked Questions: First Layer Adhesion Problems: Solutions
First layer adhesion problems usually come down to nozzle distance, bed prep, temperature settings, or gaps between printed lines. You can fix these with proper calibration and some tweaks to your printer settings.
How to fix first layer adhesion?
Level your bed and adjust Z-offset using the paper test until you feel slight drag. Clean the build surface with isopropyl alcohol or wash removable beds with dish soap and hot water. Raise bed temperature within your filament's range (usually 50-70°C) and apply appropriate adhesives like glue stick for PLA or Magigoo for PETG.
Why do my prints keep failing on the first layer?
Your nozzle is likely too far from the bed, creating gaps between lines instead of a squished, solid layer. Dirty build surfaces from oils, dust, or residue prevent proper adhesion even with correct settings. Incorrect temperatures, uneven bed leveling, or a warped build plate also cause inconsistent first layer failures.
How to fix adhesion issues on a 3D printer?
Level your bed properly, then fine-tune Z-offset by adjusting until paper slides with slight resistance. Slow your first layer speed to 20-30 mm/s to give filament more time to bond. Add a brim or raft in your slicer for extra surface area if corners still lift or peel.
How to fix gaps in the first layer?
Lower your Z-offset gradually until lines touch and form a solid layer instead of separate strands. Increase first layer height and line width in your slicer for better coverage and adhesion. Check bed levelness across the entire surface and raise nozzle temperature slightly to improve filament flow.