
Printing a model that is bigger than your 3D printer can feel frustrating. You find the perfect helmet, prop, or mechanical part, only to realize it does not fit your build plate.
The good news is that you can still make it by learning how to 3D print large objects in pieces and assemble them later. With the right tools, settings, and materials, your final result can look like one solid print.
This guide explains the full process in simple steps, from splitting your model to hiding seams after assembly. Keep reading to learn how to plan, print, and assemble large 3D prints with confidence.
🧩Key Takeaways
- •You can print oversized models by splitting them into smaller sections that fit your printer’s build volume.
- •Smart seam placement and alignment pins help parts fit together cleanly.
- •Strong joints depend on good print settings, proper adhesives, and reinforcement methods.
- •PLA, ABS blends, PETG blends, and specialty materials each affect strength and warping.
- •Careful sanding, filling, and painting can make multi part prints look seamless.
Understanding Build Volume Before You 3D Print Large Objects in Pieces

Every 3D printer has a size limit called build volume. This tells you the maximum length, width, and height your printer can handle in one print.
Before you split a model, check your printer’s dimensions in your slicer software. Also consider orientation, because rotating a model can sometimes make it fit without cutting.
Why Large Prints Fail More Often
Large prints take many hours and use more filament. The longer a print runs, the higher the chance of failure due to warping, layer shifts, or poor bed adhesion.
Printing in pieces reduces risk because:
- Each part prints faster
- Warping is easier to control
- You can reprint only the failed section instead of the whole model
How to 3D Print Large Objects in Pieces Step by Step
Learning how to 3D print large objects in pieces starts with planning. A few extra minutes in design can save hours of fixing later.
Step 1: Prepare and Scale Your 3D Model
Open your STL, OBJ, or 3MF file in your slicer or modeling software. Make sure the model is scaled correctly before cutting it.
Check:
- Overall dimensions
- Wall thickness
- Hollow vs solid design
If you plan to print a wearable item like a helmet, confirm measurements first.
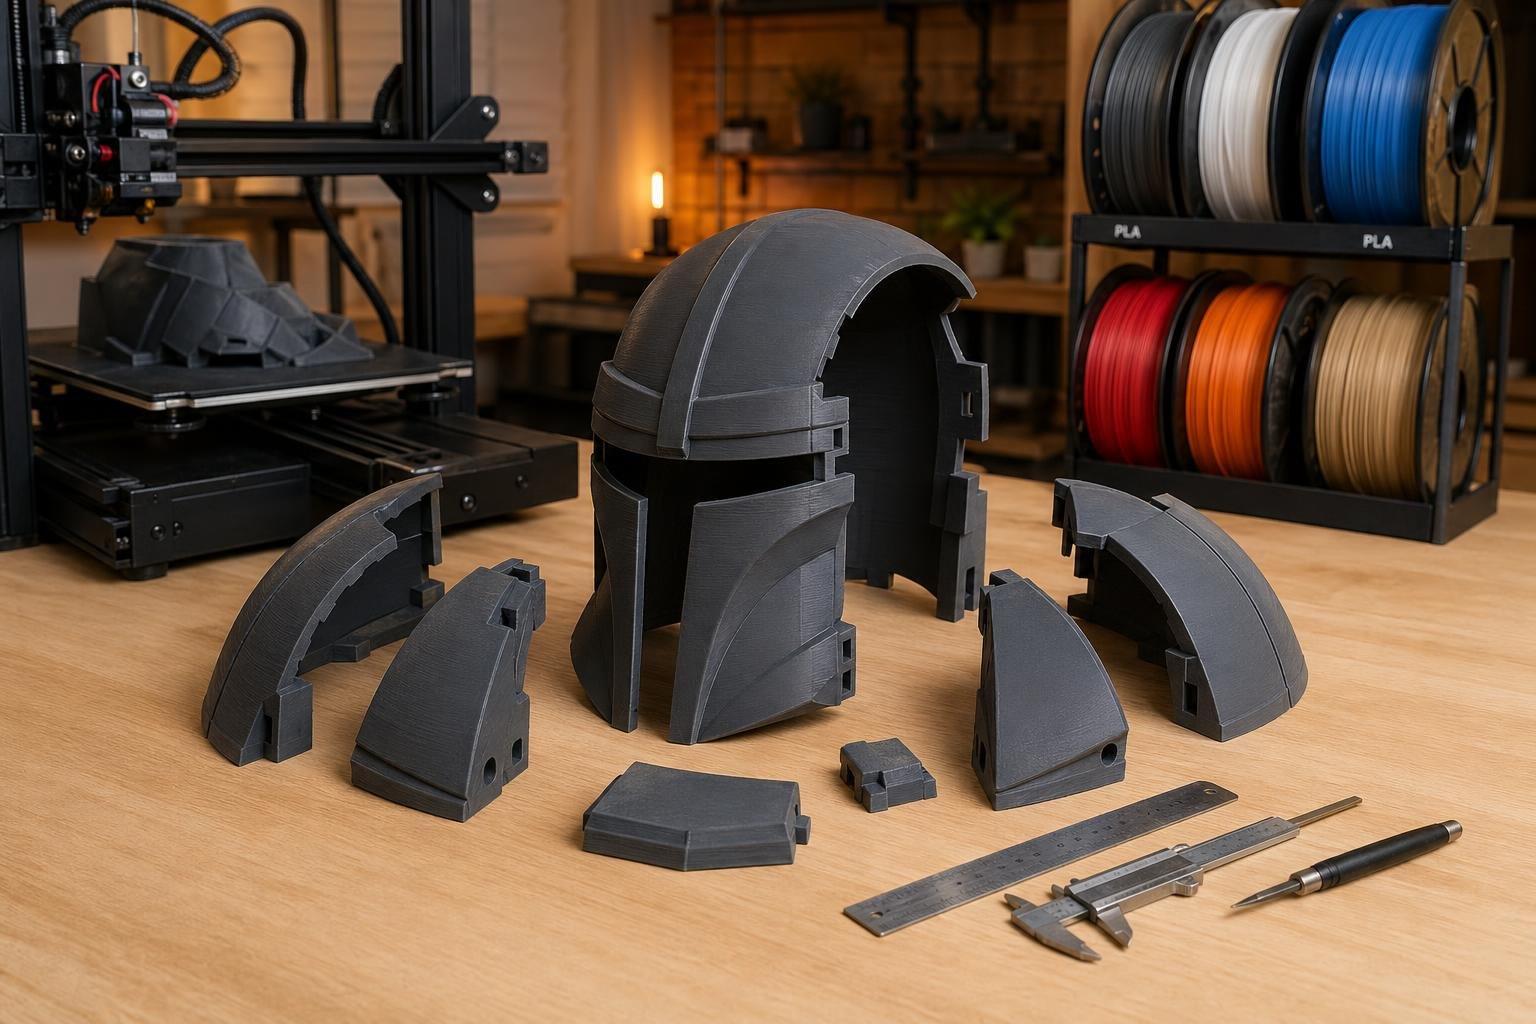
Step 2: Split Large Objects for 3D Printing Using Software
You can split a large model using tools such as:
- Cura
- PrusaSlicer
- Fusion 360
- Blender
- Meshmixer
Most programs have a plane cut or split body feature. Place the cut where it will be least visible, such as along natural edges or flat surfaces.
When deciding how to split large objects for 3D printing, think about:
- Hidden seams
- Easy sanding access
- Structural strength
Avoid cutting through small detailed areas if possible.
Step 3: Add Alignment Pins or Connectors
Alignment features make assembly much easier. Without them, parts may slide or shift when glued.
Common connector options include:
- Dowel holes
- Snap fit joints
- Puzzle style connectors
- Bolt and screw holes
Leave a small tolerance gap so parts slide together smoothly. A test print of the connector section helps prevent tight fits.
Step 4: Optimize Print Settings for Multi Part Prints
Strong parts begin with the right print settings. Large models need extra attention to walls, infill, and orientation.
Important settings:
- Increase wall count for stronger outer shells
- Use 15 to 30 percent infill for most decorative prints
- Use higher infill for functional parts
- Print in the orientation that reduces layer stress
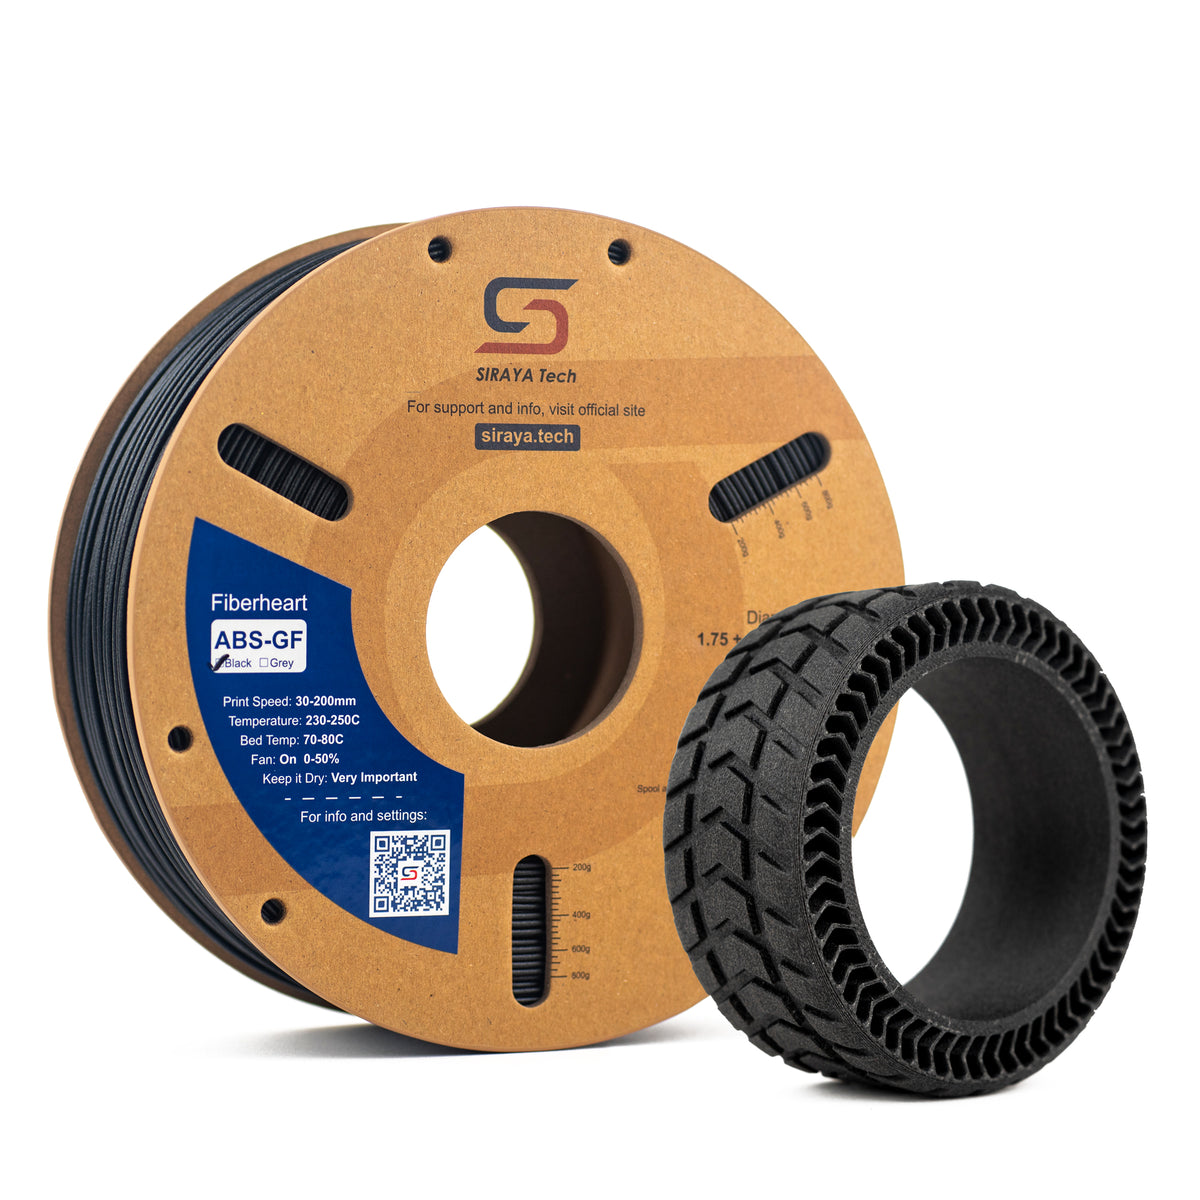
For materials, PLA is easy to use and great for large decorative prints. If you need higher strength or heat resistance, ABS based blends like ABS CF or ABS GF offer added stiffness. ASA GF is also useful for outdoor projects because it resists UV exposure.
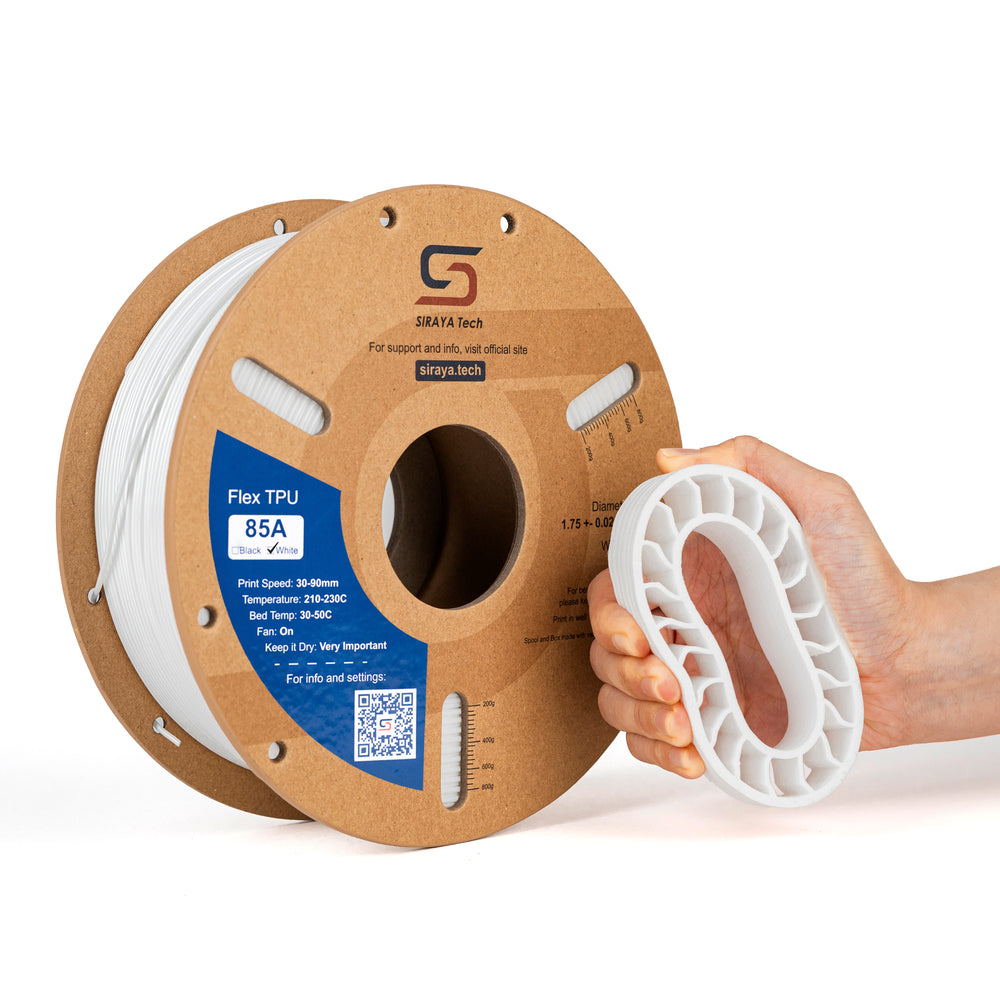
If you want reduced warping and a matte finish, PETG CF shares many PETG benefits while adding extra rigidity.
Explore Siraya Materials for Large, Strong Prints
Shop engineering filaments and flexible materials for large multi-part models, props, functional pieces, and stronger assembled prints.
Explore Siraya Materials →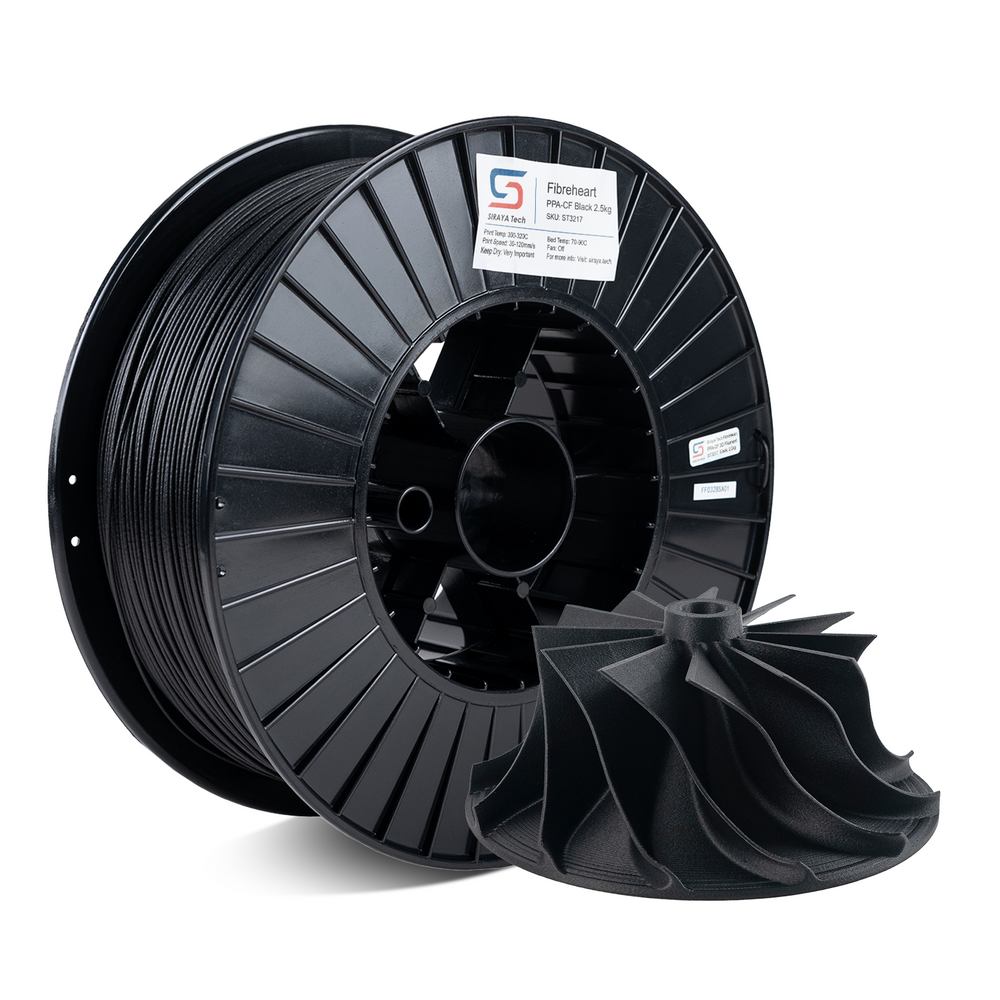

Best Materials for How to 3D Print Large Objects in Pieces
The material you choose affects warping, bonding strength, and surface finish. Picking the right filament makes assembly easier.
PLA for Easy Large Prints
PLA is beginner friendly and has low warping. It bonds well with super glue and sands easily.
For stronger results, high quality PLA or specialty blends from brands like Siraya provide consistent extrusion and smooth surfaces.
ABS and ASA Blends for Durability
ABS is stronger and more heat resistant than PLA. Reinforced versions such as ABS CF or ABS GF increase stiffness and reduce shrinkage.
ASA based materials like ASA GF are better for outdoor parts since they resist sunlight and weather.
PETG and PETG CF for Tough Parts
PETG is impact resistant and flexible. PETG CF adds carbon fiber, which improves hardness and reduces warping while giving a clean matte finish.
Resin Printing for Large Models in Pieces
If you are printing highly detailed statues or miniatures in sections, resin printing may be better. High performance resins, including tough blends and flexible options like tenacious resin, improve impact resistance.
For casting projects, castable resin helps create molds for metal or jewelry. After printing, you can use platinum silicone for mold making and part replication. Siraya also offers silicone materials suited for crafting and mold applications.
How to Assemble Large 3D Printed Parts So They Look Seamless
Once you finish printing, assembly is the next step. Good bonding and finishing techniques make the model look like one solid piece.
Best Ways to Glue 3D Printed Parts
Different materials require different adhesives.
Common bonding options:
- Super glue for quick bonding
- Epoxy for stronger joints
- Plastic welding for ABS type materials
Apply glue evenly and clamp pieces while drying.
Reinforcing Joints for Strength
Large objects may need internal support. This is especially true for cosplay props or functional parts.
Reinforcement methods:
- Insert metal rods through dowel holes
- Use threaded inserts for screws
- Add fiberglass and resin inside hollow sections
Flexible resin blends can also help absorb impact in detailed resin prints.
How to Hide Seams After Assembly
Seams are normal when learning how to 3D print large objects in pieces. The key is proper finishing.
Steps to hide seams:
- Sand the joint area
- Apply filler putty
- Sand again until smooth
- Prime before painting
Common Problems When 3D Printing Large Objects in Pieces
Even with planning, problems can happen. Knowing how to fix them saves time and materials.
Parts Do Not Fit Together
This usually happens because of shrinkage or tight tolerances. Light sanding often fixes minor fit issues.
If the mismatch is large, adjust scaling in your slicer and reprint only the connector section.
Weak Joints or Cracking
Weak joints can result from low wall thickness or weak adhesive. Increase wall count and use stronger bonding methods.
Reinforcing with rods or thicker connectors improves durability.
Warping in Large Sections
Warping happens more with materials like ABS. Use a heated bed and enclosure if possible.
Carbon fiber and glass fiber blends often reduce warping compared to standard materials.
When to Use a Large Format Printer Instead of Splitting
Sometimes printing in one piece is better. This depends on size, strength needs, and finishing goals.
If the part must be completely seamless for structural reasons, a larger printer may be worth the investment. However, for most hobby and cosplay projects, splitting the model works perfectly well.
Pro Tips for How to 3D Print Large Objects in Pieces Successfully
A few smart habits can make large projects smoother.
- Label each part in your slicer
- Print small test sections first
- Keep filament dry to prevent weak layers
- Plan assembly before printing
- Sand lightly before gluing
Using reliable materials such as quality filaments and resins from trusted suppliers like Siraya improves consistency and reduces print failures.
Conclusion
Learning how to 3D print large objects in pieces opens up endless possibilities. You are no longer limited by your printer’s build volume, and you can confidently tackle helmets, props, statues, and functional parts. With careful planning, smart splitting, strong bonding, and proper finishing, your final print can look like one solid object.
For more helpful guides and practical 3D printing tips, explore resources from Siraya. They also offer high quality 3D printing filaments, durable resins for 3D printing, tenacious blends, castable resins, and platinum silicone materials that help you create superior products for your projects.
FAQ About How to 3D Print Large Objects in Pieces
How do you split a large model for 3D printing?
You split a large model using modeling or slicing software that has a cut or split tool. Place the cut along flat areas or hidden edges to reduce visible seams. After cutting, export each section as a separate file. Adding alignment pins helps the parts fit together correctly.
Can large 3D prints be strong?
Yes, large 3D prints can be strong if you use proper wall thickness, infill, and orientation. Reinforcing joints with rods or thicker connectors increases durability. Strong adhesives and careful bonding also improve strength. Material choice plays a big role in final performance.
How to split large objects for 3D printing?
Start by measuring your printer’s build volume and scaling your model correctly. Use a plane cut tool in your software to divide the object into printable sections. Add connectors or dowel holes before exporting each piece. Always test fit before final assembly.
What is the most profitable thing to 3D print?
Profitable items often include cosplay props, custom figurines, home decor, and replacement parts. Large statement pieces can sell for higher prices because they require more time and skill. Functional parts for hobbies or repairs are also in demand. Success depends on quality, niche selection, and finishing.